
Vibe FWD L4-1.8L VIN L (2005)
Seals and Gaskets: Service and Repair
Drive Axle Shaft Seal Replacement
^
Tools Required
-
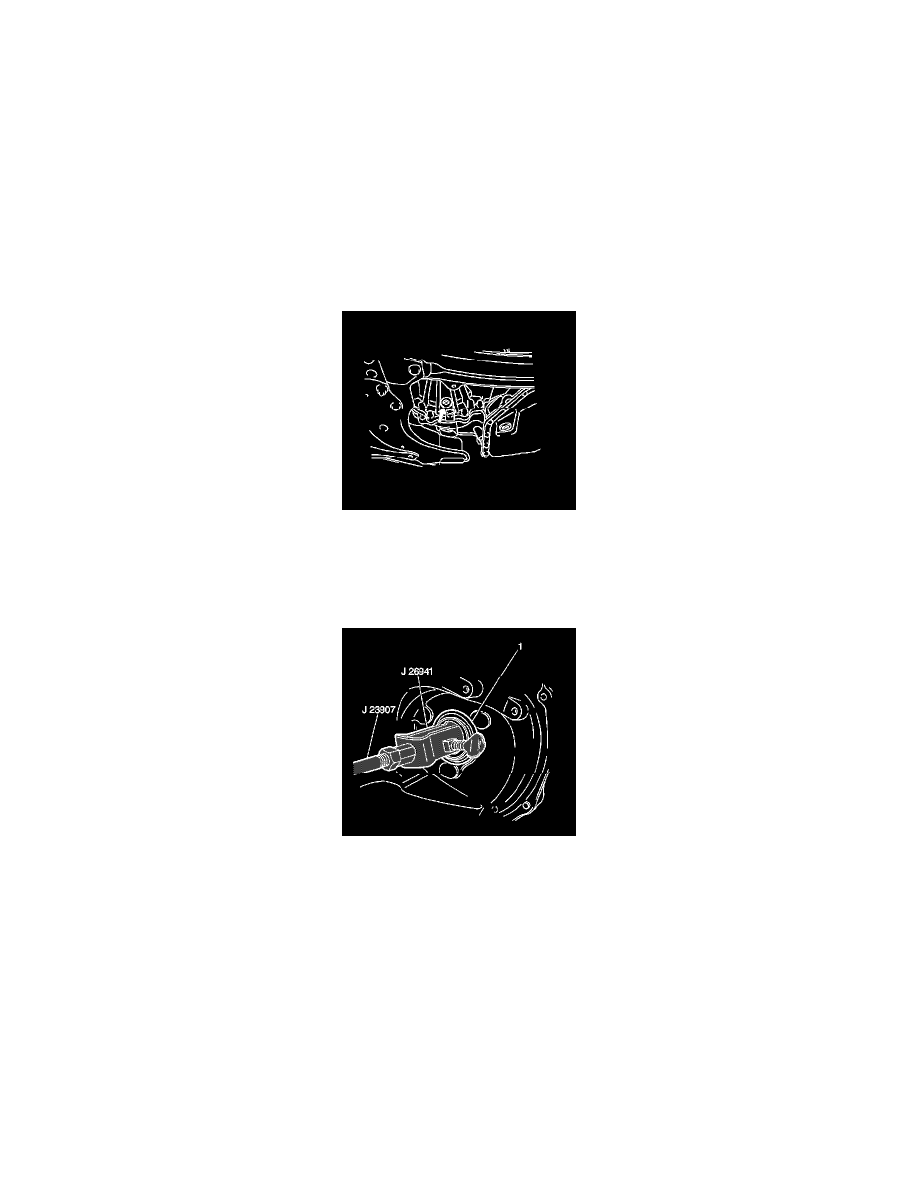
J 26941 Pinion Shaft and Countergear Bearing Cup Remover
-
J 23907 Slide Hammer
-
J 36850 Transmission Assembly Lubricant
-
J 42176 Universal Driver Handle
-
J 42176-10 Driver Handle Extension
-
J 46007 Wheel Drive Axle Seal Installer
Removal Procedure
1. Raise and suitably support the vehicle. Refer to Vehicle Lifting.
2. Place a drain pan or suitable container under the transaxle differential drain plug.
3. Remove the differential drain plug from the transaxle and drain the transaxle fluid.
4. To service the left oil seal, remove the left splash shield from the vehicle.
5. To service the right oil seal, remove the right splash shield from the vehicle.
6. Remove the front tire and wheel.
7. Remove the drive axle from the vehicle.
8. Remove the drive axle shaft seal (1) from the transaxle using J 26941 with J 23907.
9. Inspect the differential-side joint surface of the drive axle assembly where the drive axle makes contact with the drive axle shaft seal. The surface
should be smooth and free of any burrs or scarring which may damage the drive axle shaft fluid seal. If damage to the differential-side joint is
evident, replace the differential-side joint.
Installation Procedure
1. Using J 46007 and J 42176-10 and J 42176, install the new drive axle shaft seal into the transaxle.
2. Apply J 36850 to the new drive axle shaft seal lip.
3. Install the drive axle into the vehicle.
4. Install the front tire and wheel.
5. Install the left splash shield on the vehicle, if removed.
6. Install the right splash shield on the vehicle, if removed.