
Vibe FWD L4-2.4L (2009)
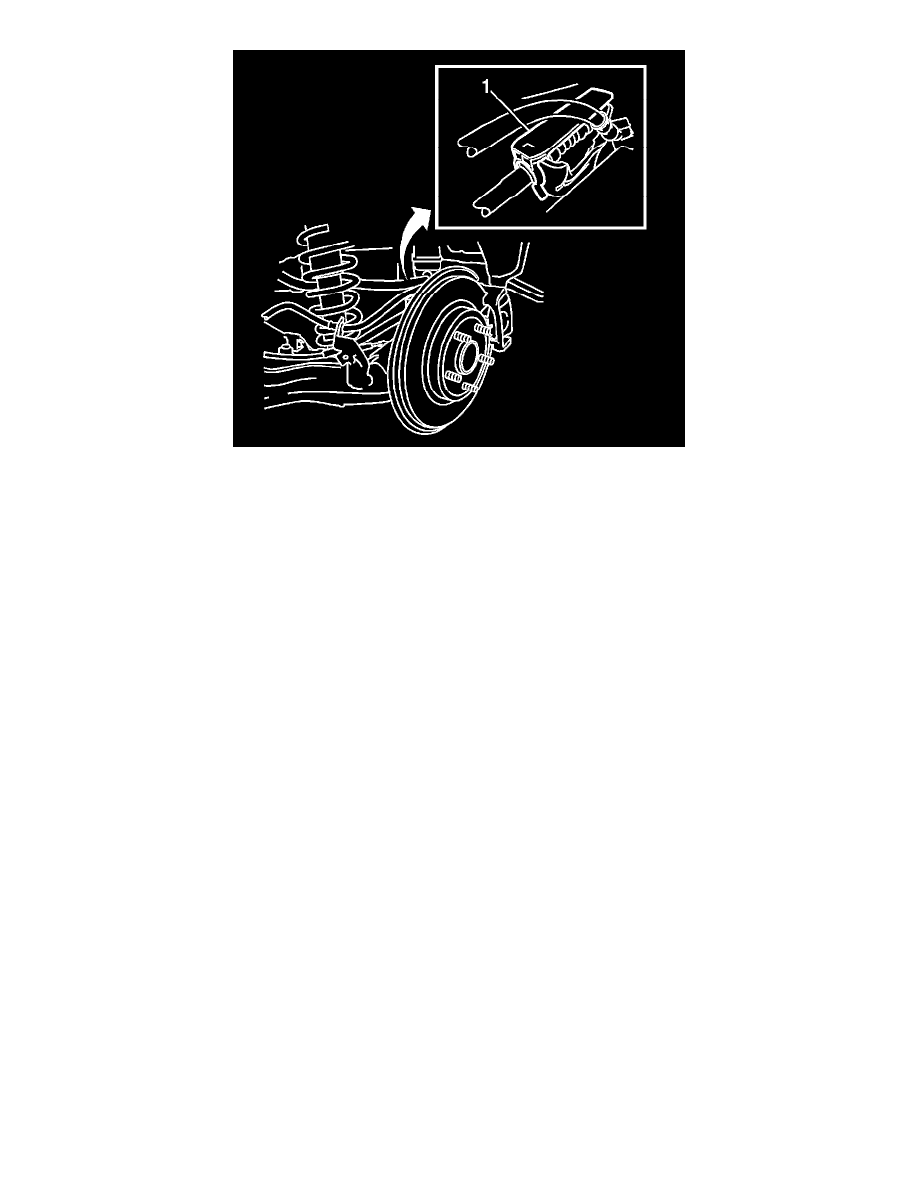
14. Install the park brake lever protector (1) to the rear park brake cable.
15. Install the rear tire and wheel assembly. Refer to Tire and Wheel Removal and Installation (See: Maintenance/Wheels and Tires/Service and
Repair).
16. Lower the vehicle.
17. Fill the master cylinder reservoir. Refer to Master Cylinder Reservoir Filling (See: Brake Master Cylinder/Service and Repair/Procedures/Master
Cylinder Reservoir Filling).
Warning
Do not move the vehicle until a firm brake pedal is obtained. Failure to obtain a firm pedal before moving vehicle may result in personal injury.
18. With the engine OFF, gradually apply and release the brake pedal several times in order to position the caliper pistons and the brake pads.
19. Bleed the brake system. Refer to Hydraulic Brake System Bleeding (See: Brake Bleeding/Service and Repair).
20. Adjust the park brake system. Refer to Parking Brake Adjustment (All Wheel Drive and GT) (See: Parking Brake System/Adjustments)Parking
Brake Adjustment (Except All Wheel Drive and GT) (See: Parking Brake System/Adjustments).
Front Brake Caliper Hardware Replacement
Front Brake Caliper Hardware Replacement (2.4L Engine)
Removal Procedure
1. Remove the following components. Refer to Front Disc Brake Pads Replacement (1.8L Engine) (See: Disc Brake System/Brake Pad/Service and
Repair/Front Disc Brake Pads Replacement)Front Disc Brake Pads Replacement (2.4L Engine) (See: Disc Brake System/Brake Pad/Service and
Repair/Front Disc Brake Pads Replacement).
*
The caliper bolts
*
The brake pads
*
The pad wear indicators
*
The insulators