Vibe FWD L4-2.4L (2009)

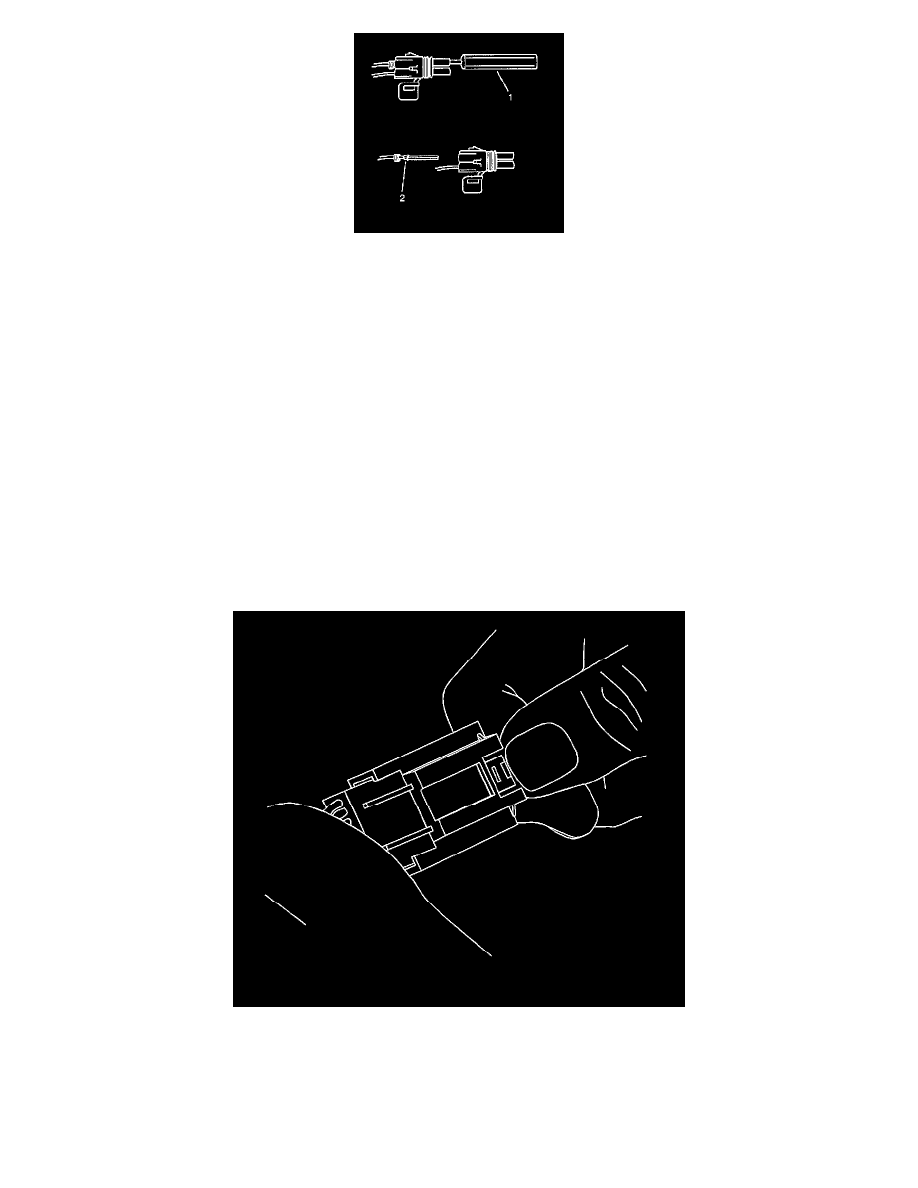
4. Insert the Weather Pack(R) terminal removal tool into the front (mating end) of the connector cavity until it rests on the cavity shoulder (1).
5. Gently pull on the wire to remove the terminal through the back of the connector (2).
Important: Never use force to remove a terminal from a connector.
6. Inspect the terminal and connector for damage. Repair as necessary. Refer to Repairing Connector Terminals (See: Testing and
Inspection/Component Tests and General Diagnostics).
7. Reform the lock tang (2) and reset terminal in connector body.
8. Close secondary locks and join connector halves.
9. Verify that circuit is complete and working satisfactorily.
10. Perform system check.
Yazaki Connectors (16-Way)
Yazaki Connectors (16-Way)
Special Tools
J-38125 Terminal Repair Kit
Removal Procedure
1. While depressing the lock, pull the two connector halves apart.
Note: The TPA is fragile and may break if not done carefully.
2. Use a small flat-blade tool to very carefully push the terminal position assurance (TPA) towards the face of the connector on both sides of the
connector.
