
Vibe FWD L4-2.4L (2009)
10. Use the jack in order to lower the crossmember.
Note: If you are replacing the components on the crossmember, continue with this procedure.
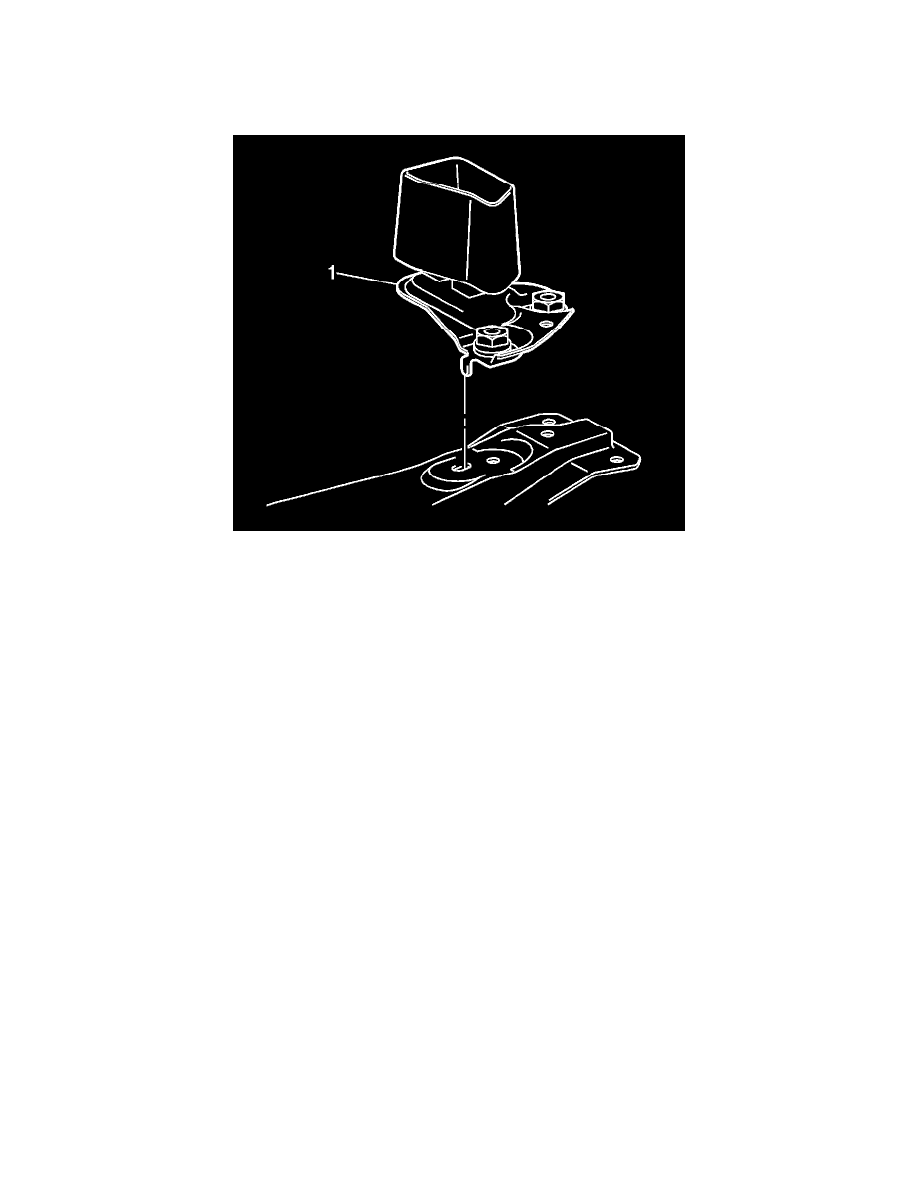
11. Remove the 2 bolts and the trans support from the crossmember.
12. Remove the front suspension dynamic damper (1).
13. Remove the 2 control arms. Refer to Lower Control Arm Replacement (See: Control Arm/Service and Repair).
14. Remove the following components from the crossmember. Refer to Stabilizer Shaft Replacement (See: Stabilizer Bar/Service and Repair).
*
The 2 stabilizer shaft link nuts
*
The 2 stabilizer shaft links
*
The 4 stabilizer clamp bolts
*
The 2 stabilizer clamps
*
The 2 stabilizer shaft insulators
*
The stabilizer shaft
Installation Procedure
1. Install the following components to the crossmember. Refer to Stabilizer Shaft Replacement (See: Stabilizer Bar/Service and Repair).
*
The 2 stabilizer shaft link nuts
*
The 2 stabilizer shaft links
*
The 4 stabilizer clamp bolts
*
The 2 stabilizer clamps
*
The 2 stabilizer shaft insulators
*
The stabilizer shaft
2. Install the steering gear. Refer to Steering Gear Replacement (Front Wheel Drive) (See: Steering/Steering Gear/Service and Repair)Steering Gear
Replacement (All Wheel Drive) (See: Steering/Steering Gear/Service and Repair).