
Vibe FWD L4-2.4L (2009)
Note: Ensure that the dress cover and connector body are both in the released position before reassembling. Failure to do so may cause damage to the
connector and component.
Use the appropriate terminal and follow the instructions in the J-38125 .
Location of the terminal in the repair tray and the proper crimp tool can be found in the appropriate connector end view.
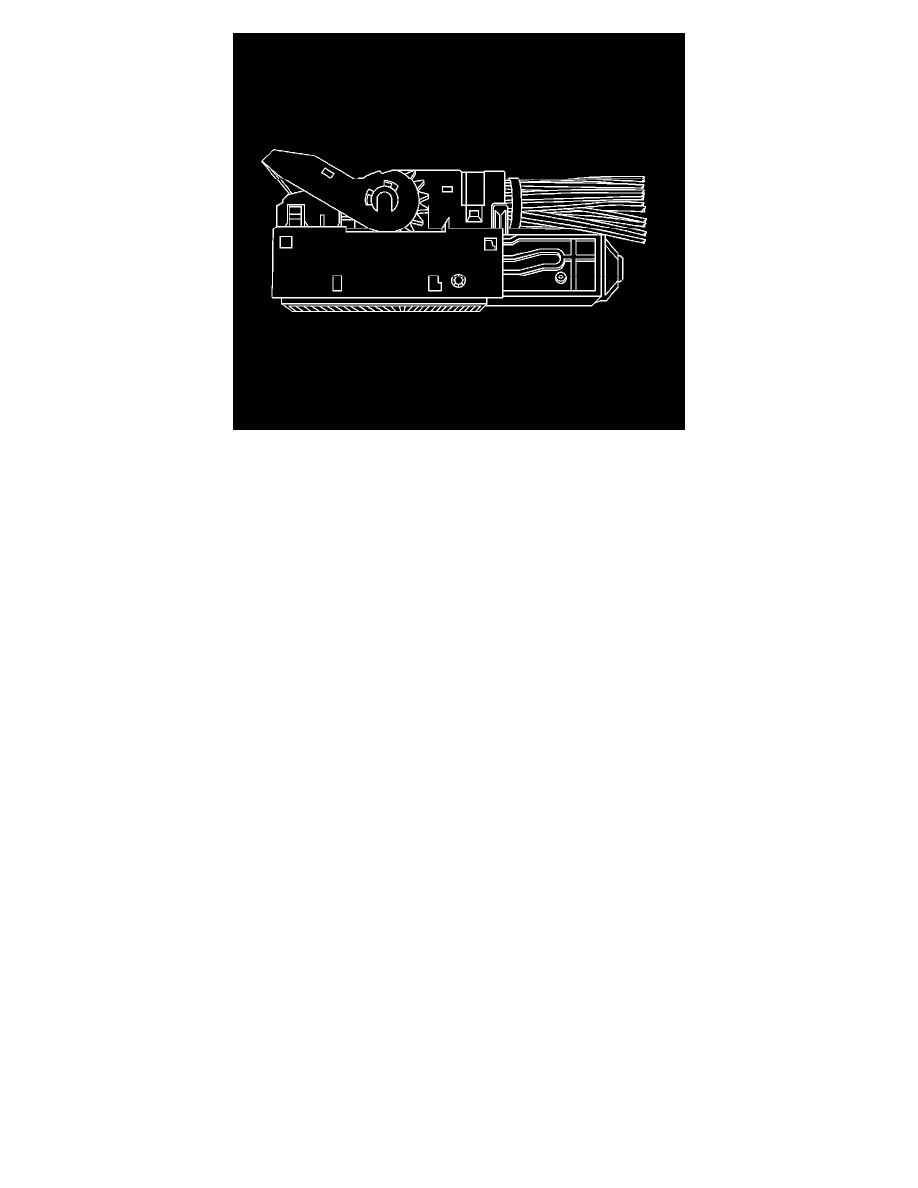
Connector Position Assurance Locks
Connector Position Assurance Locks
The connector position assurance (CPA) is a small plastic insert that fits through the locking tabs of the connector. CPAs are used in various connectors
throughout the vehicle. CPAs are also used in all SIR system electrical connectors. The CPA ensures that the connector halves cannot vibrate apart. You
must have the CPA in place in order to ensure good contact between the mating terminals, of the connector.
Connector Repairs
Connector Repairs
The Connector Repairs section contains the following types of connector repair information. Using these elements together will make connector repair
faster and easier:
*
Connector Position Assurance Locks (See: Testing and Inspection/Component Tests and General Diagnostics)
*
Terminal Position Assurance Locks (See: Testing and Inspection/Component Tests and General Diagnostics)
*
Push to Seat Connectors (See: Testing and Inspection/Component Tests and General Diagnostics)
*
Pull to Seat Connectors (See: Testing and Inspection/Component Tests and General Diagnostics)
*
Weather Pack Connectors (See: Testing and Inspection/Component Tests and General Diagnostics)
*
Repairing Connector Terminals (See: Testing and Inspection/Component Tests and General Diagnostics)
Delphi Connectors (12 Way)
Delphi Connectors (12-Way)
Special Tools
J-38125 Terminal Repair Kit
Removal Procedure
Follow the steps below in order to remove terminals from the connector.