
Vibe FWD L4-2.4L (2009)
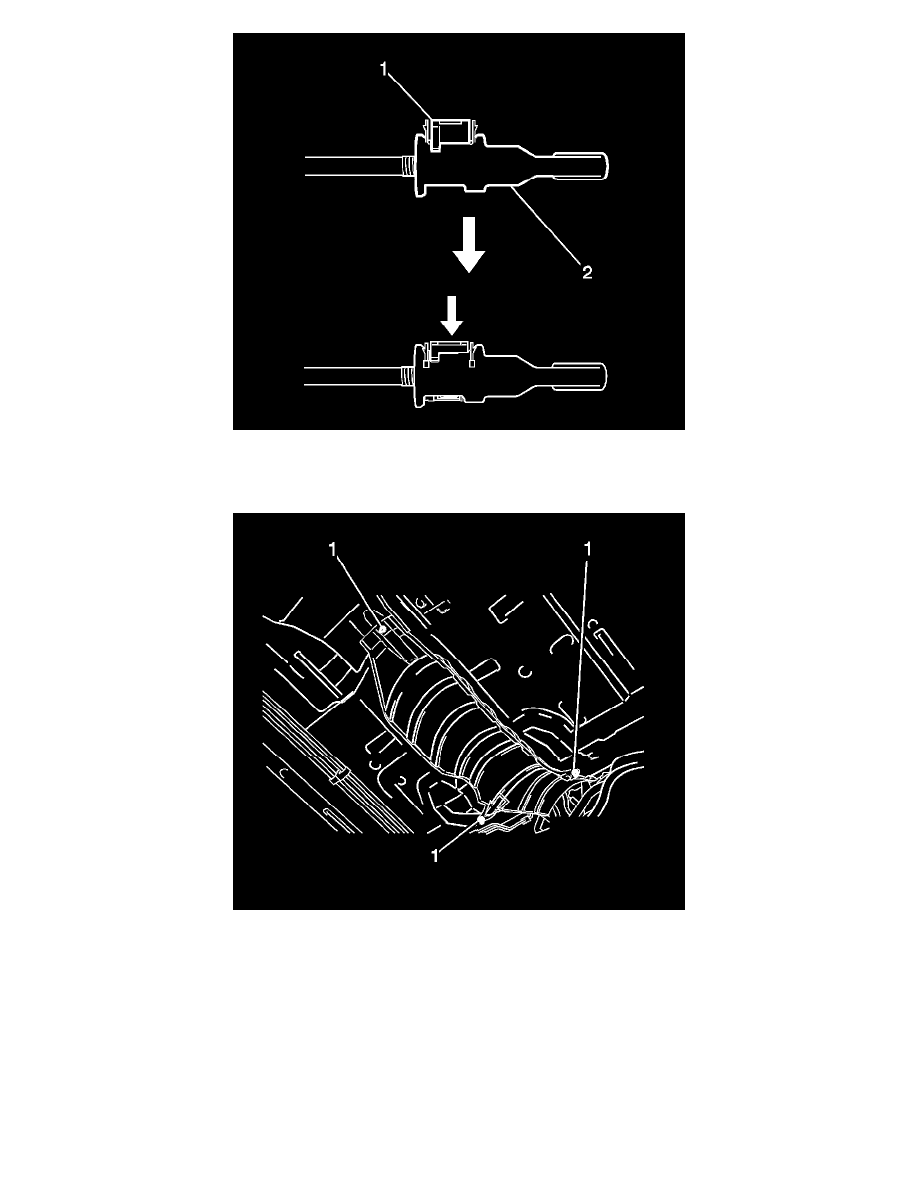
Note: Securely push in the lock piece until it locks.
11. Push the lock piece into the adjuster case (2).
12. Install the front No. 1 floor heat insulator with the nuts (1) and tighten to 6 Nm (53 lb in).
13. Install the center exhaust pipe assembly.
14. Install the air cleaner assembly.
15. Install the engine cover. Refer to Engine Cover Replacement (See: Engine, Cooling and Exhaust/Engine/Service and Repair/Removal and
Replacement/Engine Cover Replacement).
16. Install the battery tray. Refer to Battery Tray Replacement (See: Starting and Charging/Battery/Battery Tray/Service and Repair).
17. Install the battery. Refer to Battery Replacement (See: Starting and Charging/Battery/Service and Repair).
18. Install the front floor console assembly. Refer to Front Floor Console Replacement (See: Body and Frame/Interior Moulding /
Trim/Console/Service and Repair).
19. Connect the cable to the negative battery terminal. Refer to Battery Negative Cable Disconnection and Connection (See: Starting and
Charging/Battery/Battery Cable/Service and Repair).
20. Inspect the shift lever position.
21. Adjust the shift lever position.