
Vibe FWD L4-2.4L (2009)
Constant Velocity Joint Boot: Service and Repair
Front Wheel Drive Shaft Outer Joint Boot Replacement
Front Wheel Drive Shaft Outer Joint Boot Replacement
Special Tools
*
J-8059 - Snap Ring Pliers
*
J-35566 - Drive Shaft Boot Clamp Pliers
Disassembly Procedure
1. Remove the front wheel drive shaft. Refer to Front Wheel Drive Shaft Replacement - Left Side (See: Service and Repair/Front Wheel Drive Shaft
Replacement - Left) for the left side. Refer to Front Wheel Drive Shaft Replacement - Right Side (See: Service and Repair/Front Wheel Drive
Shaft Replacement - Right) for the right side.
2. Remove the front wheel drive shaft inner joint boot. Refer to Front Wheel Drive Shaft Inner Joint Boot Replacement (See: Front Wheel Drive
Shaft Inner Joint Boot Replacement).
3. Remove the large and small boot retaining clamps from the CV joint with a side cutter. Discard the boot retaining clamps.
4. Separate the halfshaft outboard boot from CV joint outer race at the large diameter.
5. Slide the boot away from the joint along the halfshaft bar.
6. Wipe the grease from the face of the CV joint inner race.
7. Remove the front wheel drive shaft dampener retaining clamp with a side cutter. Discard the retaining clamp
8. Remove the front wheel drive shaft dampener.
9. Remove the front wheel drive shaft outer joint boot.
Cleaning and Inspection Procedure
1. Check the CV joint assembly for the following items:
*
Unusual wear
*
Cracks
*
Damage
2. Clean the halfshaft bar. Use a wire brush to remove any rust in the boot mounting area (grooves).
Assembly Procedure
1. Slide the outboard boot onto the halfshaft bar and position the neck of the outboard boot in the boot groove on the halfshaft bar. The largest
groove below the sight groove on the halfshaft bar is the boot groove.
2. Place approximately half the grease from the service kit inside the outboard boot and pack the CV joint with the remaining grease.
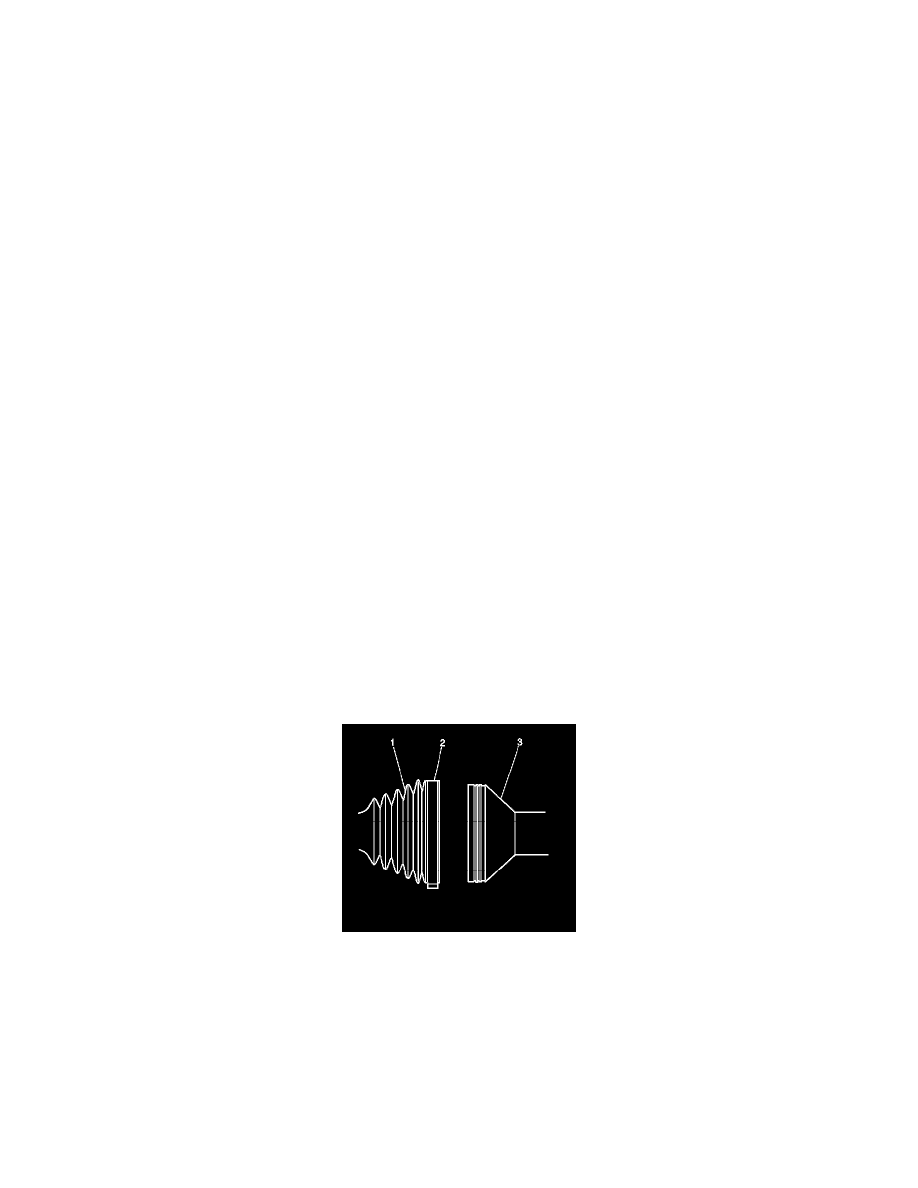
Note: The outboard boot (1) must not be dimpled, stretched or out of shape in any way. If the outboard boot (1) is not shaped correctly, equalize
the pressure in the outboard boot (1) and shape the seal properly by hand.
3. Slide the large diameter of the outboard boot (1) with the large retaining clamp (2) in place over the outside of the CV joint outer race (3) and
locate the seal lip in the groove on the CV joint outer race.