
911 Carrera 4 Cabriolet AWD F6-3600cc 3.6L SOHC (1990)
A = Installed position
NOTE: Before removing the limited-slip differential, always check the amount of wear at the plates. If plates are re-used after a period of
operation, the position of the counter-bearing (No. 1) must not be altered. If repositioning or removal of the counter-bearing is unavoidable (for
instance to rectify a leak), always measure the installed position of the counter-bearing before removing it, so that it can be installed again in the
same position.
Installation
NOTE: If the sealing gaiter is leaking, always renew the slave cylinder.
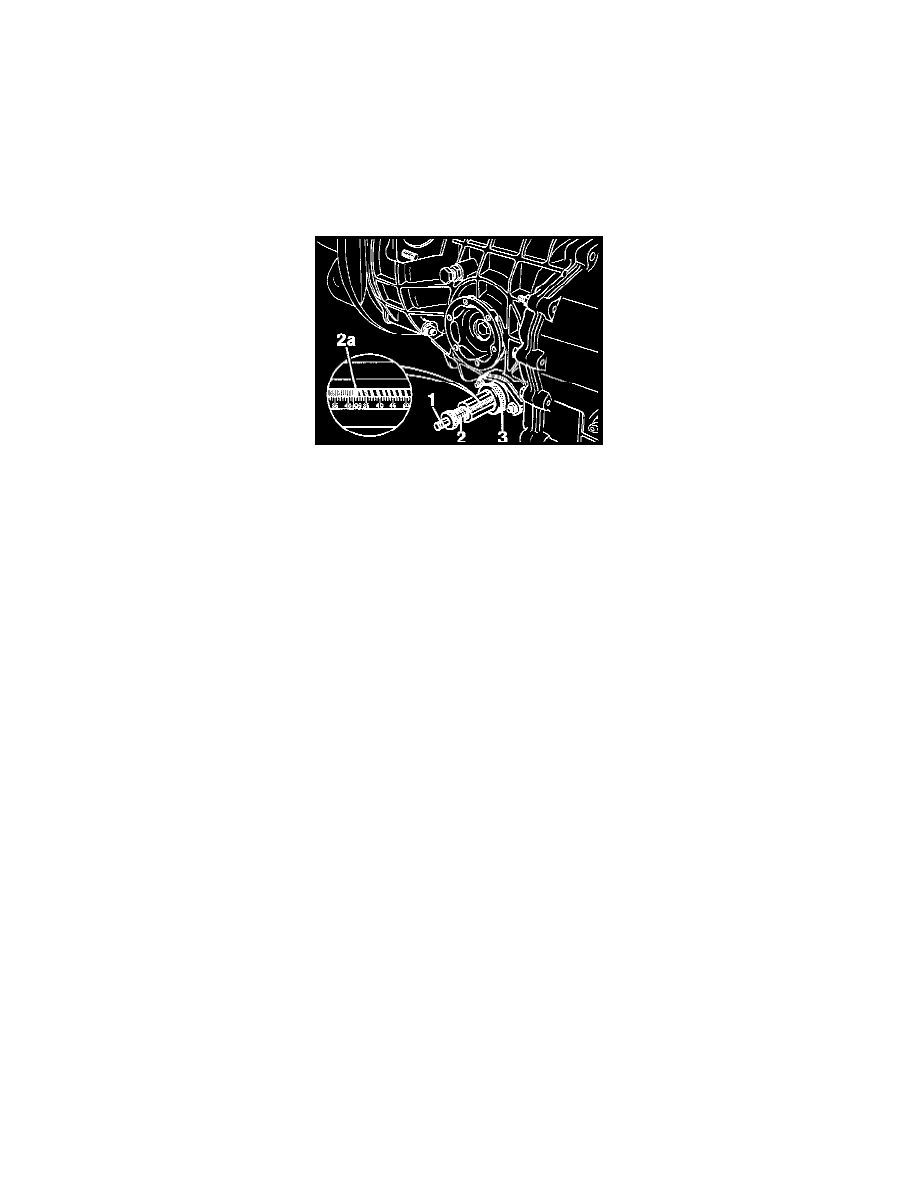
1
Spacing plunger
2
Adjusting screw
2a Measuring groove on adjusting screw
3
Knurled nut
4
Counter-bearing
5
Hex nut
6
Sealing ring
-
Adjust the counter-bearing (only necessary if the plates have been renewed).
-
The basic locking moment and the final drive set must be adjusted.
-
The flexible gaiter for the slave cylinder must be installed.
-
Slacken the measuring cylinder adjusting screw as far as possible (to make it easier to install the measuring cylinder).
-
Install the measuring cylinder (special tool 9514) on the transmission and tighten the knurled nut.
-
Adjust to a dimension of 31 mm (in the lateral locking (QS) range) with the adjusting screw on the measuring cylinder.
^
LS = Front-rear differential lock measuring range
^
OS = Lateral differential lock measuring range
-
Screw in the counter-bearing until there is no more end play at the measuring cylinder's spacing plunger.