
911 Carrera Targa F6-3600cc 3.6L SOHC (1996)
Repair 7.3: Play on the front and/or rear securing parts, left and right sides.
-
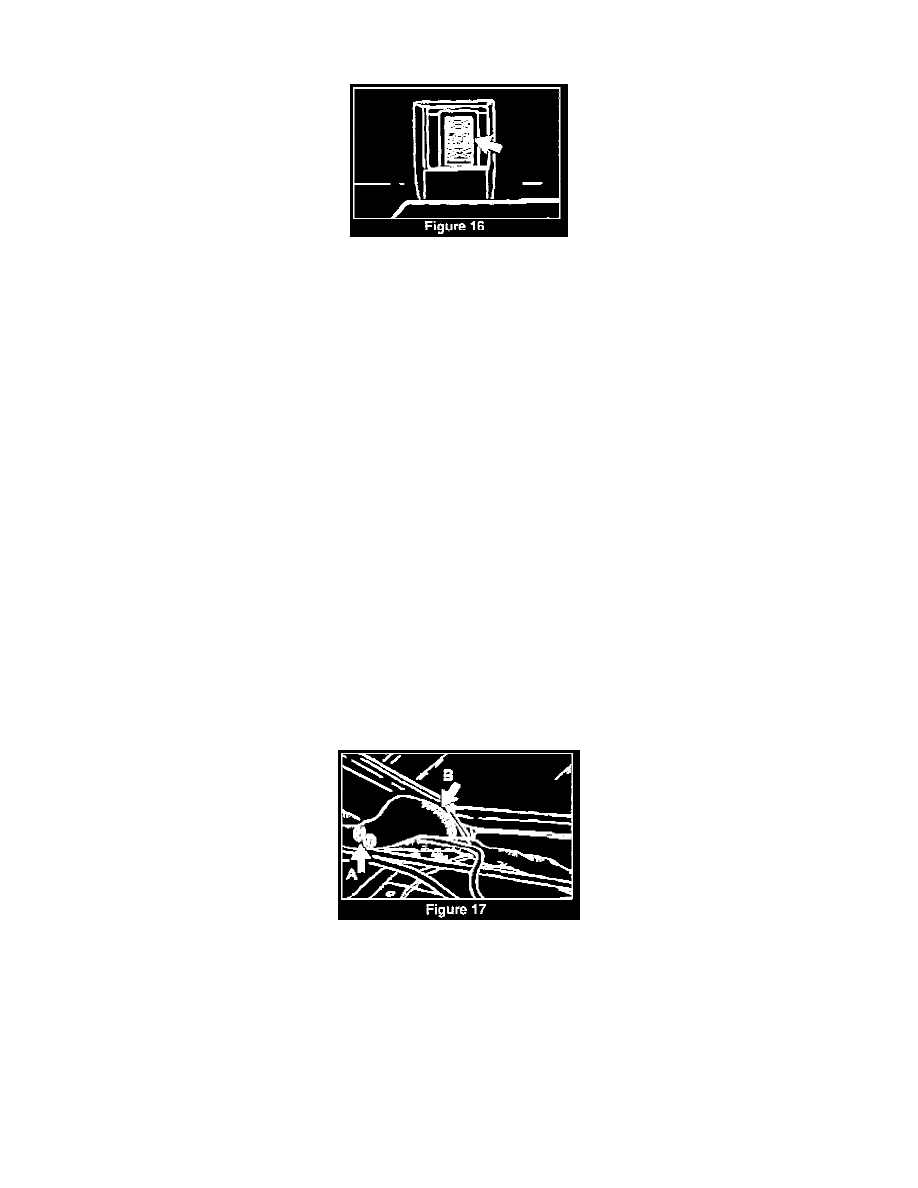
With the roof rail trim panels removed, glue felt or foam pieces, approximately 12 mm X 10 mm and 5 mm thick in the indentations of the securing
part (arrow, Figure 16). The glued in part must be approximately 1 mm taller than the securing part indentation.
Repair 7.4: The windshield frame cover touches the screw heads.
-
Check the inside of the windshield frame cover for tell-tale signs of screw heads touching.
-
Remove the washers from the concerned screws.
-
Carefully remove high spots from the inside of the cover.
Area # 8
Rattles or crackling noises from the rear inside wall trim panel area, left or right side.
Possible Cause:
-
The electrical wiring and/or the guide pipes located behind the rear wall trim panel are rattling.
-
The rear wall trim panel rattles on the roof rail trim panels, left and right sides.
Preparation:
-
Remove the rear wall trim panel.
Repair 8.1: Loose electrical wiring and/or guide pipes under the rear wall trim panel.
-
Insulate the guide pipes with foam pieces and tie loose electrical wiring securely using cable ties.
Repair 8.2: Rear wall trim panel rattles on the roof rail trim panels, left and right sides.
-
When the rear wall trim panel is removed, remove the covers for the roof rail trim panels (arrow A, Figure 17).
-
Install a foam or felt strip, approximately 50 mm X 10 mm, 2 to 3 mm thick on the top edge of the cover for the roof rail trim panel pointing toward
the guide rail (arrow B, Figure 17).
Repair # 9: Crackling noises in area of the roof rail trim strips.
Possible cause:
-
The roof rail cover strips are installed under tension. The roof rail trim strip will require replacement.
Preparation: