
9-2X F4-2.5L (2006)
Refrigerant: Testing and Inspection
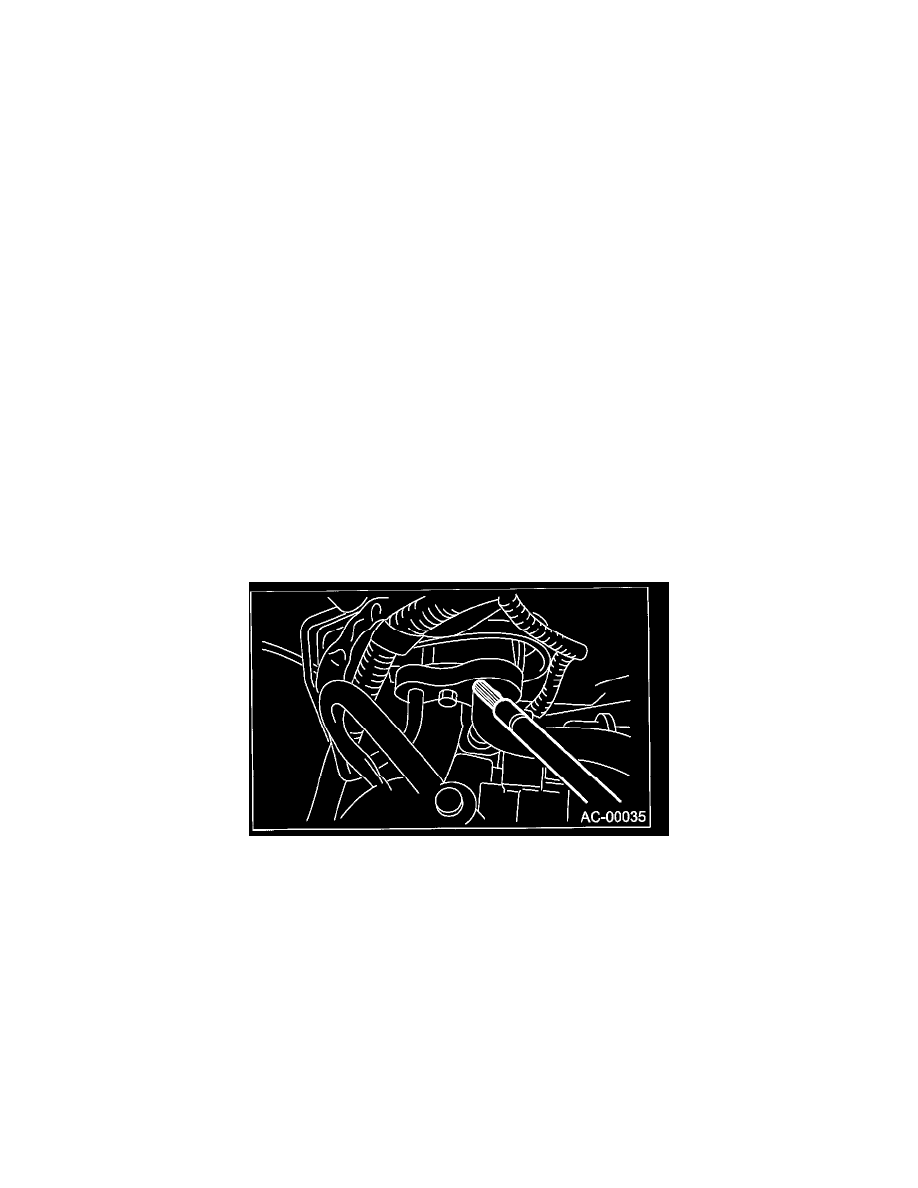
Refrigerant Leak Check
Inspection
Operate the A/C system for approx. 10 minutes, and confirm that the high-pressure side shows at least 690 kPa (7.03 kg/sq cm, 100 psi). Then stop the
engine to start the leak test.
Starting from the connection between the high-pressure pipe and evaporator, check the system for leaks along the high-pressure side through the
compressor. The following items must be checked thoroughly.
Check the joint and seam between the pressure switch (dual pressure switch) and high-pressure pipe.
Check the connections between the condenser and pipes, and welded joints on the condenser.
The leak tester may detect the oil on the condenser fins as a leak.
Check the joint between the compressor and hoses.
Check the machined area of compressor and other joints on the compressor.
Check the compressor shaft seal at the area near the center of compressor clutch pulley.
Some shaft seals show a slight amount of leakage about 3 g (0.1 oz) per year. This is not a problem.
Starting from the connection between the low-pressure pipe and evaporator, check the system leakage along the low-pressure side through the
compressor. The following items must be checked thoroughly.
-
Connection between two parts
-
Connection between the pipe and plate
Visually check the rubber area of the flexible hose for cracks.
Check the entire length of the flexible hose, especially the connection with the metal hose end.
IMPORTANT: Carefully check the external surface of hoses and tubes at approx. 25 mm (0.98 in) per second.