
9-2X F4-2.5L (2006)
5. Remove the stoppers from clutch pedal.
6. Remove the clutch pedal pad. (Non-turbo model)
ASSEMBLY
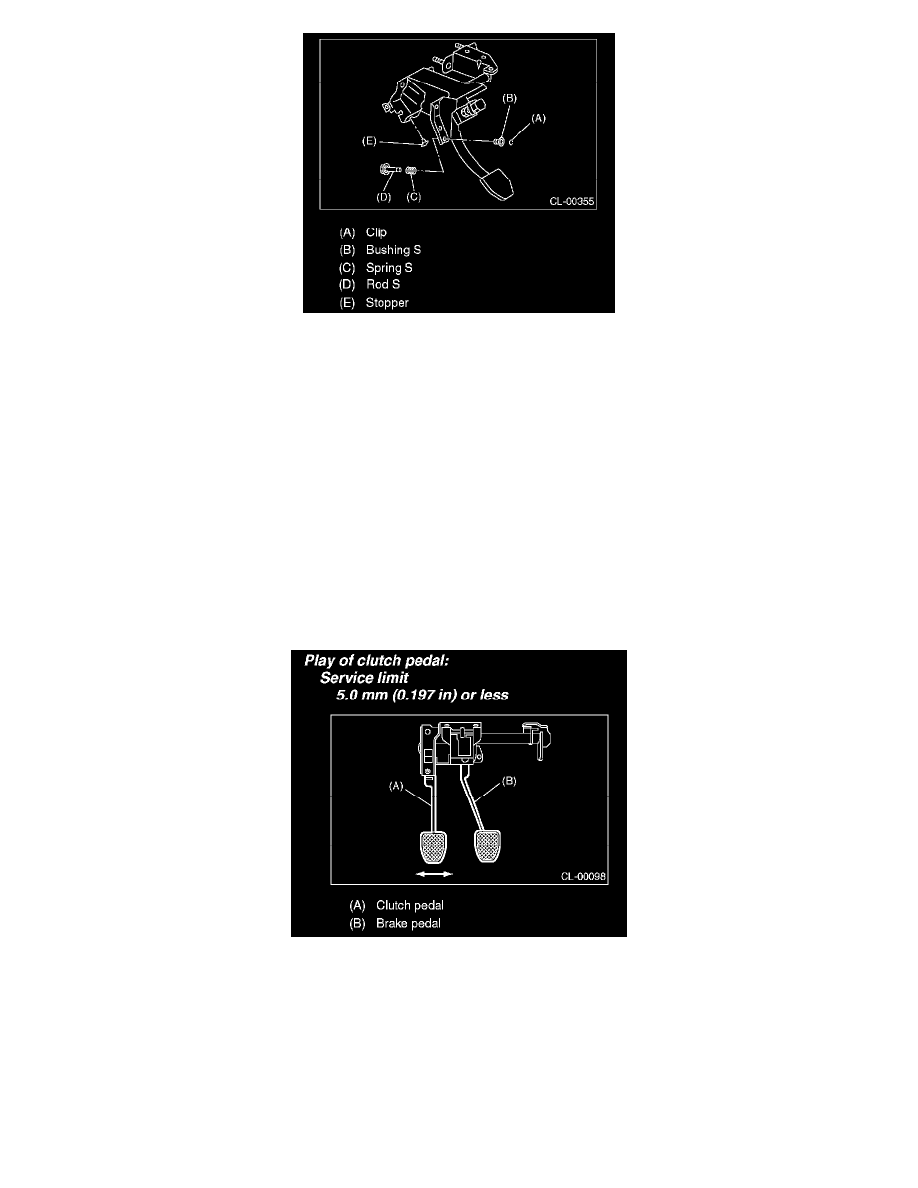
1. Attach the stopper, etc. to pedal bracket temporarily.
2. Clean inside of bores of clutch pedal and brake pedal, apply grease, and set bushings into bores.
Grease:
SUNLIGHT 2 (Part No. 003602010) or equivalent
3. Align bores of pedal bracket, clutch pedal and brake pedal, attach the brake pedal return spring, assist rods, spring, and bushing.
NOTE:
Clean up inside of bushings and apply grease before installing the spacer.
INSPECTION
Move the clutch pedal pads in the lateral direction with a force of approximately 10 N (1 kgf, 2 lbs.) to ensure pedal play is in specified range.
CAUTION:
If excessive movement is noted, replace the bushings with new ones.
ADJUSTMENT
1. Turn the lock nuts until clutch pedal full stroke length is within specifications.
CAUTION:
Do not attempt to turn the clutch switch to adjust clutch pedal full stroke length.
NOTE:
If lock nuts cannot adjust the clutch pedal full stroke length to specifications, turn the master cylinder push rod to adjust it.