
9-7X L6-4.2L (2008)
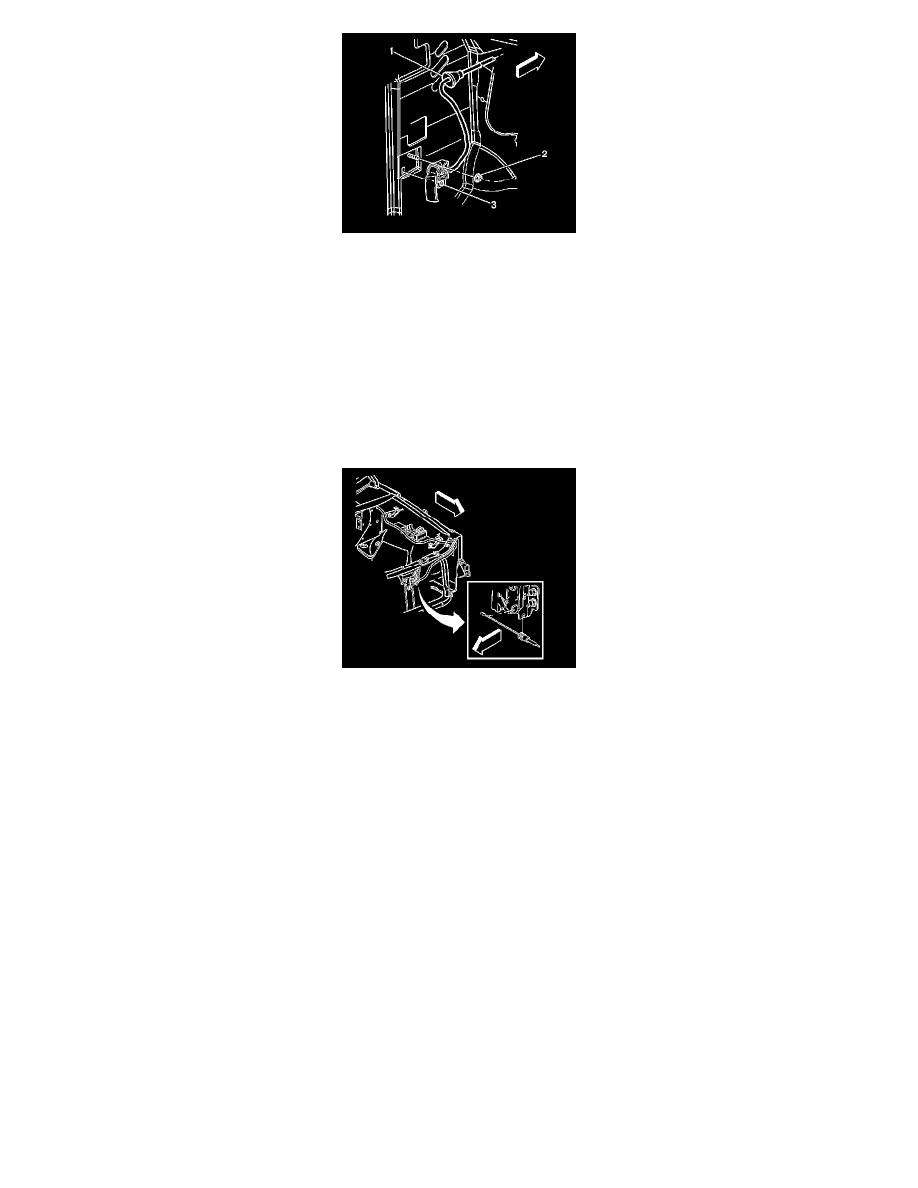
1. Attach the mechanic's wire to the exterior end of the cable.
2. Using the mechanic's wire as an aid, guide the cable underneath the sound insulation and pass the exterior portion of the cable through the cowl
panel.
3. Install the cable to the release handle (3).
4. Seat the cable grommet (1) to the cowl panel.
5. Install the release handle (3) to the left side kick panel.
Notice: Refer to Fastener Notice (See: Service Precautions/Vehicle Damage Warnings/Fastener Notice).
6. Install the nut (2) that retains the release handle (3) to the left side kick panel.
Tighten the nut to 7 Nm (62 in. lbs.).
7. Route the cable as previously noted, between the headlamp housing panel and the core support.
8. Attach the cable to the retainers on the inner fender.
9. Install the cable to the hood latch assembly.
10. Install the hood latch. Refer to Hood Primary and Secondary Latch Replacement (See: Hood Latch/Service and Repair/Hood Primary and
Secondary Latch Replacement).
11. Install the grille. Refer to Grille Replacement (See: Grille/Service and Repair).
12. Install the left closeout/insulator panel. Refer to Instrument Panel Insulator Panel Replacement - Left Side (See: Interior Moulding /
Trim/Dashboard / Instrument Panel/Service and Repair/Instrument Panel Insulator Panel Replacement - Left Side).
13. Install the hood close out filler panel. Refer to Front Bumper Upper Fascia Replacement (See: Bumper/Front Bumper/Front Bumper Cover /
Fascia/Service and Repair/Front Bumper Upper Fascia Replacement).
14. Install the left front door sill plate. Refer to Front Side Door Sill Plate Replacement (See: Interior Moulding / Trim/Scuff Plate/Service and
Repair/Front Side Door Sill Plate Replacement).
15. Inspect the hood for proper alignment.