
9-7X L6-4.2L (2008)
Notice: Refer to Fastener Notice (See: Service Precautions/Vehicle Damage Warnings/Fastener Notice).
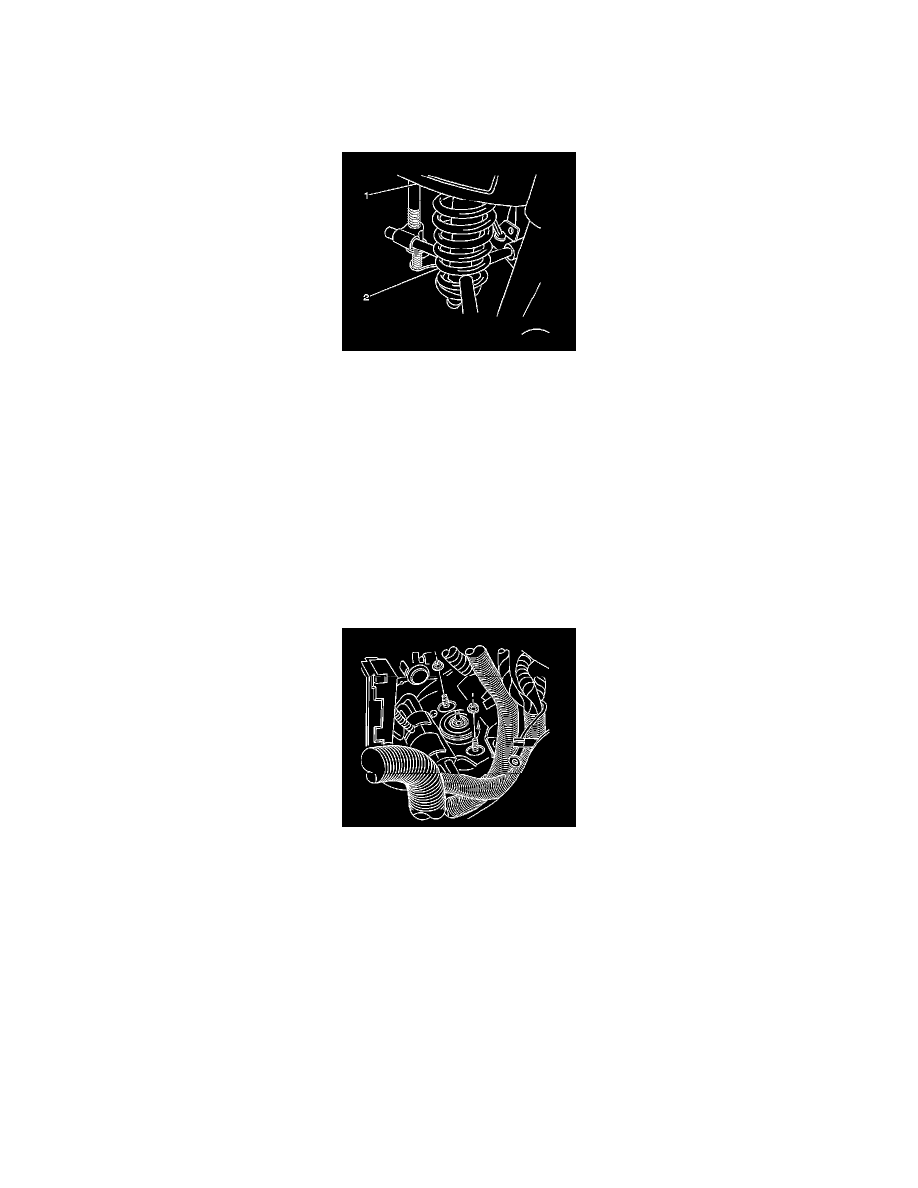
6. Install the shock absorber nut.
Tighten the shock absorber nut to 45 Nm (33 ft. lbs.).
7. Remove the shock absorber assembly (2) from the J 45400 (1).
8. Remove the pieces of heater hose from the front spring.
9. Install the shock absorber assembly in the vehicle. Refer to Shock Absorber and Spring Assembly Replacement (See: Suspension Strut / Shock
Absorber/Service and Repair/Front Suspension/Shock Absorber and Spring Assembly Replacement).
10. Install the shock module yoke to the shock absorber bolt. Refer to Front Shock Absorber Yoke Replacement (See: Suspension Strut / Shock
Absorber/Service and Repair/Front Suspension/Front Shock Absorber Yoke Replacement).
11. Install the tire and wheel. Refer to Tire and Wheel Removal and Installation (See: Wheels and Tires/Service and Repair).
12. Lower the vehicle.
Shock Absorber and Spring Assembly Replacement
Shock Absorber and Spring Assembly Replacement
Removal Procedure
1. Remove the shock module upper retaining nuts.
Notice: Use care when handling the coil springs in order to avoid chipping or scratching the coating. Damage to the coating will result in
premature failure of the coil springs.
2. Raise and support the vehicle. Refer to Lifting and Jacking the Vehicle (See: Wheels and Tires/Vehicle Lifting/Service and Repair).
3. Remove the tire and wheel. Refer to Tire and Wheel Removal and Installation (See: Wheels and Tires/Service and Repair).
4. Remove the shock module yoke from the lower control arm. Refer to Front Shock Absorber Yoke Replacement (See: Suspension Strut / Shock
Absorber/Service and Repair/Front Suspension/Front Shock Absorber Yoke Replacement).