9-7X L6-4.2L (2008)

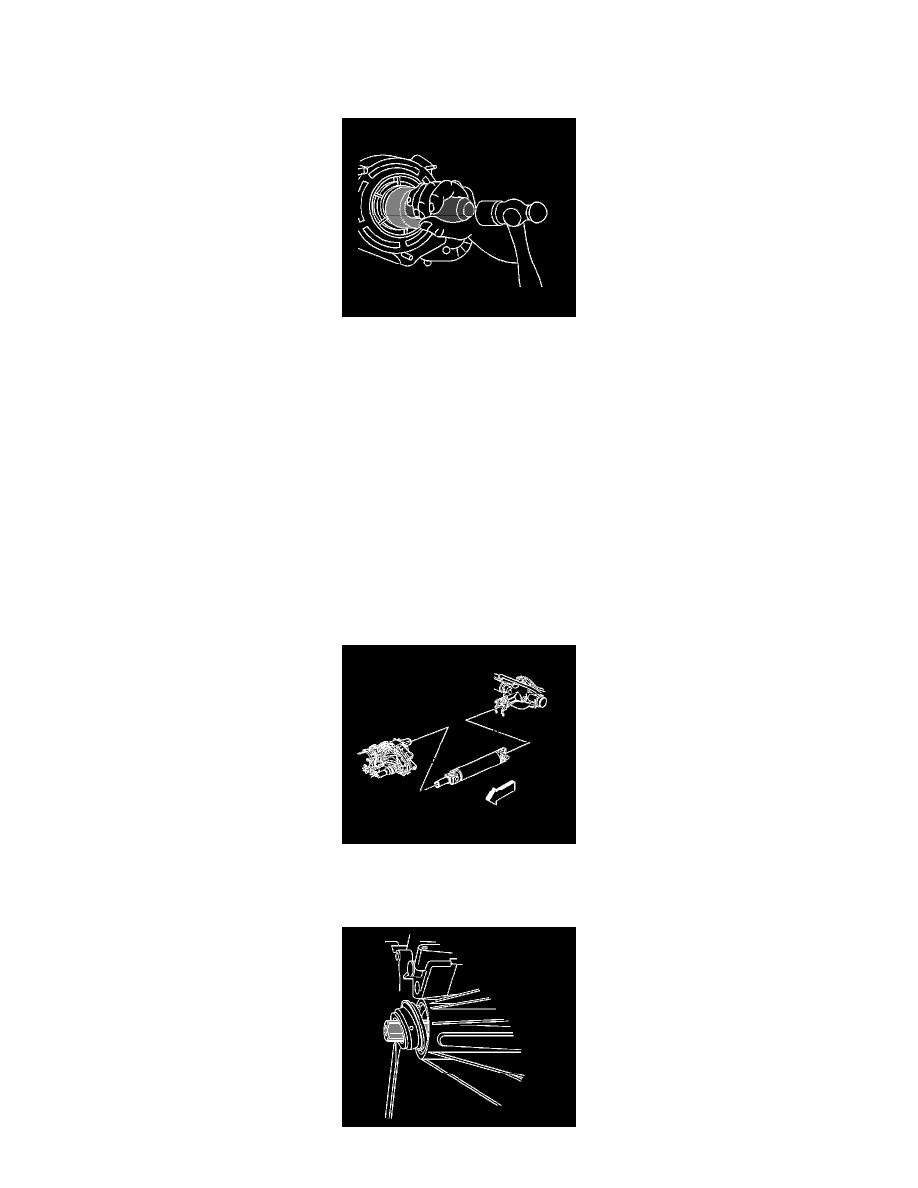
4. Pry the front input shaft seal from the transfer case.
5. Remove the front input shaft seal.
Installation Procedure
1. Align the input shaft seal on the input shaft.
2. Using the J 42738, install the input shaft seal.
3. Install the transfer case assembly. Refer to Transfer Case Assembly Replacement (See: Service and Repair/Removal and Replacement/NVG
120-NR9 - Transfer Case/Transfer Case Assembly Replacement).
4. Inspect the transfer case fluid level. Refer to Transfer Case Fluid Replacement (See: Service and Repair/Removal and Replacement/NVG
120-NR9 - Transfer Case/Transfer Case Fluid Replacement).
5. Lower the vehicle.
Rear Output Shaft Seal Replacement
Rear Output Shaft Seal Replacement
Special Tools
*
J 37668-A Output Shaft Seal Installer
*
J 45380 Transfer Case Rear Bushing Remover and Installer
Removal Procedure
1. Raise the vehicle. Refer to Lifting and Jacking the Vehicle (See: Maintenance/Vehicle Lifting/Service and Repair).
2. Remove the rear propeller shaft. Refer to Rear Propeller Shaft Replacement (See: Drive/Propeller Shafts, Bearings and Joints/Drive/Propeller
Shaft/Service and Repair/Rear Propeller Shaft Replacement).
