
9-7X V8-5.3L (2005)
6. Install the front propeller shaft. Refer to Front Propeller Shaft Replacement (See: Drive/Propeller Shafts, Bearings and Joints/Drive/Propeller
Shaft/Service and Repair/Front Propeller Shaft Replacement).
7. Inspect the transfer case fluid level. Refer to Transfer Case Fluid Replacement (See: Service and Repair/Removal and Replacement/NVG
126-NP4 - Transfer Case/Transfer Case Fluid Replacement).
8. Lower the vehicle. Refer to Lifting and Jacking the Vehicle (See: Maintenance/Vehicle Lifting/Service and Repair).
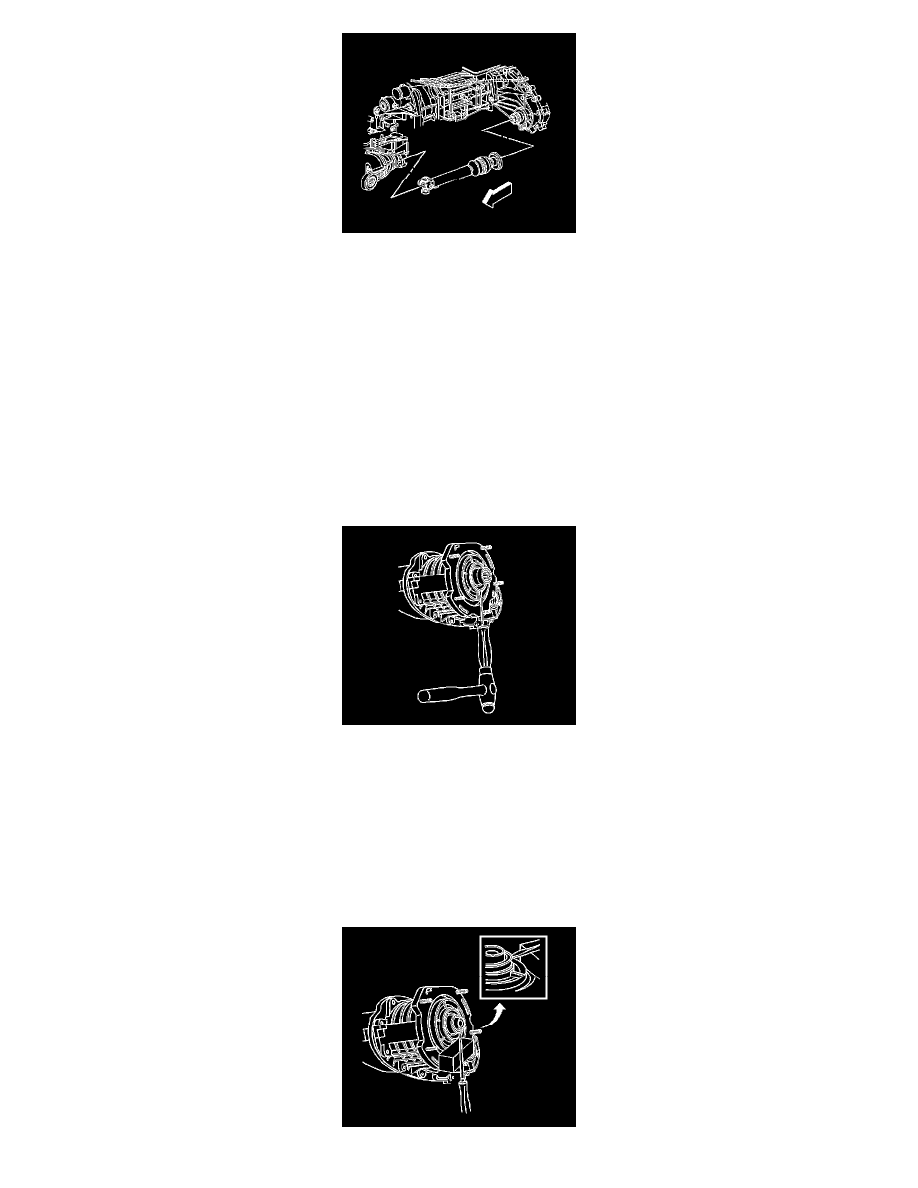
Input Shaft Seal Replacement
Input Shaft Seal Replacement
Special Tools
J 42738 Seal Installer
Removal Procedure
1. Raise the vehicle. Refer to Lifting and Jacking the Vehicle (See: Maintenance/Vehicle Lifting/Service and Repair).
2. Remove the transfer case assembly. Refer to Transfer Case Assembly Replacement (See: Service and Repair/Removal and Replacement/NVG
120-NR9 - Transfer Case/Transfer Case Assembly Replacement).
Notice: Refer to Transfer Case Seal Removal Notice.
Notice: Do not damage the sealing surfaces of the transfer cases or the shafts when prying the seals for removal. Damaging the sealing surface
may cause leakage or require replacement of the damaged component.
3. Insert a flat-bladed screw driver between the input shaft seal and the transfer case.