
900 L4-1985cc 2.0L SOHC (1988)
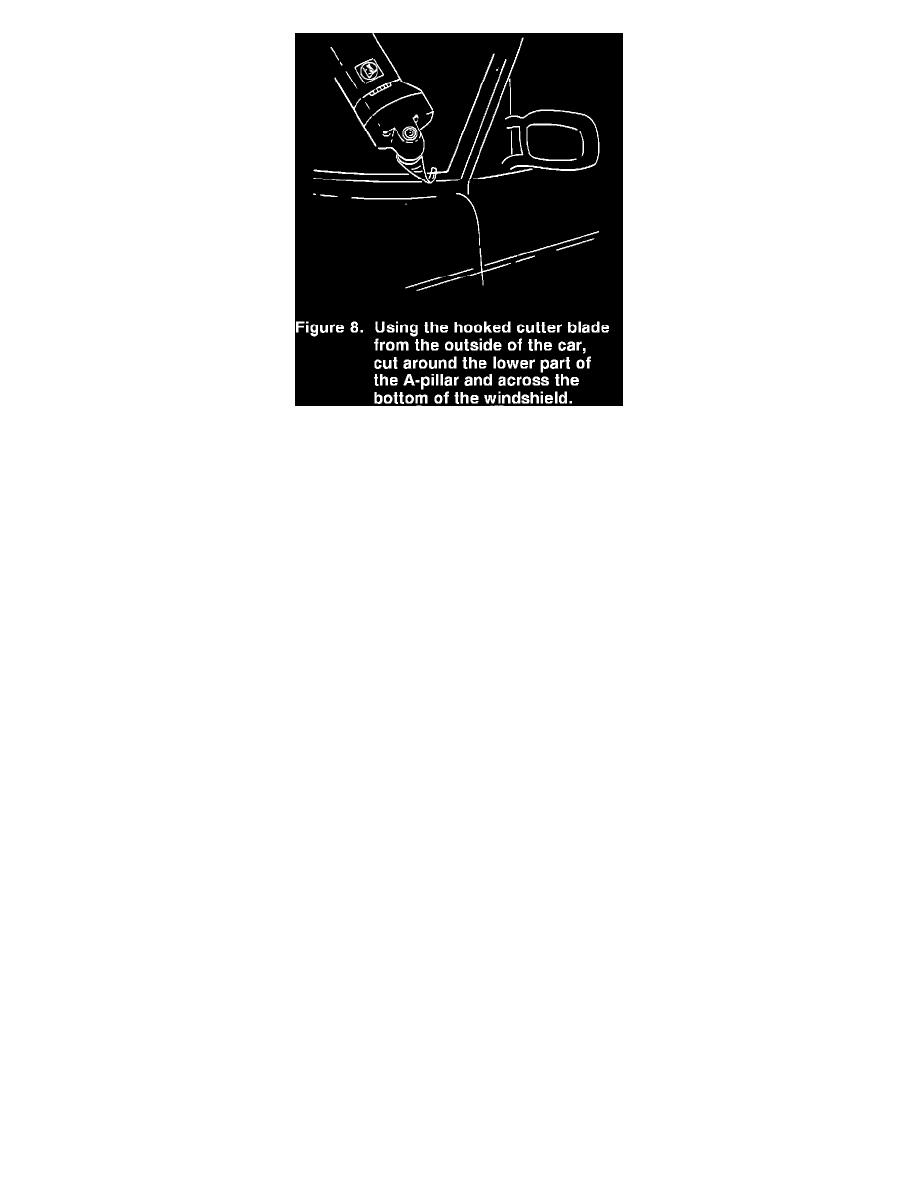
Figure 8
C.
Using a hooked cutter blade and working from the outside of the car, cut around the lower part of the A-pillars and the bottom of the
windshield (Figure 8).
D.
Remove the glass. Remove the protective tape from around the windshield frame.
Preparation and Gluing of New Windshield
1.
Using the trimming knife, cut down the bead of adhesive on the windshield flange to a maximum height of 2 mm.
NOTE
Old adhesive which adheres firmly to the windshield frame provides a good anchor for the new bead of adhesive. Any loose adhesive in the
frame channel must be removed.
2.
Touch up any paint damage caused by the cutter blade.
NOTE
To prevent rusting, it is very important that any nicks in the paint are properly covered with touch-up paint.
3.
Mask the inside of the windshield with 2 in. wide masking tape, covering the stripes to protect them from excess glue or primer.
4.
Trim any excess laminate material from the edge of the glass.
NOTE
Only the cleaning solution, primer and adhesive supplied in Saab Installation Kit, P/N 30 07 119, are tested and approved for use on Convertible
windshields.
5.
Carefully wash the edge of the windshield with the cleaning fluid provided in the installation kit. If new body panels have been installed, clean any
bare windshield frame pieces which do not have a layer of old glue. Wet a cloth with the cleaning fluid and then wipe the surfaces to be cleaned.
Use a clean, lint-free cloth to dry the cleaning fluid. Do not allow the fluid to dry naturally. Avoid touching the windshield glass or body surfaces
to be glued once they have been cleaned.