
9000 L4-1985cc 2.0L DOHC Turbo EFI (1987)
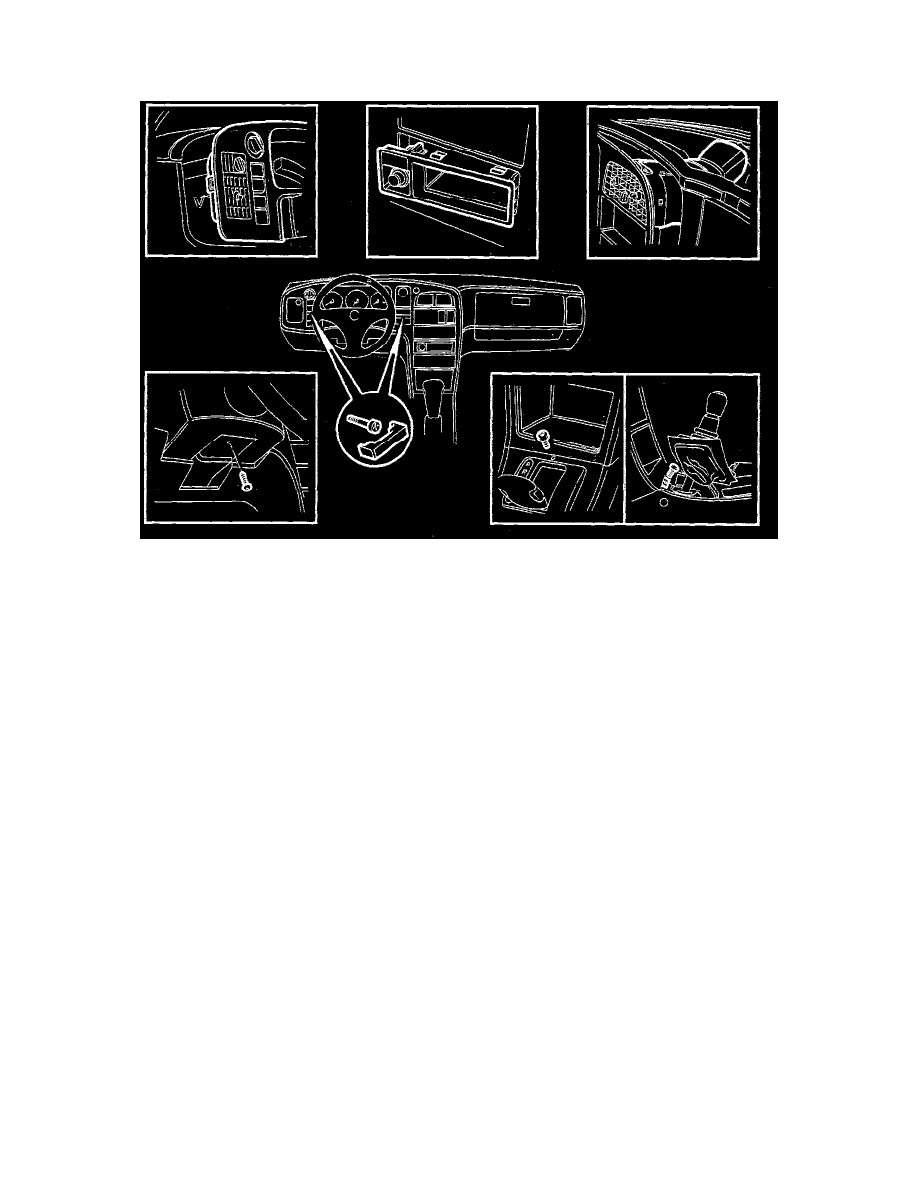
12. Place the facia in position and do up screws. Make sure that the facia is guided into the groove on the guide lug.
13. Screw the combined instrument into position.
14. Connect cables to loudspeakers.
15. Fit air ducts to left-hand and right-hand facia vents.
16. Using a cable tie, secure the wiring harness to the left-hand air duct.
17. Fit the screws securing the left-hand and right-hand side defroster ducts.
18. Fit the instrument panel facia vent to its hose.
19. Plug in electrical connectors to instrument panel.
20. Fit the center facia vent and hose.
21. Fit the instrument panel to facia.
22. Plug in connectors and fit selector switch.
23. Fit heater control panel or ACC control module.
24. Fit cover on steering column joint.
25. Fit steering wheel.
26. Lift and fit electrical distribution box.
27. Fit facia vents and glove compartment. If an air-bag has been removed.
28. Fit the top of the facia, loudspeaker grilles and A pillar trim.
29. Fit ashtray holder and ashtray.
30. Fit the panel sections to the centre console and the acoustic insulation panels under the facia.
31. Fit fan housing.
ACC Fan Control Module, Changing