
9000 L4-2290cc 2.3L DOHC Turbo EFI (1992)
3.
To remove existing captive nuts from the inner fenders, first remove the front SRS sensor(s). Make sure the ignition is turned off to avoid
generating fault codes.
Use a drill motor with a 1/2" diameter drill bit to CAREFULLY drill through the top flange of both rivet nuts. Hold the nut to ensure there is no
enlargement of the hexagonal mounting hole.
NOTE:
Drill slowly and carefully, checking your progress frequently. There is a great risk of enlarging the hexagonal mounting hole for the captive nut if you are
not careful.
4.
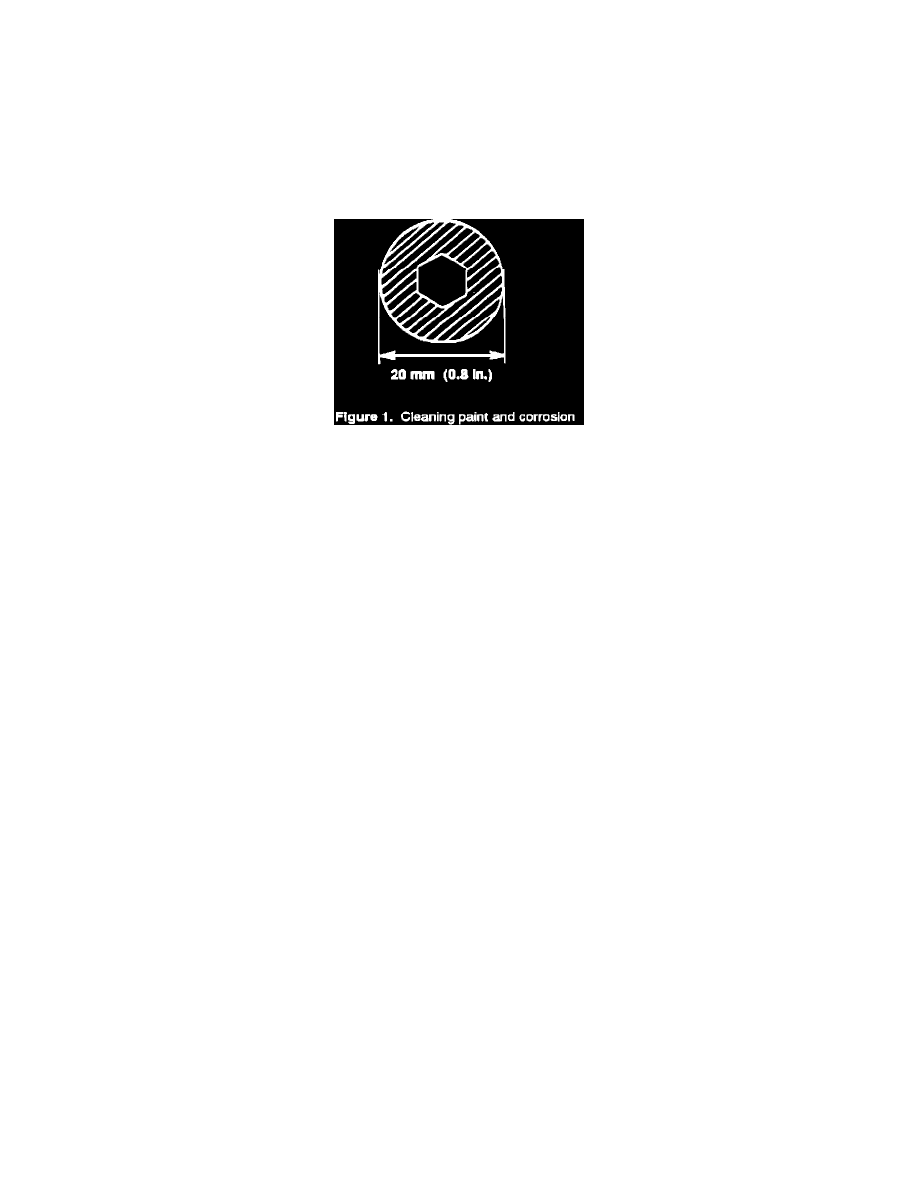
Once the nuts have been removed, clean both the paint and any corrosion from the area around both captive nut mounting points until bare, shiny
metal is present in the area shown in Figure 1.
5.
Place a new captive nut, P/N 73 99 454, in the mounting hole.
Thread a M6 bolt through a 1/2" O.D. washer and into the captive nut.
With the aid of an assistant, if necessary, hold the bottom of the captive nut hex body to keep it from turning. In order to allow room for the
captive nut to expand ("mushroom"), hold the wrench at the bottom of the nut. It is extremely important to do so as the hexagonal mounting hole
can be easily damaged if the nut rotates.