
9000 Hatchback L4-2290cc 2.3L DOHC Turbo EFI (1994)
1. Press in the temperature raising button so that "HI" is shown on the display.
2. Detach the negative lead from the battery.
3. Fully lower the glove compartment flap by bending out the link arms so that the stop is released. Pull down the glove compartment light.
4. Remove the glove compartment together with the facia vent by undoing the six screws. Using a screwdriver, carefully pry along the facia vent.
Note the position of the clip. Unplug cables to glove compartment light and light switch.
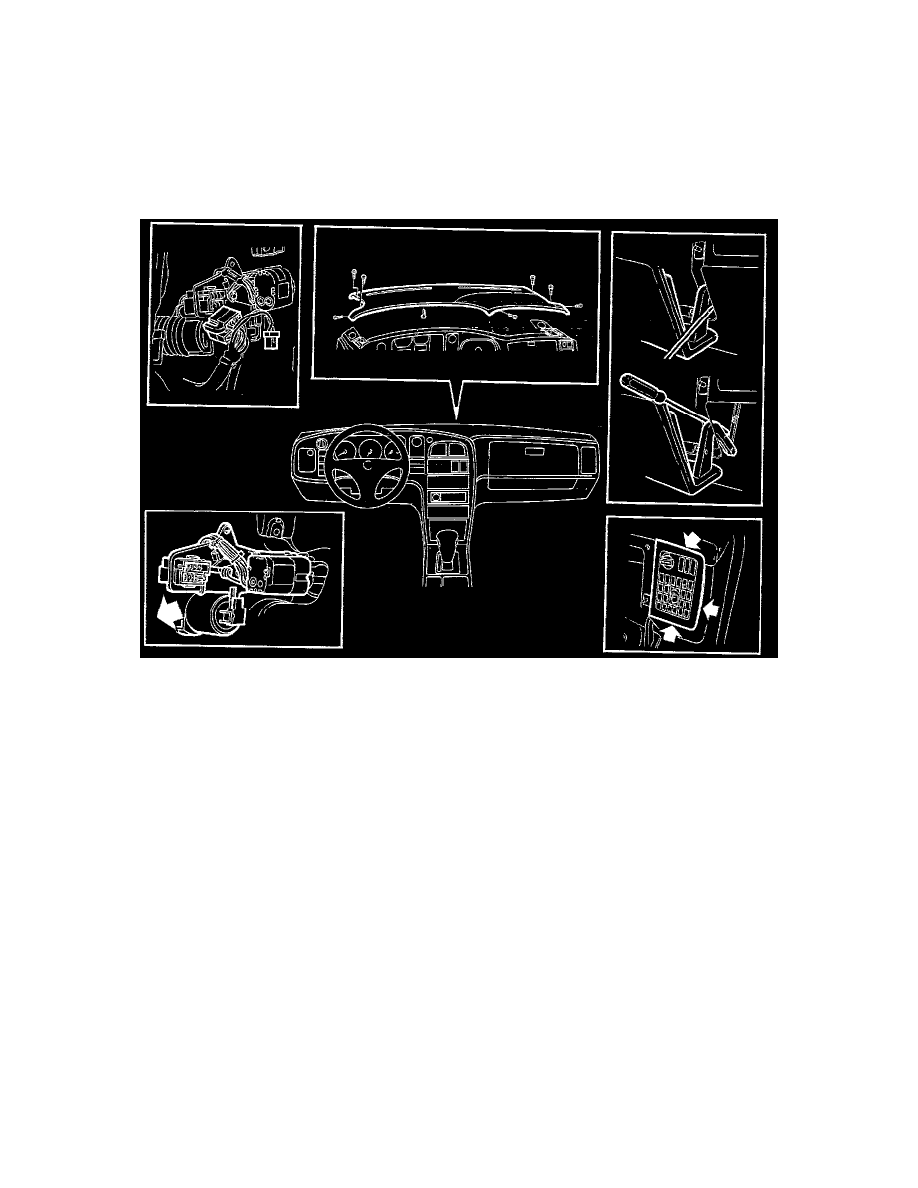
5. Undo electrical distribution box and lift down.
6. Remove the trim from the left-hand and right- hand A pillar.
7. Remove loudspeaker grilles. Remove screws from the upper part of the facia. Remove the upper part of the facia by lifting up its front edge and
pulling it into the cabin so that the clips become detached.
8. Unplug connector to servo motor.
9. Remove the clip and detach the cable from the servo motor.
10. Remove bracket screws. Pull bracket and motor back.
11. Lift out bracket with electric motors.
12. Remove the air ducts to the outer facia vent and defroster. Unscrew the windscreen defroster.
13. Remove gear from heating and ventilation unit by pressing the clips on the top of the gear to the right. At the same time, turn the gear up so that
the clips are released. Pull gear from valve.