
900 S Sedan V6-2498cc 2.5L DOHC (1995)
Action:
1.
Install the CD changer by following the instructions included with the changer bracket kit.
Note
In some cases, the holes for the front adapter bracket may not align with the holes in the slimline CD changer.
2.
If necessary, use a file to slightly elongate one of the front adapter bracket holes.
C. Replacing Old Style 6-Disc CD Changer/New Slimline Changer
C. 1994- 9000:
Parts:
CD Auto Changer (Slimline)
02 49 870
Adapter Brackets
02 49 888
Action:
1.
Remove the old-style CD changer.
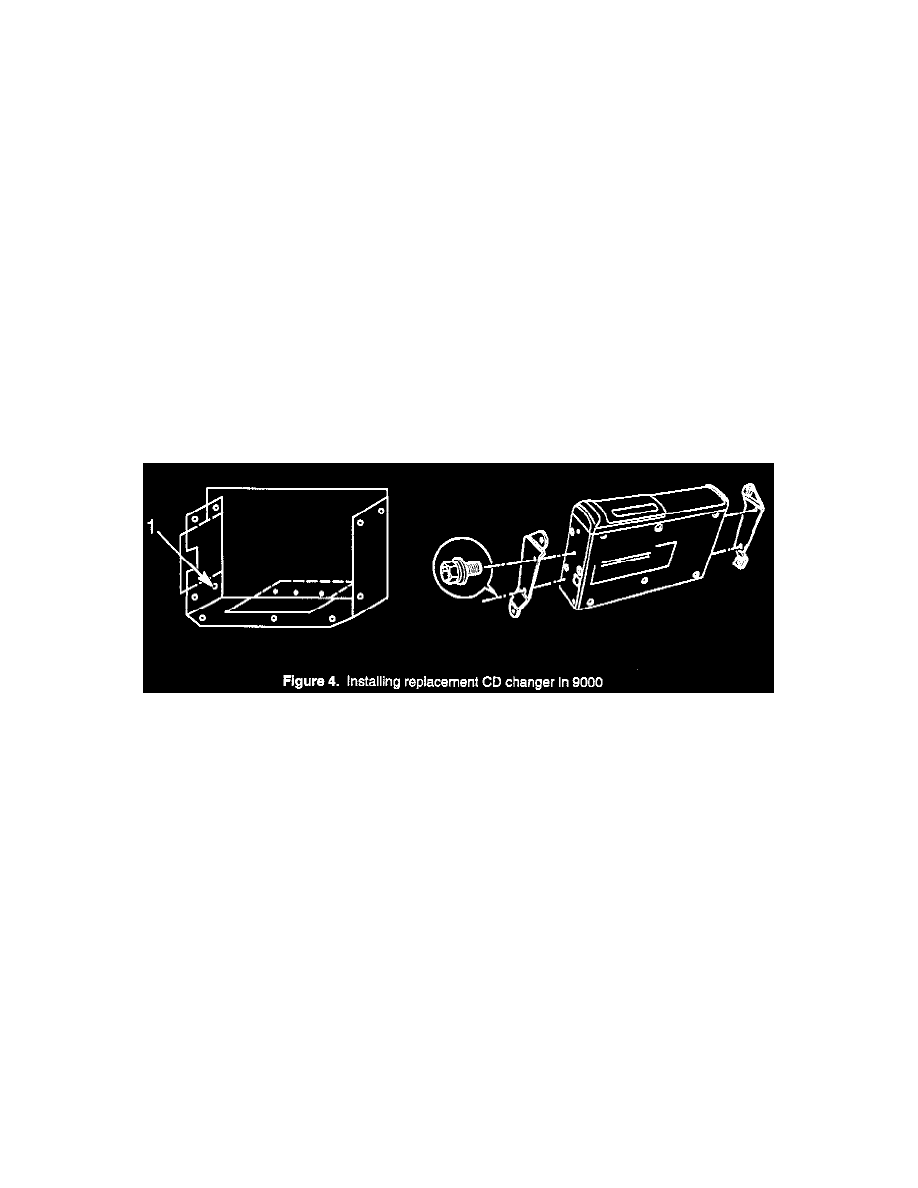
2.
Use the bolts provided with the adapter brackets to attach the adapter brackets to the slimline CD changer.
Note
In some cases, you may need to drill a fourth hole in the changer bracket for the front adapter bracket. Using the bracket as a template for the hole
location, drill a 5 mm (13/64 in.) hole in the location indicated by item 1, Figure 4.
3.
Plug in the DIN connector.
4.
Use the original bolts to attach the adapter brackets to the changer bracket.
D. First Time Installation of Accessory CD Changer
D. 1994- 9000: (Using the New Slimline Changer)
Parts:
Changer Bracket
02 47 957
CD Auto Changer (Slimline)
02 49 870
Adapter Brackets
02 49 888
Action:
1.
Use the mounting instructions included with the changer bracket to mount the bracket.