
900 SE Convertible V6-2489cc 2.5L DOHC EFI (1997)
7
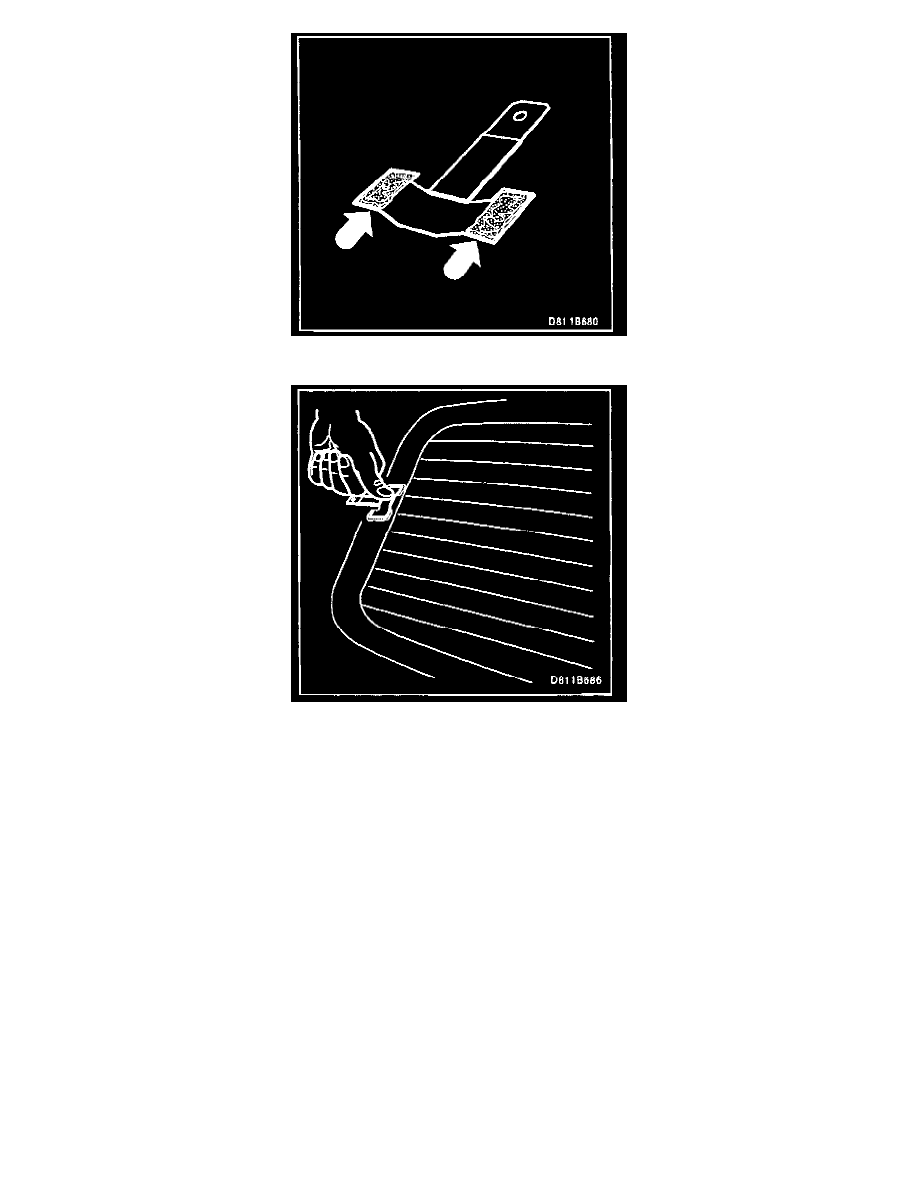
Apply the adhesive to the new connecting tab.
8
Place the new connecting tab in the same position as the old one. Make sure the adhesive flows up against the side of the connecting tab. See
illustration.
Important
It is essential that the connecting tab is not disturbed during curing.
Do not press too hard so that the tab is deformed. The temperature of the connecting tab must not exceed approx. 55 °C (131 °F) when using the
hot-air gun.
Hold the connecting tab in place for 15 minutes while heating carefully with the hot-air gun. This time applies when the ambient temperature is at
least 20°C (68°F).
9
Wait until the window and connecting tab have cooled down before refitting the removed parts and plugging in the connector for the electrically
heated rear window.
10
Fit the connector to the connecting tab.
11
Close the soft top and check that the electrically heated rear window is working.
Warranty/Time Information
Failed Object: 37166
Fault/Reason code: 35
Location code: 09
Warranty Type (US): 01