
900 SE Convertible V6-2498cc 2.5L DOHC (1995)
INSTALLATION
1. Inspect the rubber gaiter and bushes, making sure that they are intact and undamaged.
2. Screw the MacPherson strut insert in place, using special tool 89 96 670 and torque to 215 Nm (158.7 ft. lbs.).
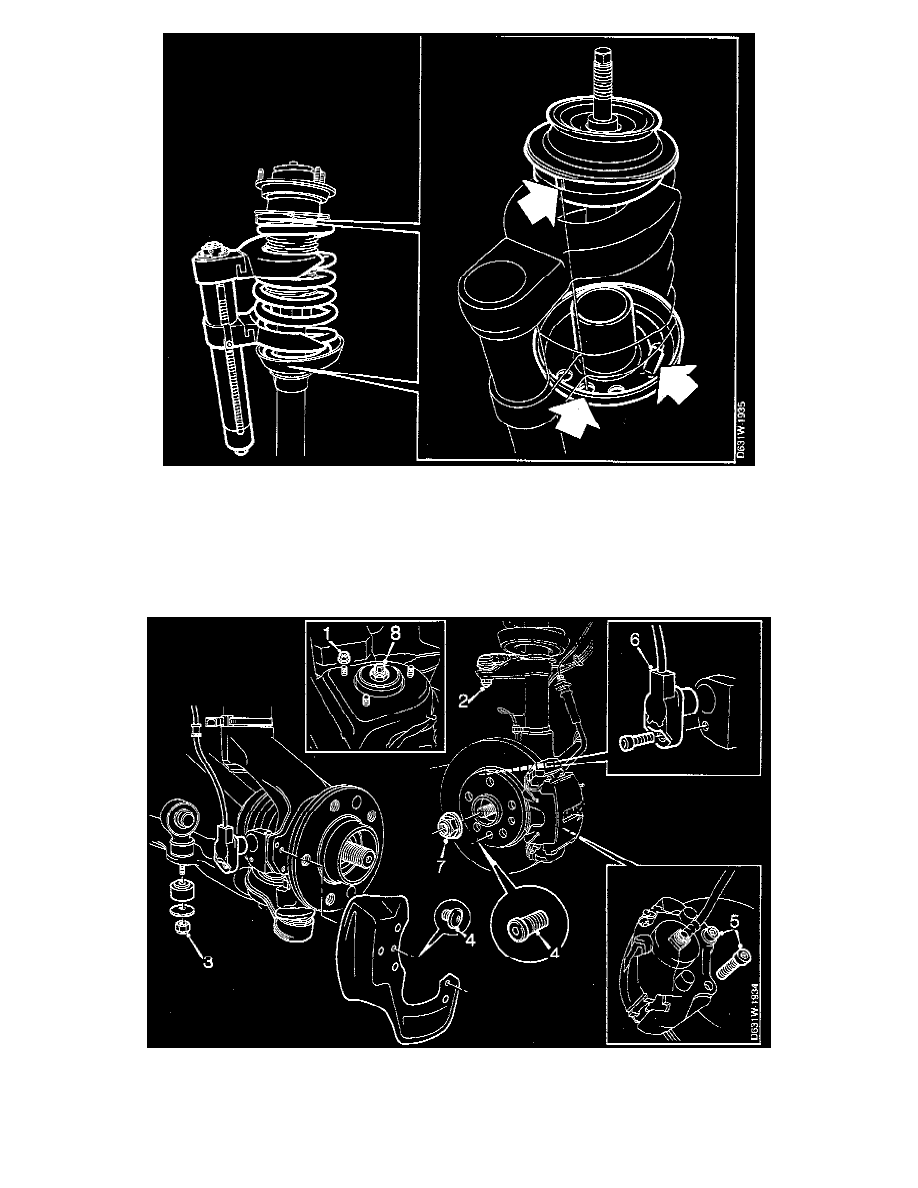
3. Install the spring. The lower end of the spring should rest against the stop in the bottom spring cup.
4. Install the spring shim (with the protruding mark as shown in the illustration above) and the mounting. Make sure that the lower washer is fitted the
right way round (with the part No. facing downwards). Grip the piston rod with a suitable tool and tighten the nut, using special tool 89 96 662.
Remove the spring compression tool (part Nos. 88 18 791 and 88 18 809).
5. Install the MacPherson strut in position on the car and tighten the three nuts at the top mounting (1). Tighten the nuts alternately to 18 Nm (13.3 ft.
lbs.).
6. Tighten the nut securing the ball joint (2) to 75 Nm (55.4 ft. lbs.).
7. Tighten the nut securing the anti-roll bar to the link arm (3) to 10 Nm (7.4 ft. lbs.).
8. Install the back-plate and brake disc (4).