
Astra L4-1.8L (2009)
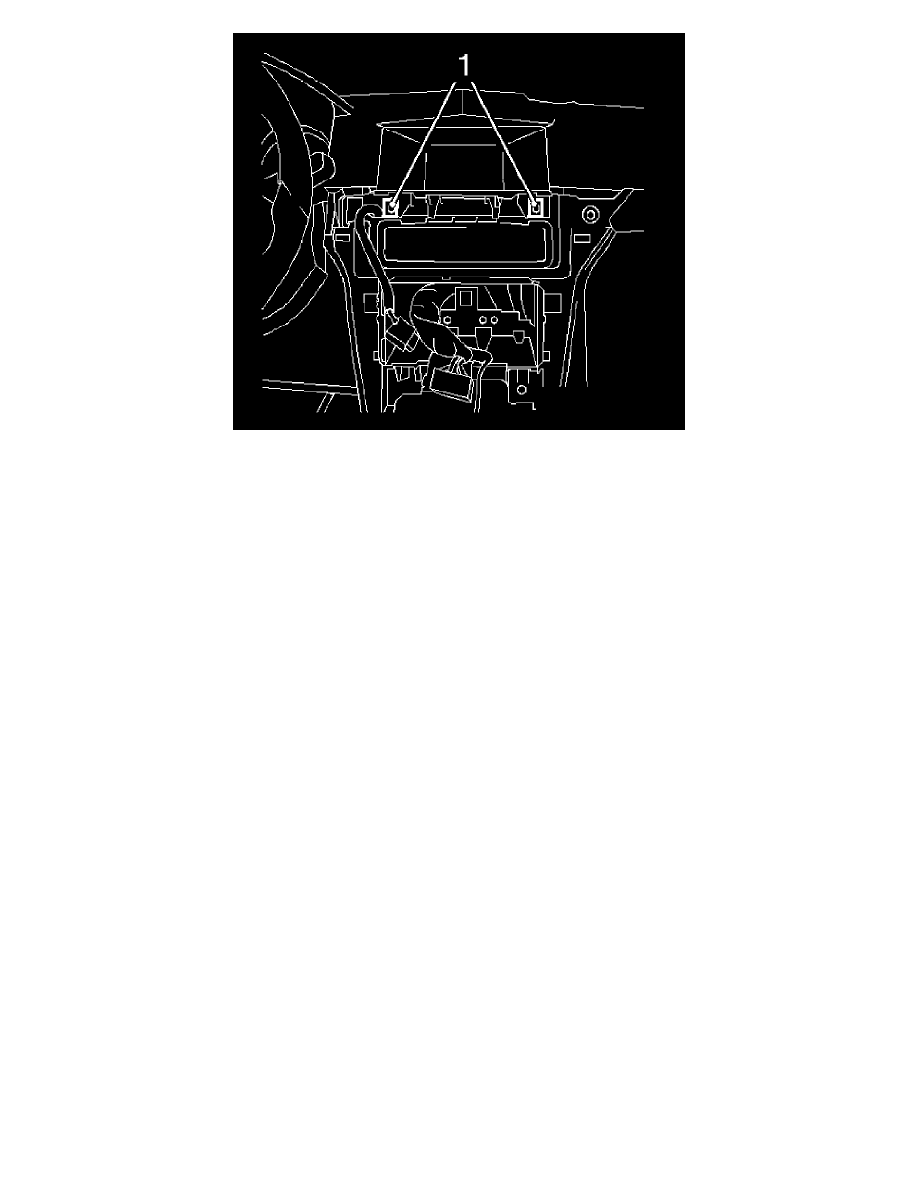
5. Remove the information display.
*
Remove the 2 bolts (1).
*
Release and disconnect the wiring harness plug.
6. Remove the information display panel.
Release the 2 clips and remove upwards.
Installation Procedure
1. Install the info display panel.
Install the 2 clips.
Caution: Refer to Fastener Caution (See: Service Precautions/Vehicle Damage Warnings/Fastener Caution).
2. Install the information display.
Connect and latch the wiring harness plug.
Tighten the 2 bolts to 2.5 Nm (22 lb in).
3. Install the panel, instrument panel padding.
*
Connect the wiring harness plug.
*
Install the 2 clips.
Tighten the 2 bolts to 2.5 Nm (22 lb in).
4. Install the heating/air conditioning control. Refer to Heater and Air Conditioning Control Replacement (See: Heating and Air
Conditioning/Control Assembly/Service and Repair).
*
Connect the 2 wiring harness plugs.
*
Install the 2 clips.
Note: The radio must engage audibly.
5. Install the radio.
Connect the 2 wiring harness plugs.
6. Connect the battery.
7. For programming procedures, refer to Control Module References (See: Testing and Inspection/Programming and Relearning).