
Astra L4-1.8L (2009)
Caution: Refer to Fastener Caution (See: Service Precautions/Vehicle Damage Warnings/Fastener Caution).
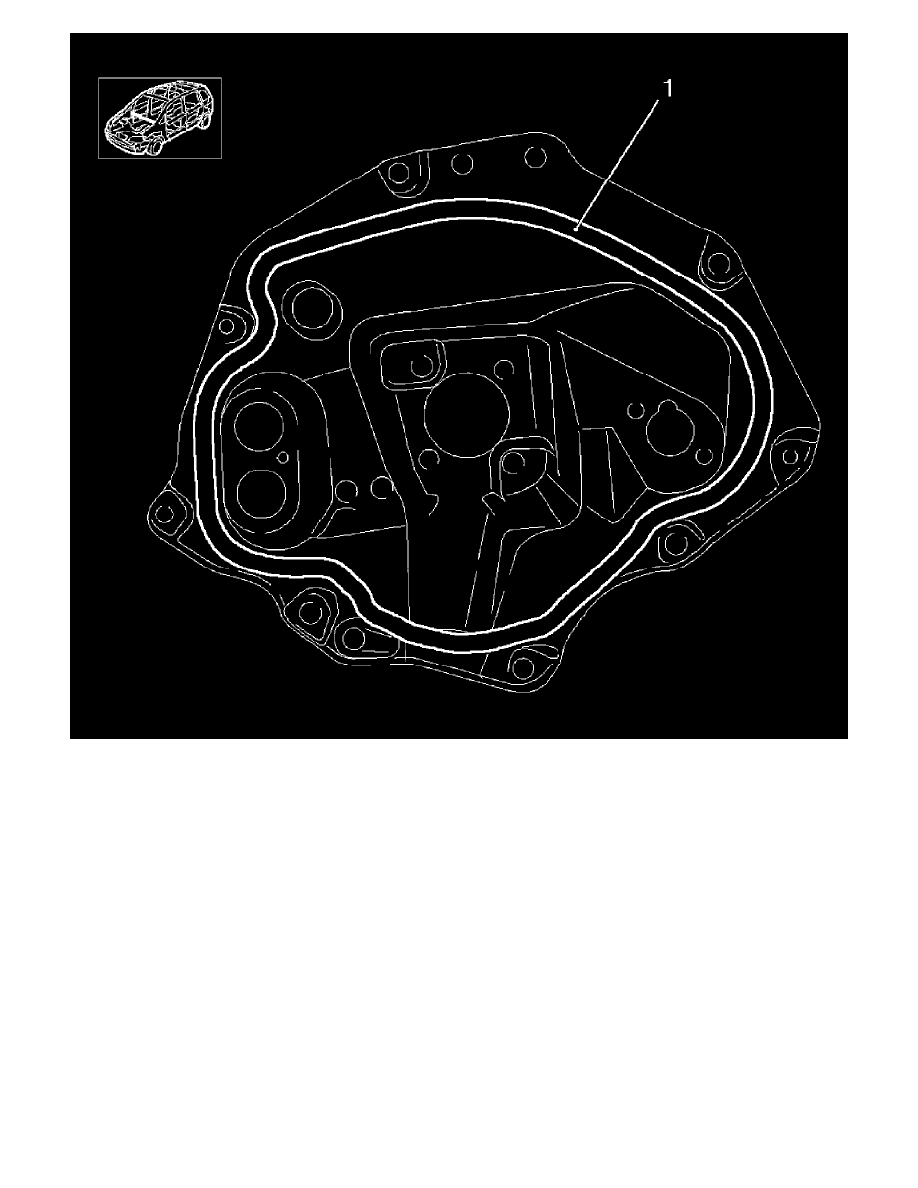
Note:
*
Apply urethane adhesive bead (1) as illustrated.
*
Use new nuts. Insert the bolt with screw locking compound.
1. Install the dash and cowl panel opening cover.
Apply urethane adhesive.
Diameter of adhesive bead 8.0 mm (0.31 in).
*
Tighten the 7 nuts to 20 Nm (15 lb ft).
*
Tighten the bolt to 20 Nm (15 lb ft).
2. Install the ABS control/hydraulic modulator bracket.
Tighten the 3 bolts to 20 Nm (15 lb ft).
3. Install the coolant tank.
4. Install the battery support. Refer to Battery Tray Replacement (See: Starting and Charging/Battery/Battery Tray/Service and Repair).
5. Attach the internal dash and cowl panel opening cover insulation.
Install the 4 snap buttons.
6. Install the clutch pedal. Refer to Clutch Pedal Replacement (See: Transmission and Drivetrain/Clutch/Clutch Pedal Assembly/Service and Repair
).