
Astra L4-1.8L (2009)
A/C Coupler O-ring: Service and Repair
Sealing Washer Replacement
Sealing Washer Replacement
Removal Procedure
1. Remove the sealing washer from the A/C refrigerant component.
Important: Cap or tape the open A/C refrigerant components immediately to prevent system contamination.
2. Inspect the sealing washer for signs of damage to help determine the root cause of the failure.
3. Inspect the A/C refrigerant components for damage or burrs. Repair if necessary.
Important: DO NOT reuse the sealing washer.
4. Discard the sealing washer.
Installation Procedure
Important: Flat washer type seals do not require lubrication.
1. Inspect the new sealing washer for any signs of cracks, cuts, or damage.
Do not use a damaged sealing washer.
2. Remove the cap or tape from the A/C refrigerant components.
3. Using a lint-free clean, dry cloth, clean the sealing surfaces of the A/C refrigerant components.
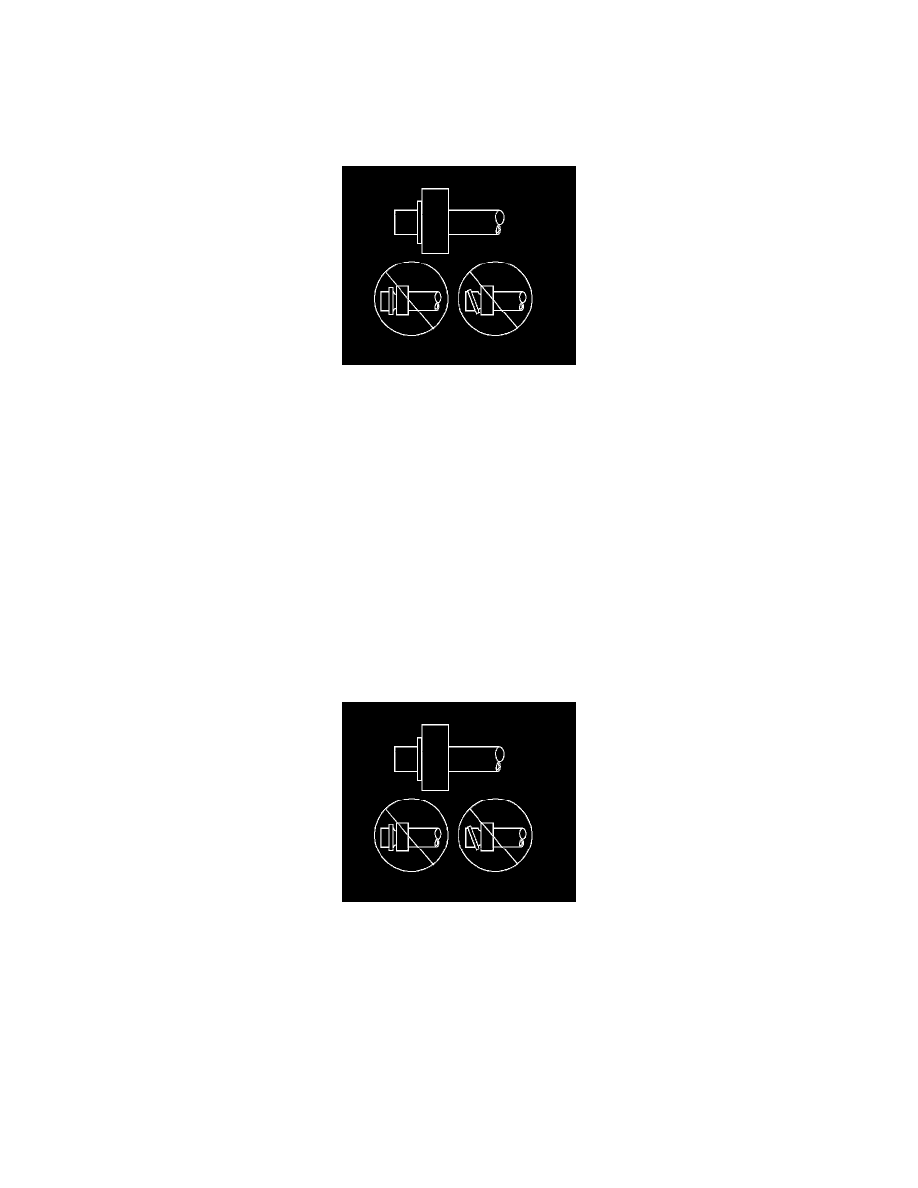
4. Carefully install the new sealing washer onto the A/C refrigerant component.
The washer must completely bottom against the surface of the fitting.
Important: After tightening the A/C components, there should be a slight sealing washer gap of approximately 1.2 mm (3/64 in) between
the A/C line and the A/C component.
5. Assemble the remaining A/C refrigerant components. Refer to the appropriate repair procedure.