
Astra L4-1.8L (2009)
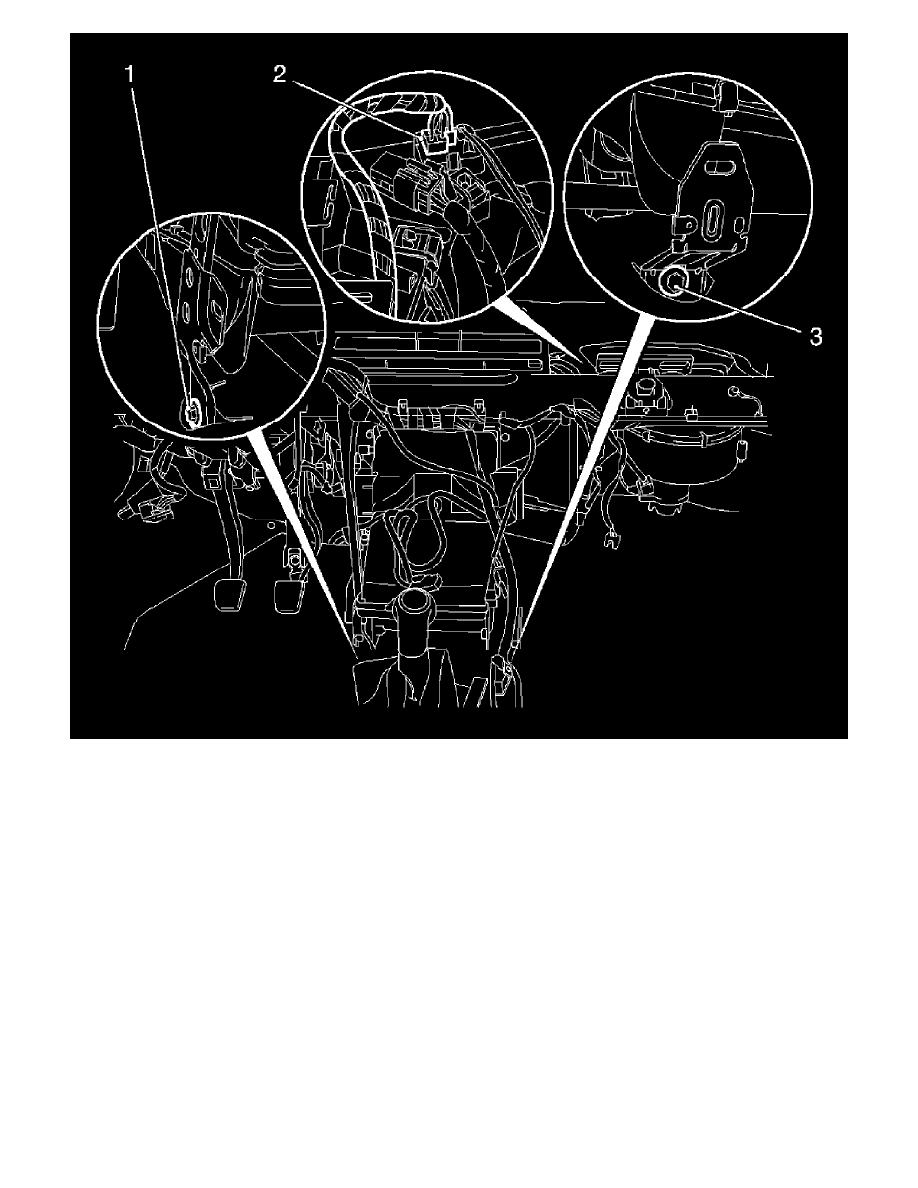
13. Disconnect the wiring harness plug from the fan series resistor (2).
*
Disconnect the wiring harness plug.
*
Release and disconnect the wiring harness plug.
14. Remove the front floor console bracket (1) and (3).
Remove the 2 bolts.
15. Remove the I/P tie bar. Refer to Instrument Panel Tie Bar Replacement (See: Body and Frame/Interior Moulding / Trim/Dashboard / Instrument
Panel/Service and Repair).
16. Remove the HVAC module assembly.
Installation Procedure
1. With the aid of an assistant, insert the HVAC module assembly.
Caution: Refer to Fastener Caution (See: Service Precautions/Vehicle Damage Warnings/Fastener Caution).
2. Install the HVAC module assembly to the dash outside.
Tighten the 8 bolts to 10 Nm (89 lb in).
3. Install the I/P tie bar. Refer to Instrument Panel Tie Bar Replacement (See: Body and Frame/Interior Moulding / Trim/Dashboard / Instrument
Panel/Service and Repair).