
Astra L4-1.8L (2009)
Headlamp Alignment Control Module: Service and Repair
Headlamp Leveling Control Module Replacement
Removal Procedure
Warning: Refer to Battery Disconnect Warning (See: Starting and Charging/Battery/Service Precautions).
Note: When replacing the headlamp leveling module, before removing the control unit, carry out a "Reset" using TECH 2. For reprogramming
procedures, refer to Control Module References (See: Testing and Inspection/Programming and Relearning).
1. Disconnect the battery.
2. Remove the drivers knee bolster. Refer to Driver Knee Bolster Replacement (See: Body and Frame/Interior Moulding / Trim/Dashboard /
Instrument Panel/Service and Repair).
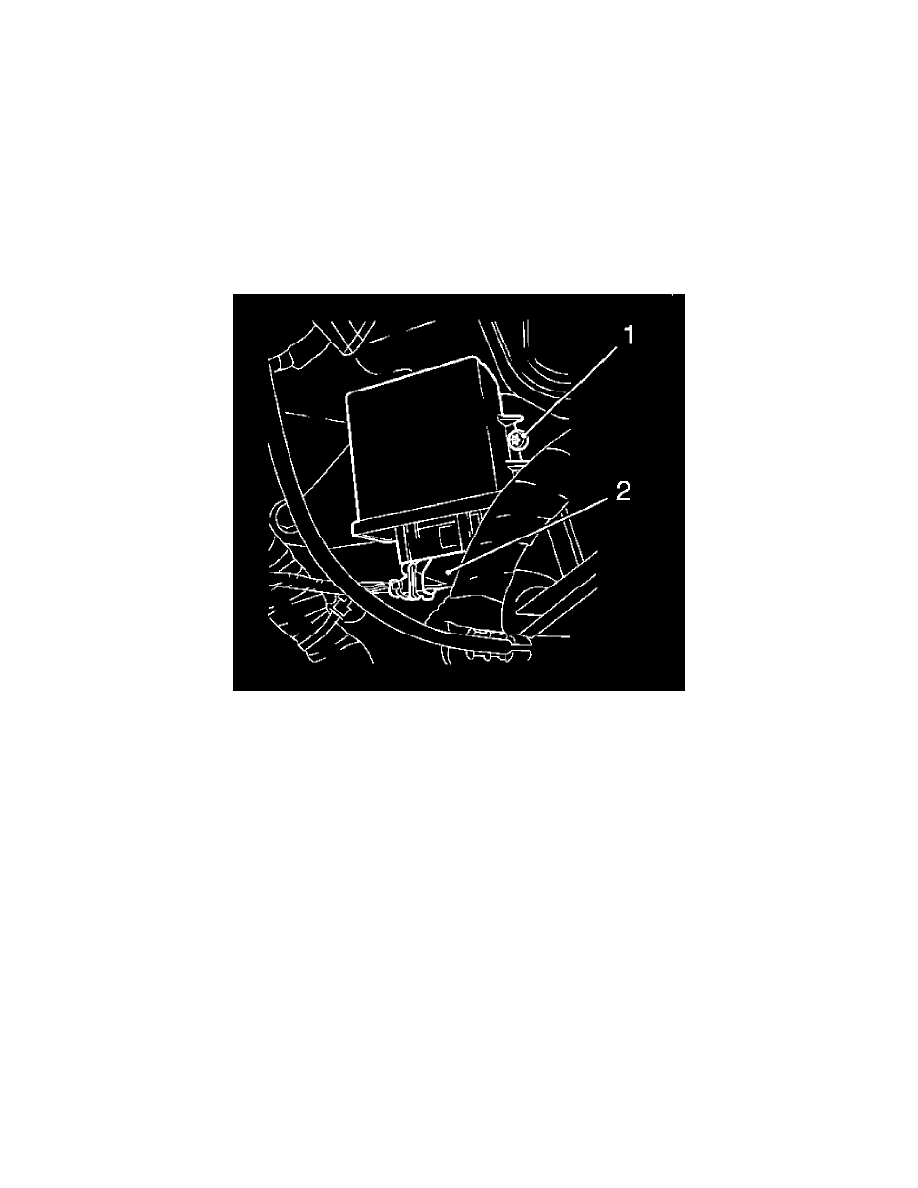
3. Remove the headlamp leveling module.
*
Remove the bolt (1).
*
Remove the headlamp leveling module.
*
Disconnect the wiring harness plug (2).
Installation Procedure
Caution: Refer to Fastener Caution (See: Service Precautions/Vehicle Damage Warnings/Fastener Caution).
1. Position the headlamp leveling module.
*
Connect the wiring harness plug.
*
Install the headlamp leveling module.
-
Tighten the bolt to 2.5 Nm (22 lb in).
-
Tighten the nut to 2.5 Nm (22 lb in).
2. Install the drivers knee bolster. Refer to Driver Knee Bolster Replacement (See: Body and Frame/Interior Moulding / Trim/Dashboard /
Instrument Panel/Service and Repair).
3. Connect the battery.
4. For reprogramming procedures, refer to Control Module References (See: Testing and Inspection/Programming and Relearning).