
Astra L4-1.8L (2009)
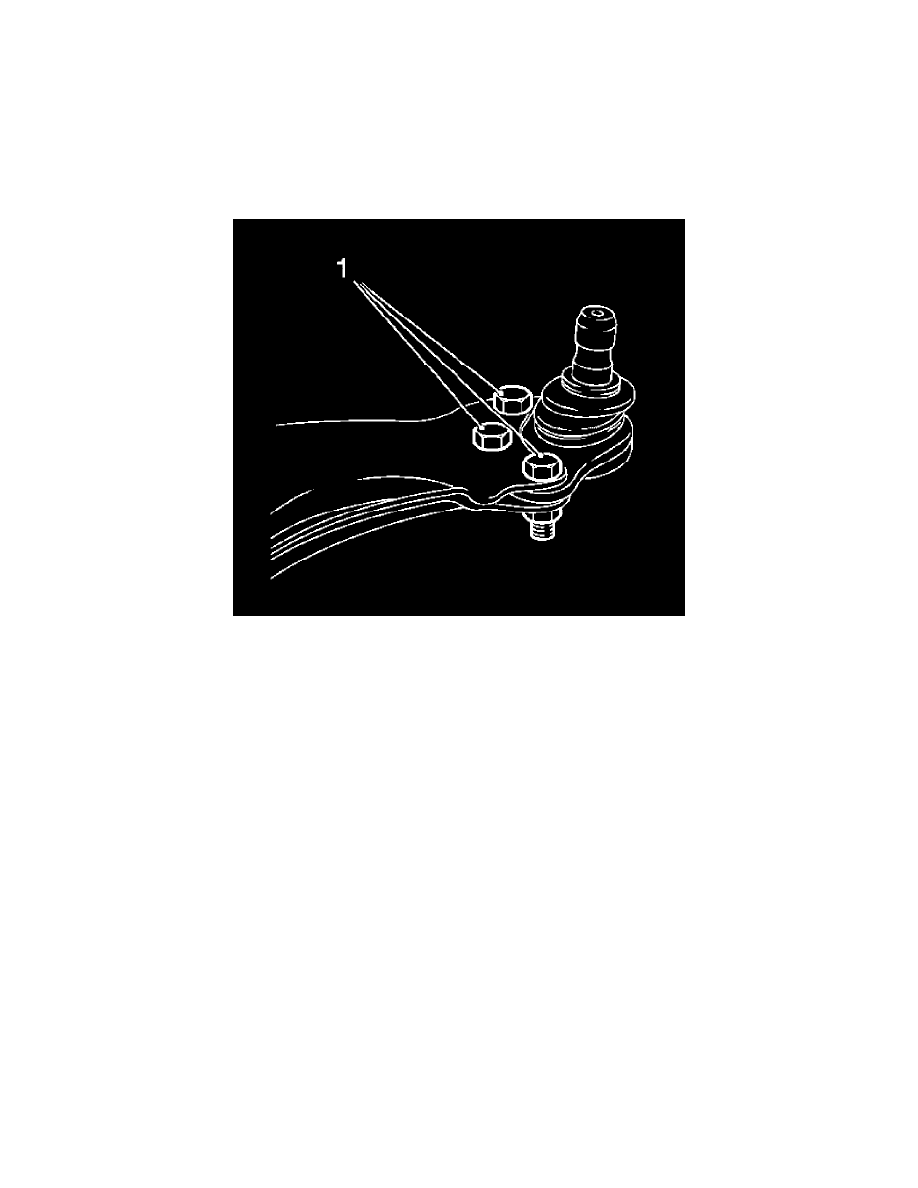
3. Start drilling the 3 rivet heads (1).
*
Knock off 3 rivet heads carefully with a flat chisel.
*
Remove remains of rivets.
*
Remove the guide joint.
4. Coat the holes with corrosion protection material.
Installation Procedure
Caution: Refer to Fastener Caution (See: Service Precautions/Vehicle Damage Warnings/Fastener Caution).
Note: The new guide joint is screwed to the control arm - use special bolts and nuts from "Service" area.
1. Install the guide joint to control arm.
Tighten the 3 screwed connections (1) to 35 Nm (26 lb ft).
2. Install the lower control arm. Refer to Lower Control Arm Replacement (See: Control Arm/Service and Repair).