
Aura L4-2.4L (2008)
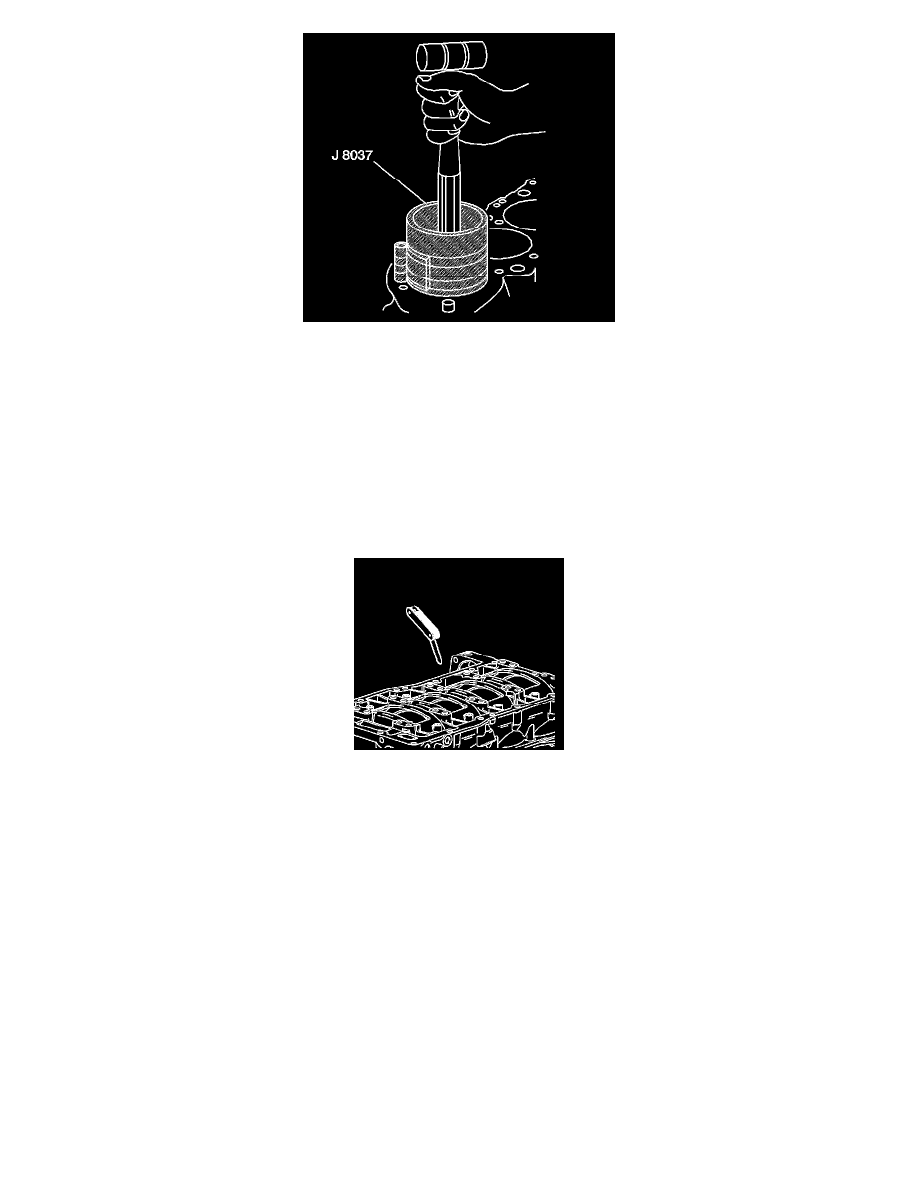
3. Lightly tap the top of the piston with a wooden hammer handle.
4. When installing the piston and the connecting rod, the stamped mark on the piston must point to the front of the engine.
5. Hold the EN-47836 firmly against the engine block until all the piston rings have entered the cylinder bore.
6. Install the connecting rod caps onto their original connecting rods.
7. Align the numbers placed on the connecting rod and the connecting rod cap during removal.
Notice: Refer to Fastener Notice (See: Service Precautions/Vehicle Damage Warnings/Fastener Notice).
8. Install the new connecting rod bolts and nuts.
*
On the first pass, tighten the nuts evenly to 25 N.m (18 lb ft).
*
On the final pass, use the J 45059 in order to tighten the nuts an additional 100 degrees.
9. Measure the connecting rod side clearance with a feeler gage.
The correct clearance is 0.070-0.370 mm (0.0027-0.0145 in).
10. Install the cylinder head. Refer to Cylinder Head Replacement (See: Cylinder Head Assembly/Service and Repair).
11. Install the oil pan. Refer to Oil Pan Replacement (See: Engine Lubrication/Oil Pan/Service and Repair).