
Aura L4-2.4L (2008)
Timing Chain Tensioner: Service and Repair
Timing Chain Tensioner Replacement
Tools Required
J 45027 Tensioner Tool
Removal Procedure
1. Disconnect the negative battery cable. Refer to Battery Negative Cable Disconnection and Connection (LAT) ()Battery Negative Cable
Disconnection and Connection (LZ4/LY7) ().
2. Remove the camshaft cover. Refer to Camshaft Cover Replacement (See: Cylinder Head Assembly/Valve Cover/Service and Repair).
3. Remove the timing chain tensioner.
4. Remove the seal from the tensioner.
Installation Procedure
1. Inspect the timing chain tensioner. If the timing chain tensioner, O-ring seal, or washer is damaged, replace the timing chain tensioner or O-ring
seal as applicable.
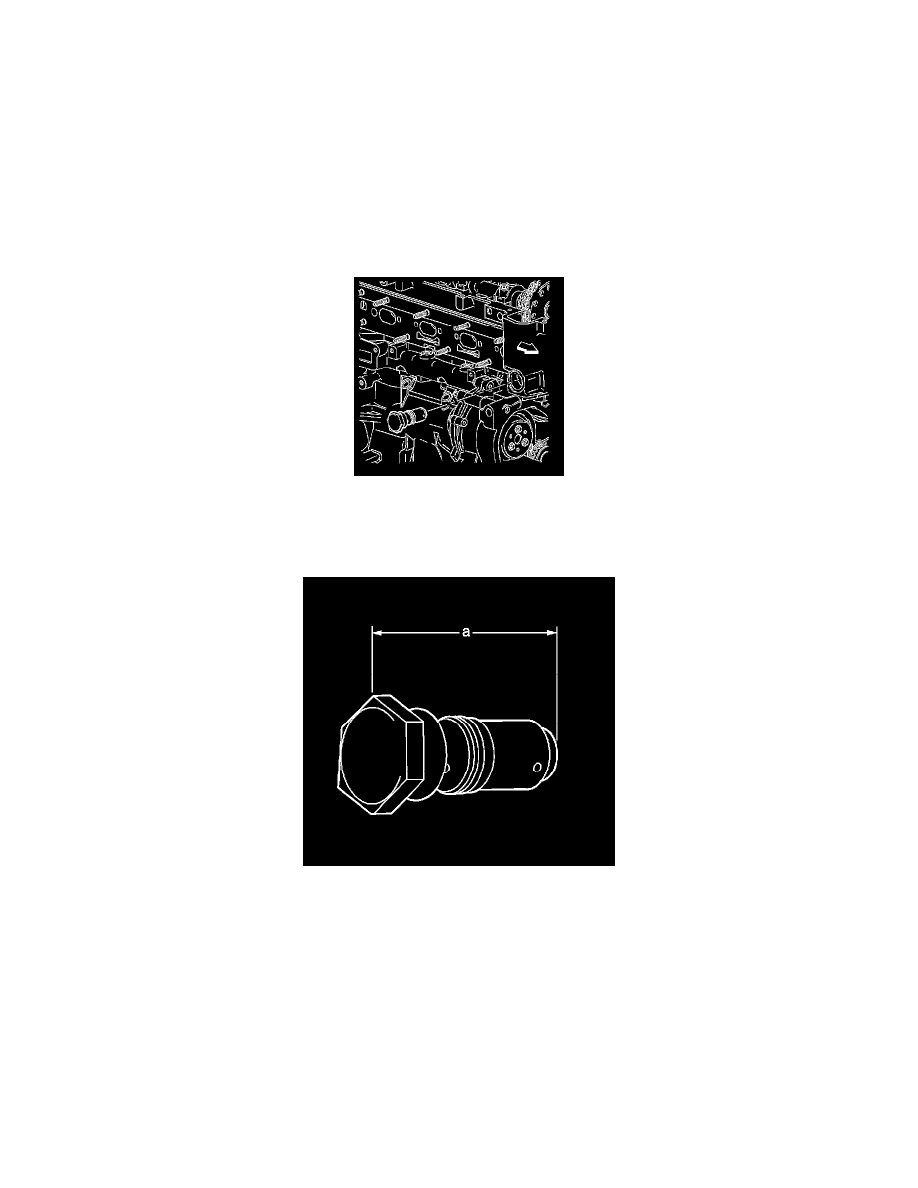
2. Measure the timing chain tensioner assembly from end to end. If the timing chain tensioner is to be replaced, a new tensioner should be supplied in
the fully compressed non-active state. A tensioner in the compressed state will measure 72 mm (2.83 in) (a) from end to end. A tensioner in the
active state will measure 85 mm (3.35 in) (a) from end to end.