Aura L4-2.4L (2008)

Rear Floor Air Outlet Duct Replacement - Left Side
Removal Procedure
1. Remove the console. Refer to Console Replacement (See: Body and Frame/Interior Moulding / Trim/Console/Service and Repair).
2. Remove the left front seat. Refer to Front Seat Replacement - Bucket (See: Body and Frame/Seats/Service and Repair/Removal and
Replacement/Front Seat Replacement - Bucket).
3. Remove the left front carpet retainer. Refer to Front Carpet Retainer Replacement (See: Body and Frame/Interior Moulding / Trim/Carpet/Service
and Repair).
4. Remove the left center pillar lower garnish molding. Refer to Center Pillar Lower Garnish Molding Replacement (See: Body and Frame/Interior
Moulding / Trim/Trim Panel/Service and Repair).
5. Remove the floor carpet enough to access the left rear floor duct. Refer to Front Floor Panel Carpet Replacement (See: Body and Frame/Interior
Moulding / Trim/Carpet/Service and Repair).
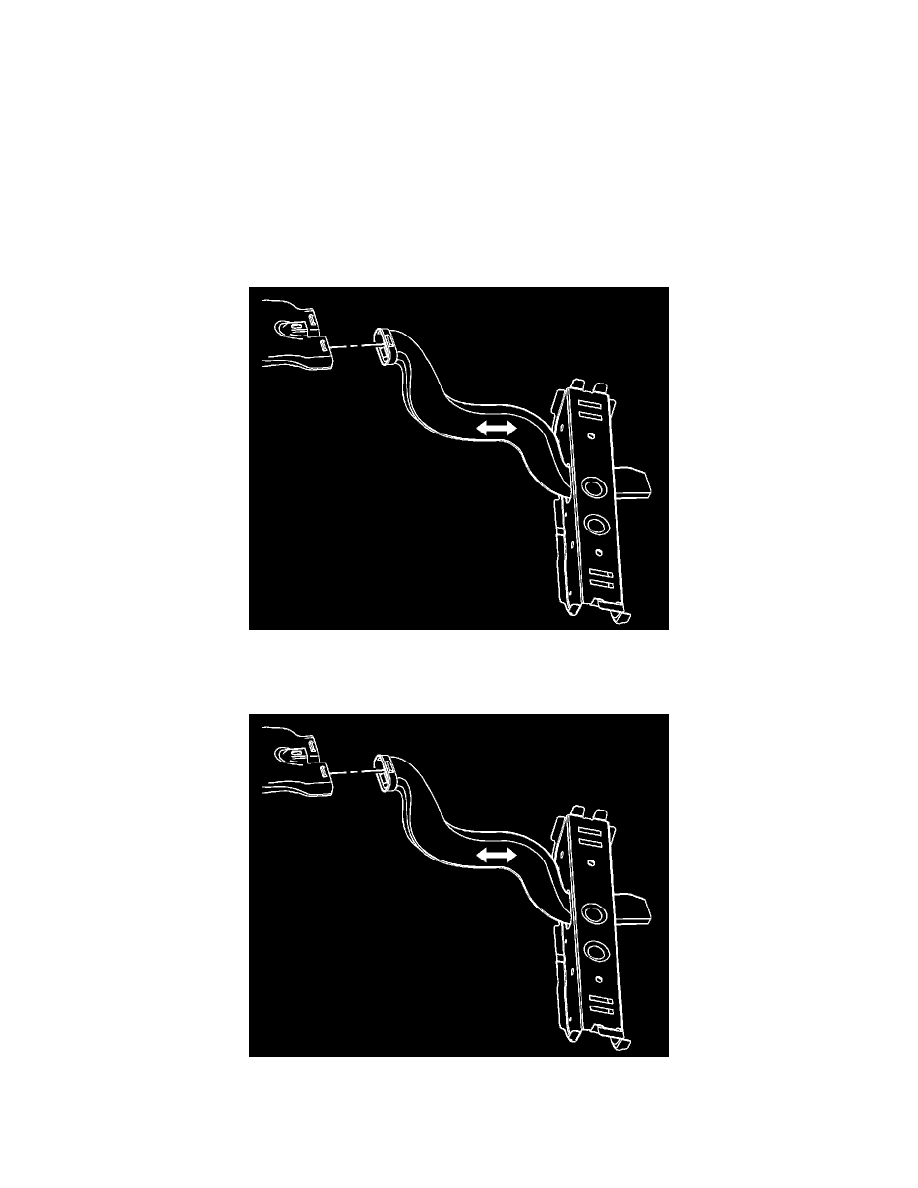
6. Remove the left rear floor duct.
Installation Procedure
1. Install the left rear floor duct.
2. Install the floor carpet. Refer to Front Floor Panel Carpet Replacement (See: Body and Frame/Interior Moulding / Trim/Carpet/Service and
Repair).
3. Install the left center pillar lower garnish molding. Refer to Center Pillar Lower Garnish Molding Replacement (See: Body and Frame/Interior
