
Aura L4-2.4L (2008)
Housing Assembly HVAC: Service and Repair
HVAC Module Assembly Replacement
Removal Procedure
1. Remove the air conditioner (A/C) lines from the thermal expansion valve. Refer to Thermal Expansion Valve Replacement (See: Expansion
Valve/Service and Repair).
2. Remove the heater hose from the heater core. Refer to Heater Inlet Hose Replacement (LY7) (See: Heater Hose/Service and Repair/Heater Inlet
Hose Replacement)Heater Inlet Hose Replacement (LZ4) (See: Heater Hose/Service and Repair/Heater Inlet Hose Replacement)Heater Inlet
Hose Replacement (LAT Pump to Engine) ()Heater Inlet Hose Replacement (LAT Pump to Heater Core) ()Heater Inlet Hose Replacement (LE5)
(See: Heater Hose/Service and Repair/Heater Inlet Hose Replacement) and Heater Outlet Hose Replacement (LY7) (See: Heater Hose/Service
and Repair/Heater Outlet Hose Replacement)Heater Outlet Hose Replacement (LAT) (See: Heater Hose/Service and Repair/Heater Outlet Hose
Replacement)Heater Outlet Hose Replacement (LE5) (See: Heater Hose/Service and Repair/Heater Outlet Hose Replacement).
3. Remove the instrument panel (I/P) assembly. Refer to Instrument Panel Reinforcement Replacement (See: Body and Frame/Interior Moulding /
Trim/Dashboard / Instrument Panel/Service and Repair).
4. Remove the recirculation actuator wire harness connector.
5. Remove the air temperature actuator wire harness connector.
6. Remove the mode actuator wire harness connector.
7. Remove the blower motor wire harness connector.
8. Remove the blower motor resistor wire harness connector.
9. Remove the left hand side window defogger outlet duct.
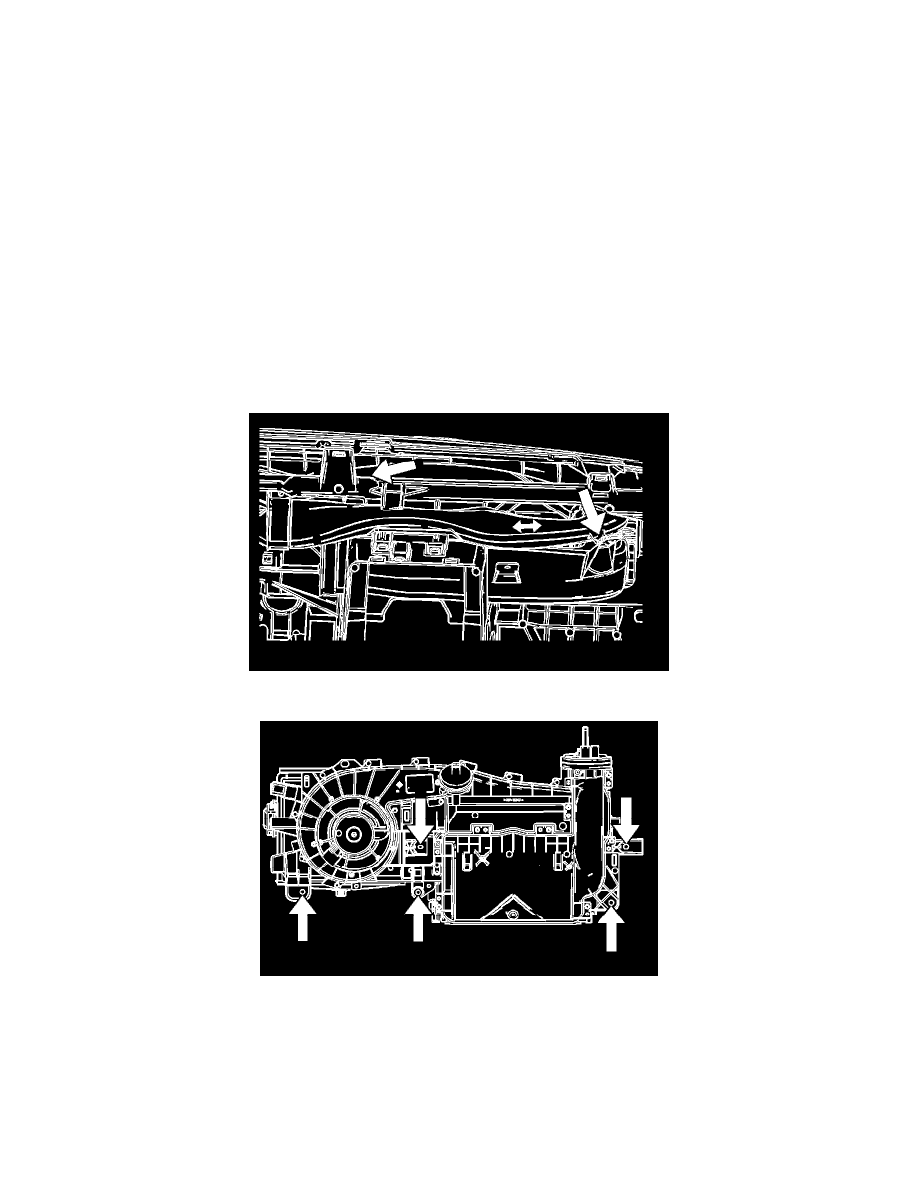
10. Remove the HVAC module assembly mounting bolts from the instrument panel reinforcement.