
Aura L4-2.4L (2008)
Installation Procedure
1. Uncap A/C components.
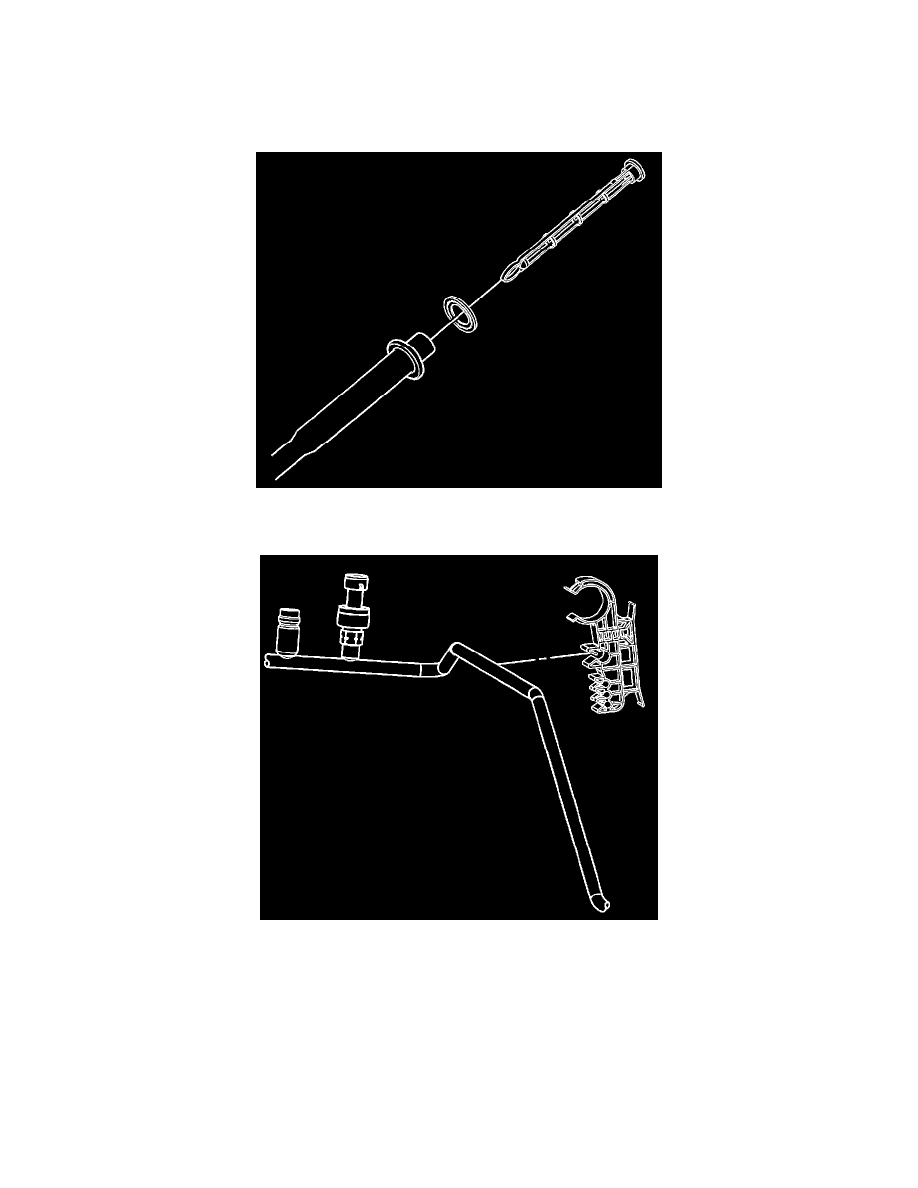
2. Install new sealing washers. Refer to Sealing Washer Replacement (See: Heating and Air Conditioning/Coupler HVAC/A/C Coupler
O-ring/Service and Repair/Sealing Washer Replacement).
3. Install the refrigerant filter into the line.
4. Install the line clip to the dash.
5. Install the suction hose and liquid line to the TXV.
Notice: Refer to Fastener Notice (See: Service Precautions/Vehicle Damage Warnings/Fastener Notice).
6. Install the suction hose and liquid line nut to the TXV.
Tighten the nut to 20 N.m (15 lb ft).
7. Evacuate and charge the refrigerant system. Refer to Refrigerant Recovery and Recharging (See: Heating and Air Conditioning/Service and
Repair/Procedures/Refrigerant Recovery and Recharging).
8. Leak test the fittings using the J 39400-A.
9. Install the surge tank to the surge tank bracket.