
Aura V6-3.5L (2007)
Sunroof / Moonroof Weatherstrip: Service and Repair
Sunroof Window Seal Replacement (C3Y)
Sunroof Window Seal Replacement (C3Y)
Removal Procedure
1. Open the sunshade.
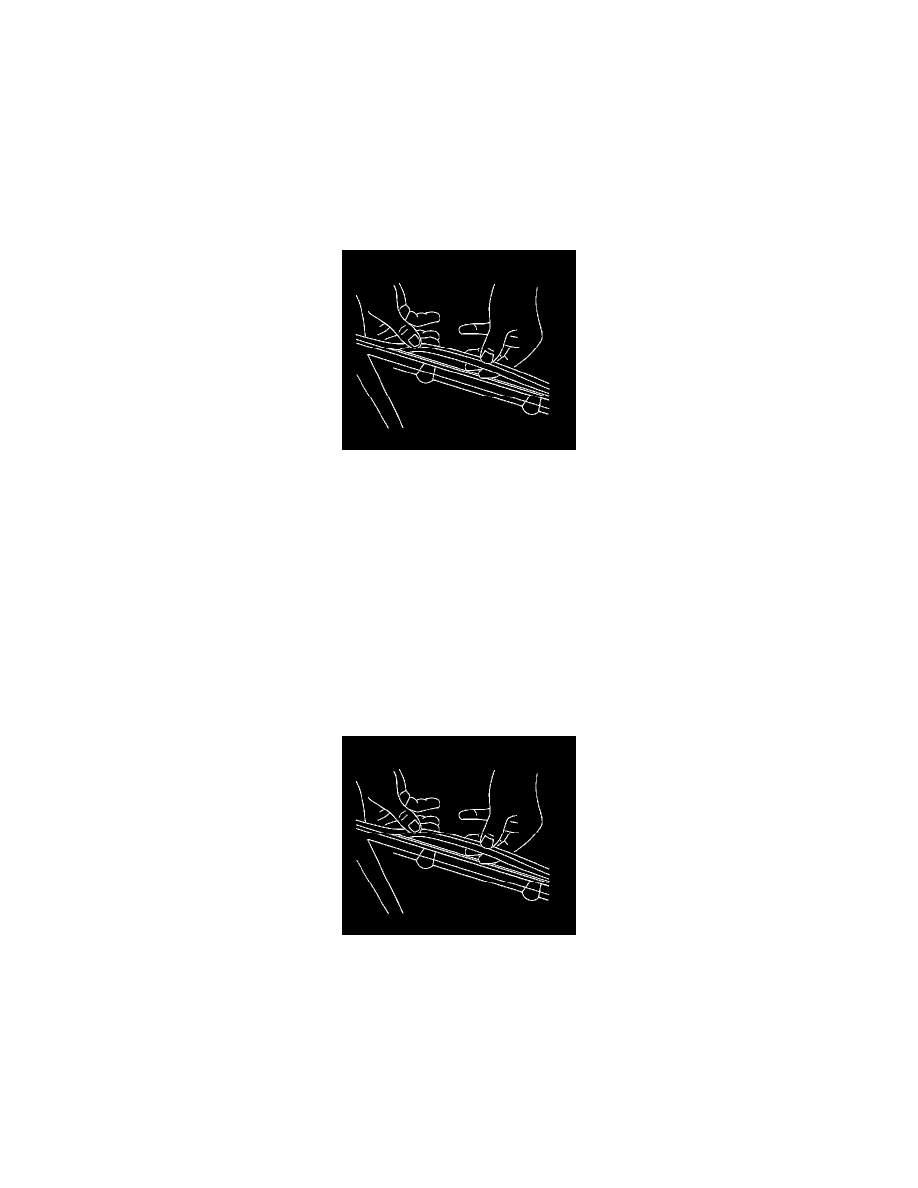
2. Remove the sunroof window from the front.
3. Remove the sunroof window from the rear.
4. Cycle the sunroof to the full open position.
Important: Do this from outside the vehicle, locate the seam of the weatherstrip bonded edges approximately 2 in rearward of where the
third and fourth window panel meet. THIS POSITION IS IMPORTANT TO ENSURE THAT THE SEAL PUCKERING RELIEF
HOLES WORK CORRECTLY.
5. Locate the seam of the current seal and it's location, with tape or a grease pencil mark the roof.
6. Remove the seal from the sunroof module frame by pulling the seal away at one point and continuing around the perimeter of the frame.
7. Wipe the perimeter of the frame area with a clean, dampened cloth using window cleaner GM P/N 1050427 (Canadian P/N 992727) or equivalent
in order to clean the surface of the perimeter.
Allow to air dry.
Installation Procedure
1. If reusing the old sunroof window seal, use a clean dampened cloth, wipe the seal with a small amount window cleaner GM P/N 1050427
(Canadian P/N 992727) or equivalent to installation.
2. Cycle the sunroof to closed position.
3. Position the seam of the new seal into the channel previously marked in (step#5).
Press the seal firmly into the channel until fully seated.