Coupe L4-1.9L DOHC VIN 7 (1994)

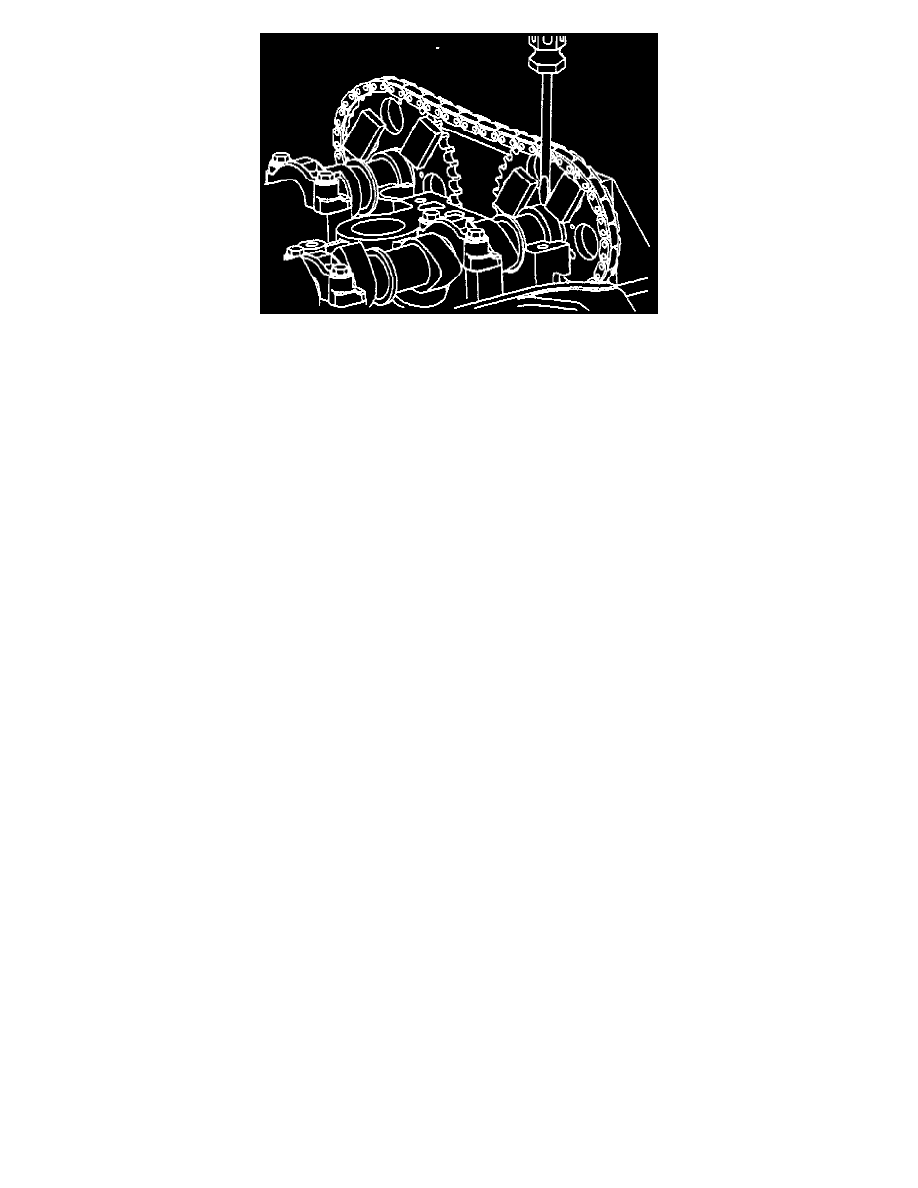
Fig. 31 Camshaft Removal.
1. Remove spark plug wires, accessory drive belt, EGR valve solenoid attaching screw, PCV fresh air hose and cam cover assembly.
2. Position No. 1 cylinder to TDC, Fig. 28. , by aligning damper mark with front cover arrow mark.
3. Prevent camshaft from rotating using a 7/8 inch open end wrench, then remove camshaft timing sprocket attaching bolts and washer.
4. Install front support fixture, aligning two holes in each camshaft sprocket, sprocket adapter and front support fixture.
5. Install but do not tighten fixture mounting nuts, Fig. 29.
6. Install suitable camshaft sprocket adapter to each camshaft, but do not tighten pilot bolts, Fig. 30.
7. Remove upper timing chain guide and front camshaft bearing caps.
8. While holding camshaft, torque sprocket pilot bolts to 18 ft. lbs. using a 7/8 inch wrench.
9. Move camshaft sprocket off end of each camshaft onto sprocket adapter, Fig. 31.
10. Install four 3/8 inch nuts and bolts with blocks through camshaft sprocket, sprocket adapter and front support fixture, install steel blocks against
rearward side of camshaft sprocket.
Torque nuts and bolts to 18 ft. lbs.
11. Install two 6 mm front support fixture hex bolts to front cover, torque bolts to 7 ft. lbs.
12. While holding camshaft with a 7/8 inch wrench, remove camshaft sprocket pilot bolt.
13. Move cam rearward enough to ensure camshaft end is no longer inside sprocket pilot.
14. Loosen and remove camshaft bearing cap attaching bolts in several passes. If lifters are removed, keep in order for installation and store with
camshaft contact facing downward.
15. Reverse procedure to install. Tighten camshaft bearing cap and cover bolts to specifications.
