
Coupe L4-1.9L DOHC VIN 7 (1994)
7. Install water pump pulley, if removed. Torque: 25 Nm (19 ft-lbs).
NOTICE: Install a thin film of RTV sealant P/N 21006236 between the damper/pulley assembly flange and washer only. The washer and bolt head
flange are designed to prevent oil leakage and do not require RTV sealant.
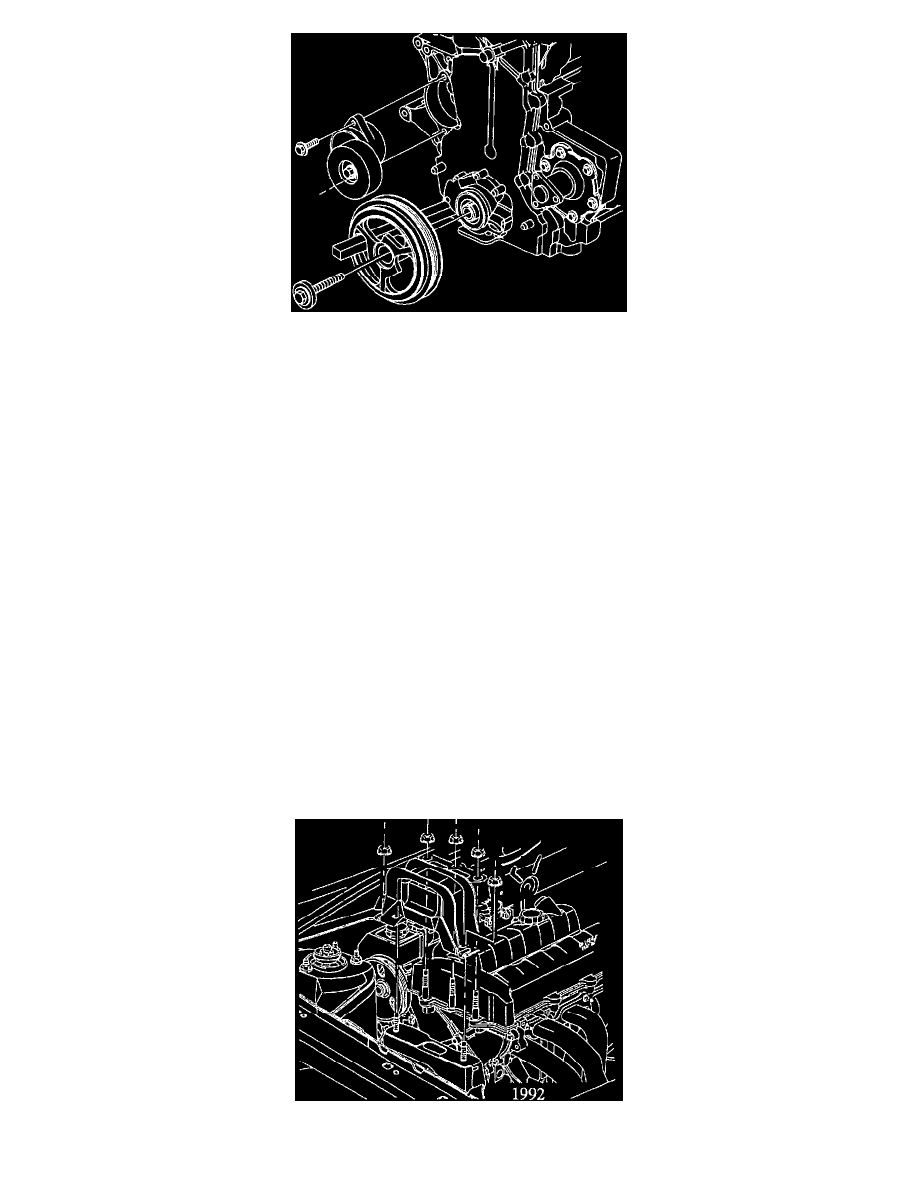
8. Install crankshaft vibration damper/pulley assembly and retaining bolt.
IMPORTANT: Hold the damper with a strap wrench or use a 3/4 in. square x 12 in. long piece of wood wedged between the damper spoke and rear,
lower side of cover when torquing the bolt. Torque: 214 Nm (158 ft-lbs).
9. Install intake manifold support brace bolt located next to generator. Bracket to Block (right-hand) Torque: 45 Nm (33 ft-lbs). Bracket to Intake
Manifold (right-hand) Torque: 30 Nm (22 ft-lbs).
10. Drain engine oil and change filter. Install drain plug. Torque: 35 Nm (26 ft-lbs).
11. Verify gap on all spark plugs.
a.
Install spark plugs. Torque: 27 Nm (20 ft-lbs).
12. Install the belt tensioner. Torque: 30 Nm (22 ft-lbs).
IMPORTANT: On 1992 engines, install the accessory drive belt idler pulley. Torque: 45 Nm (33 ft-lbs).
13. Install generator attachment bolts/nut (both), if removed. Torque: 37 Nm (27 ft-lbs).
14. Install power steering pump assembly and brackets. Power Steering Pump Bracket-to-Block: Torque: 30 Nm (22 ft-lbs). Power Steering Pump
Lower Support Bracket-to-Pump: Torque: 30 Nm (22 ft-lbs). Power Steering Upper Support Bracket-to-Pump and Upper/Lower Support Bracket
and Intake Manifold: Torque: 30 Nm (22 ft-lbs).
15. Install A/C compressor bolts. Rear bracket to block and compressor: Torque: 25 Nm (19 ft-lbs). Front bracket to block and compressor: Torque:
54 Nm (40 ft-lbs).
16. Install accessory drive belt. Make sure belt is properly aligned on the pulleys.
NOTICE: To prevent engine front cover and mount damage, the three front upper mount to engine front cover nuts must be tightened down uniformly.
17. On a 1992 powertrain with a torque axis mount system, install the two mount to midrail bracket nuts first. Next, install the three front upper mount