
Coupe L4-1.9L DOHC VIN 7 (1994)
Timing Cover: Service and Repair
Front Cover and Component Assembly
DOHC FRONT COVER AND COMPONENT ASSEMBLY
1. Clean the front cover, cylinder block and oil pan mating surfaces:
NOTICE: If excessive RTV is applied, or oil builds up in the blind holes, the casting will crack when bolts are installed. Make sure all oil gallery
openings and the oil pan are covered with a shop towel to prevent debris entry.
a. RTV is removed from aluminum surfaces using scraper, wire brush, Scotch-Brite® Pads, and disk (3M Clean-N Strip 2 in. D x 1/2 in. W x 1/4
in. center hole).
b. The front cover holes must be cleaned with a 3/16 in. drill and tap handle. The oil drain back hole must also be free of RTV.
NOTICE: Do not use petroleum cleaners such as mineral spirits, they leave a film onto which RTV will not stick.
c. After all RTV is removed, clean the surfaces with a chlorinated solvent, such as carburetor spray cleaner, brake clean, or alcohol.
NOTICE: The oil pump must be packed with Vaseline petroleum jelly if removed for priming.
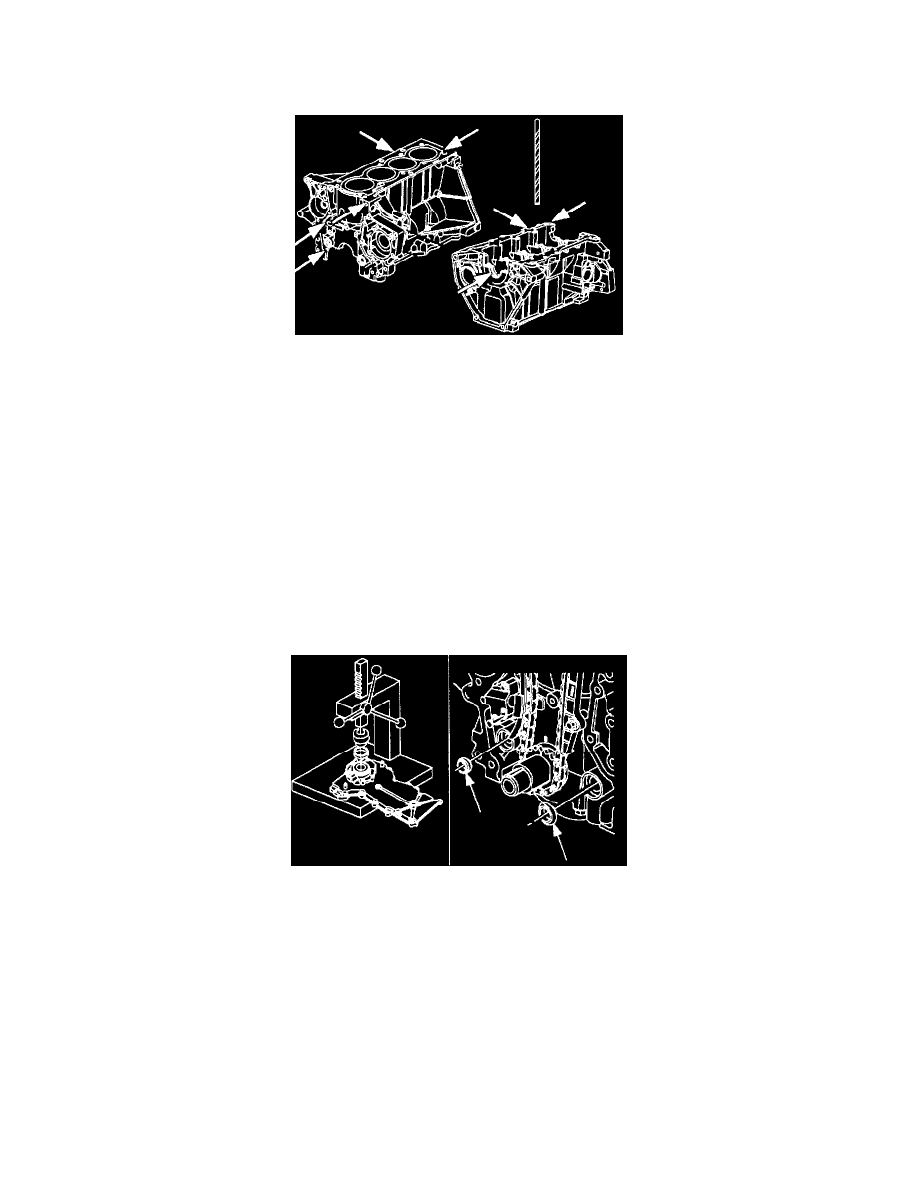
2. Install oil pressure regulator and pump cover if removed. Install the regulator using service tool SA91O3E and a hammer. The pump should be
installed with the chamfer toward the front oil seal. Torque: 11 Nm (97 in-lbs).
a. If front seal was removed, use service tool SA9104E to install a new seal. Never tap on the seal or seal installer with a hammer.
b. Install the oil pressure and suction seals into their respective cavities in the cylinder block.
NOTICE: The front cover, oil seal drain back hole, and passage way must be kept free of RTV.
NOTICE: Extra RTV is required at oil pan, cylinder head and cam cover T-joints to make sure gaps are filled. The 1992 engine requires an RTV
bead around the top, center bolt hole.