
Coupe L4-1.9L DOHC VIN 7 (1994)
^
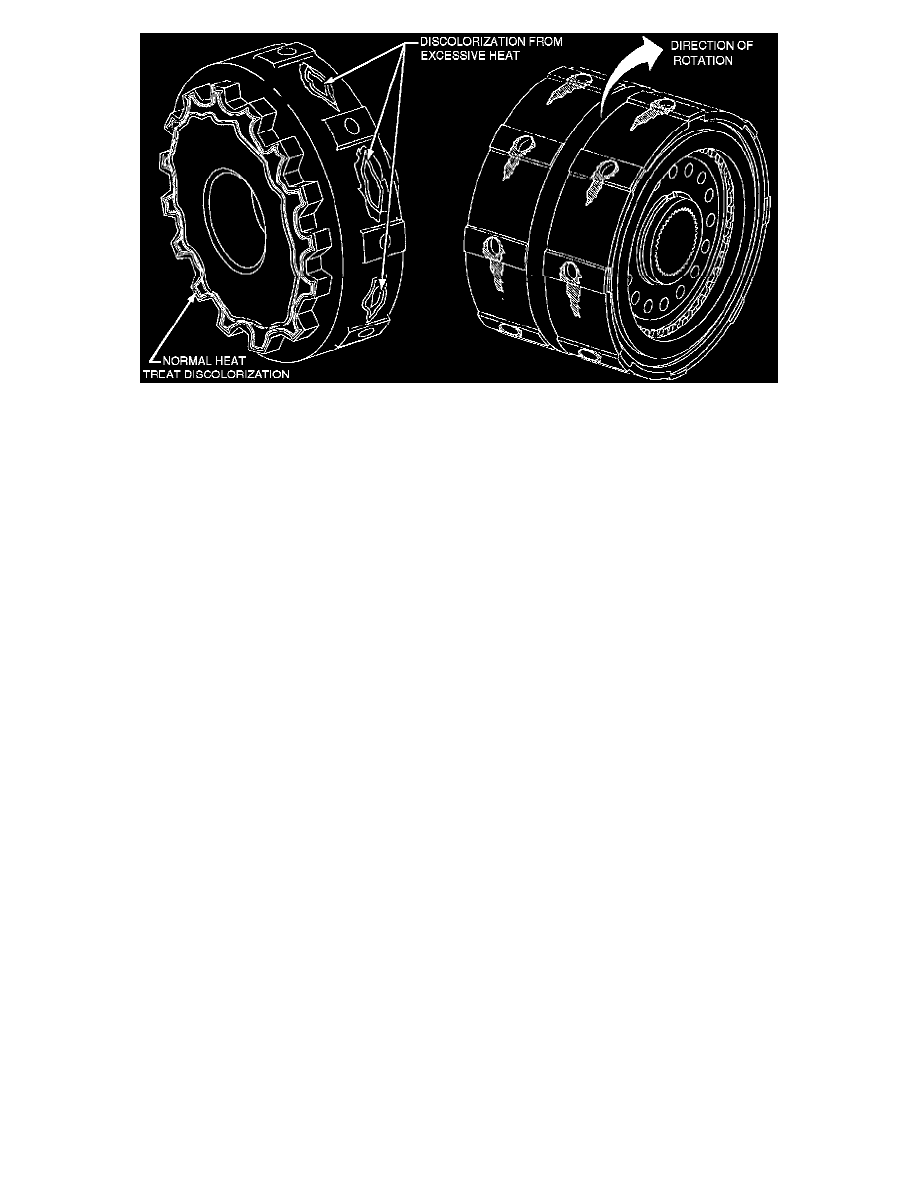
Clutch housing lube holes have a shadow around them which is darker than the surrounding material.
^
Clutch housing shows discoloration due to excessive heat.
IMPORTANT:
The 4th clutch housing normally shows heat treat discoloration at the park gear.
If none of the conditions in step 6 exist, repair the transaxle according to "Flushing Procedure" in this bulletin.
Flushing Procedure
NOTE:
For the following procedures, refer to the "Automatic Transaxle Service Manual."
1.
Disassemble the control valve body assembly.
2.
Clean all passages and valves within control valve body assembly.
3.
Dry all parts.
4.
Verify that all valves within control valve body assembly move (slide freely) from their own weight within the control valve body assembly bores.
a.
If the valves move freely within their bores, proceed to step 5.
b.
If any of the valves do not move freely within their bore replace the control valve body assembly, then proceed to step 7.
5.
Install any new transaxle control actuator valves that have to be replaced due to a ring of iron sediment.
6.
Reassemble the control valve body assembly. Do not install the control valve body assembly into the transaxle at this time.
7.
Remove transaxle rear cover.
8.
Disassemble the clutch feed tubes from the rear cover and flush with clean carburetor or brake cleaner.
9.
Flush the passages inside the rear cover with clean carburetor or brake cleaner and blow-out passages with compressed air.
10.
Disconnect the transaxle cooler pipes from the transaxle and flush the transaxle cooler and pipes using the Oil Line Cooler Flusher SA9165T,
following the instructions included with the tool.
11.
Drain transaxle fluid and replace transaxle oil pressure filter. Fill transaxle with transaxle fluid to specifications in service manual.
12.
Assemble the transaxle and test drive to verify repair. Refer to the "Test Drive Procedure" in this bulletin.
Internal Inspection Procedure
If it has been determined that internal transaxle damage has occurred, a complete transaxle reconditioning must be performed. Follow the procedures in
the "Automatic Transaxle Service Manual," with emphasis on the following inspections and cleaning procedures.