
Coupe L4-1.9L DOHC VIN 7 (1994)
10.
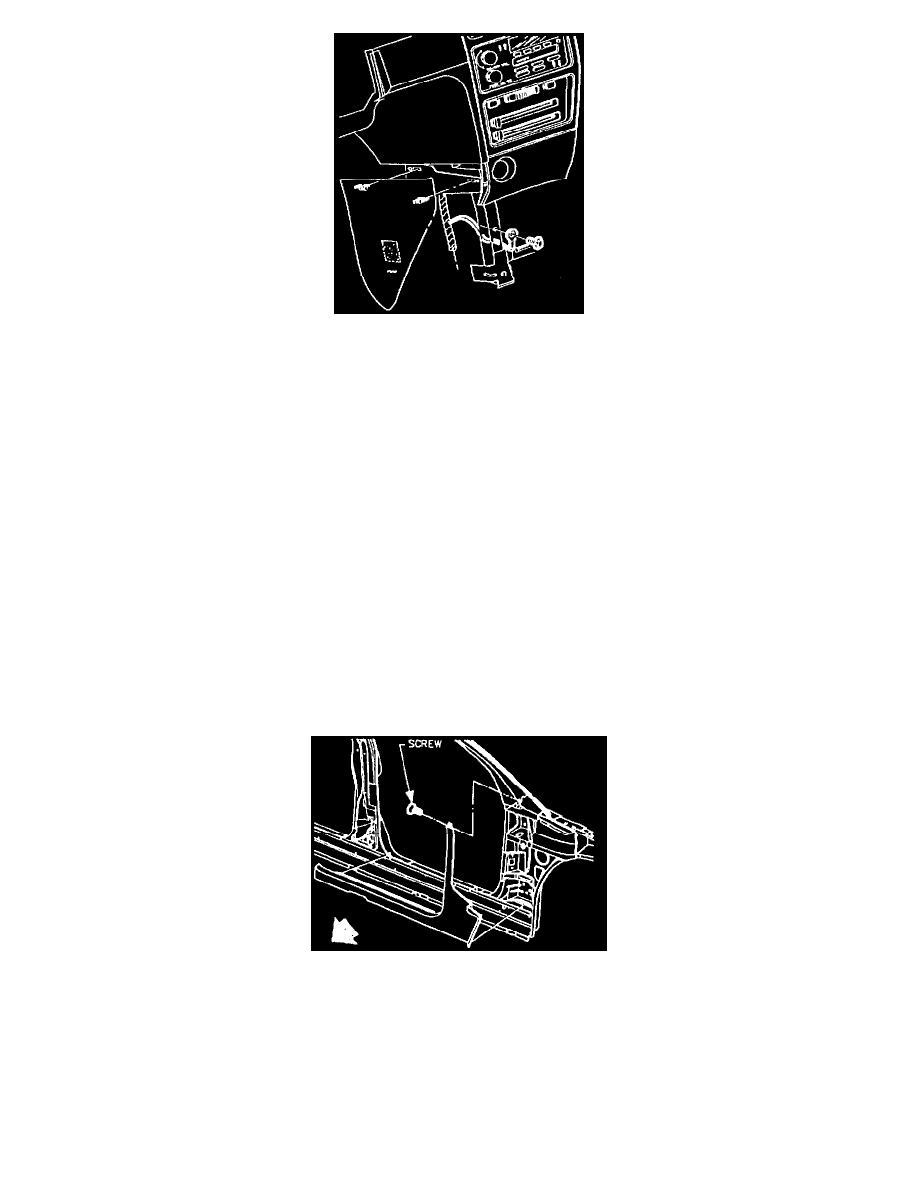
Remove left lower instrument panel extension, by disconnecting lower Velcro(R) fasteners and pulling out at upper clip locations.
11.
Remove ground bolt that retains ring terminal on left instrument panel reinforcement and remove bolt and ring terminal.
12.
Install service ring terminal lead (P/N 12112245) and ring terminal that was removed in step 11 onto ground bolt. Install ground bolt back into left
instrument panel reinforcement.
Torque: 4 N-m (35 in.lbs.)
13.
Run a 0.8 or 0.5 sq.mm (18 or 20 gauge) wire from the service ring terminal lead on the window motor, through the door wiring harness grommet,
under the instrument panel, to the service ring terminal lead installed on the left instrument panel reinforcement.
14.
Use wire harness tie straps (P/N 21020792) or equivalent, to route and attach wire as necessary on interior of vehicle. Use electrical tape to secure
wire along harness in door.
IMPORTANT:
Do not attach wire to park lock cable on vehicles equipped with automatic transaxles.
15.
Using connector-crimp and seal (P/N 12089189) (included with service ring lead), connect routed wire to service ring terminal lead at power
window motor.
16.
Using connector-crimp and seal (P/N 12089189) (included with service ring lead), connect the other end of routed wire to service ring terminal
lead attached to left instrument panel reinforcement.
17.
Install left lower instrument panel extension
18.
Install body hinge pillar trim garnish molding by aligning guide pins and pushing at clip locations.
19.
Install body hinge pillar trim garnish molding screw.