
ION L4-2.2L VIN F (2004)
2. Remove the screw from the lock pillar upper garnish molding.
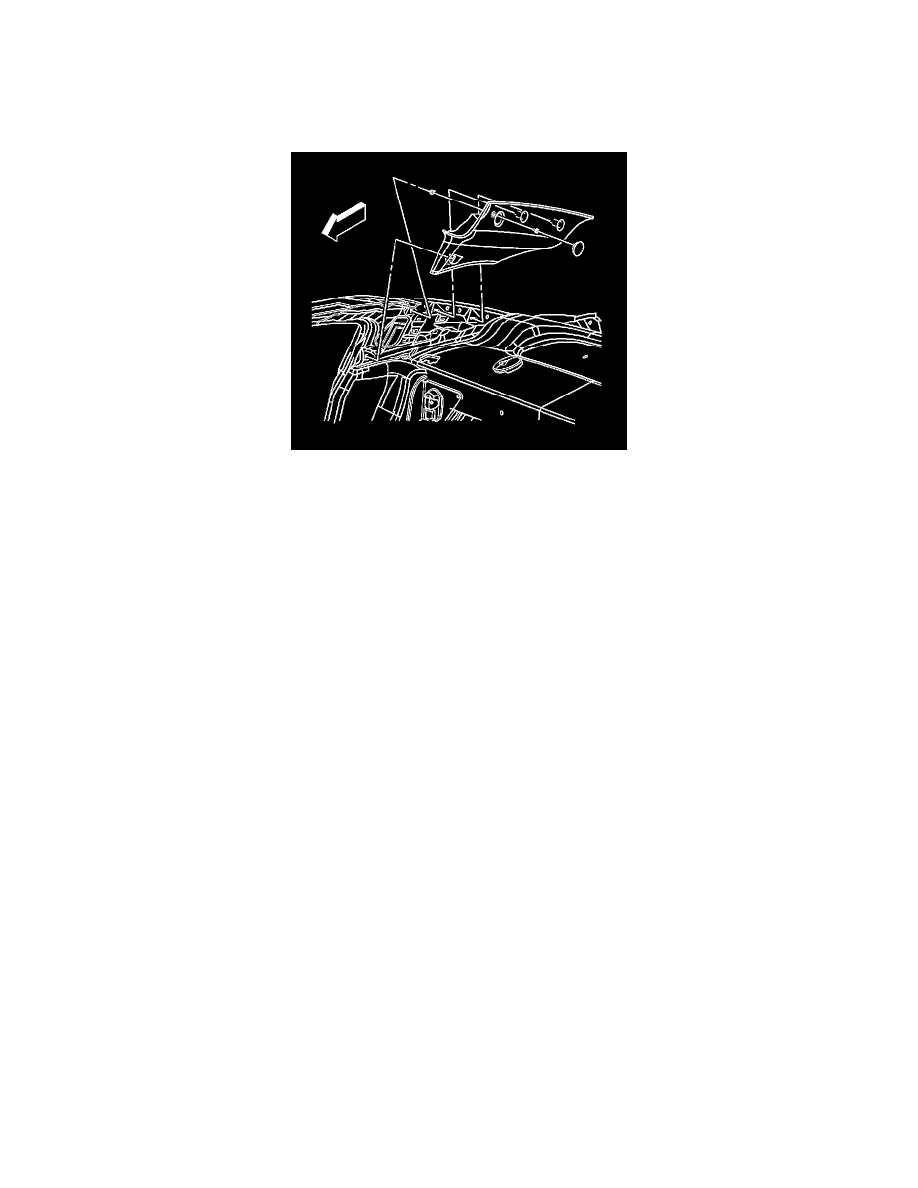
3. Remove the rear defroster harness to prevent damage.
4. Pull at the clip locations to disengage the garnish molding. Remove the lock pillar upper garnish molding.
5. On the coupe, carefully disengage the lower tabs from the lower garnish molding on the lock pillar.
Installation Procedure
1. Position the lower tabs of the upper molding in the slots of the lower molding.
2. Position the lock pillar upper garnish molding in the vehicle. Install the molding by pushing the molding over the clip locations.
Notice: Refer to Fastener Notice in Cautions and Notices.
3. Install the screw to the lock pillar upper garnish molding.
Tighten the screw to 2.3 N.m (21 lb in).
4. Install the screw trim cover.
5. Install the rear defroster harness.
6. Replace the door opening seal over the trim edge.
Garnish Molding Replacement - Rear Access Door Blackout (Coupe)
Garnish Molding Replacement - Rear Access Door Blackout (Coupe)
Removal Procedure
1. Remove the upper garnish molding from the rear access door . Refer to Upper Garnish Molding Replacement - Rear Access Door (Coupe) (See:
Upper Garnish Molding Replacement - Rear Access Door (Coupe)) .