
ION L4-2.2L VIN F (2004)
Front Door Weatherstrip: Service and Repair
Weatherstrip Replacement - Front Door Opening
Weatherstrip Replacement - Front Door Opening
Removal Procedure
1. Remove the front carpet retainer. Refer to Carpet Retainer Replacement - Front (See: Interior Moulding / Trim/Carpet/Service and
Repair/Removal and Replacement/Carpet Retainer Replacement - Front) in Interior Trim.
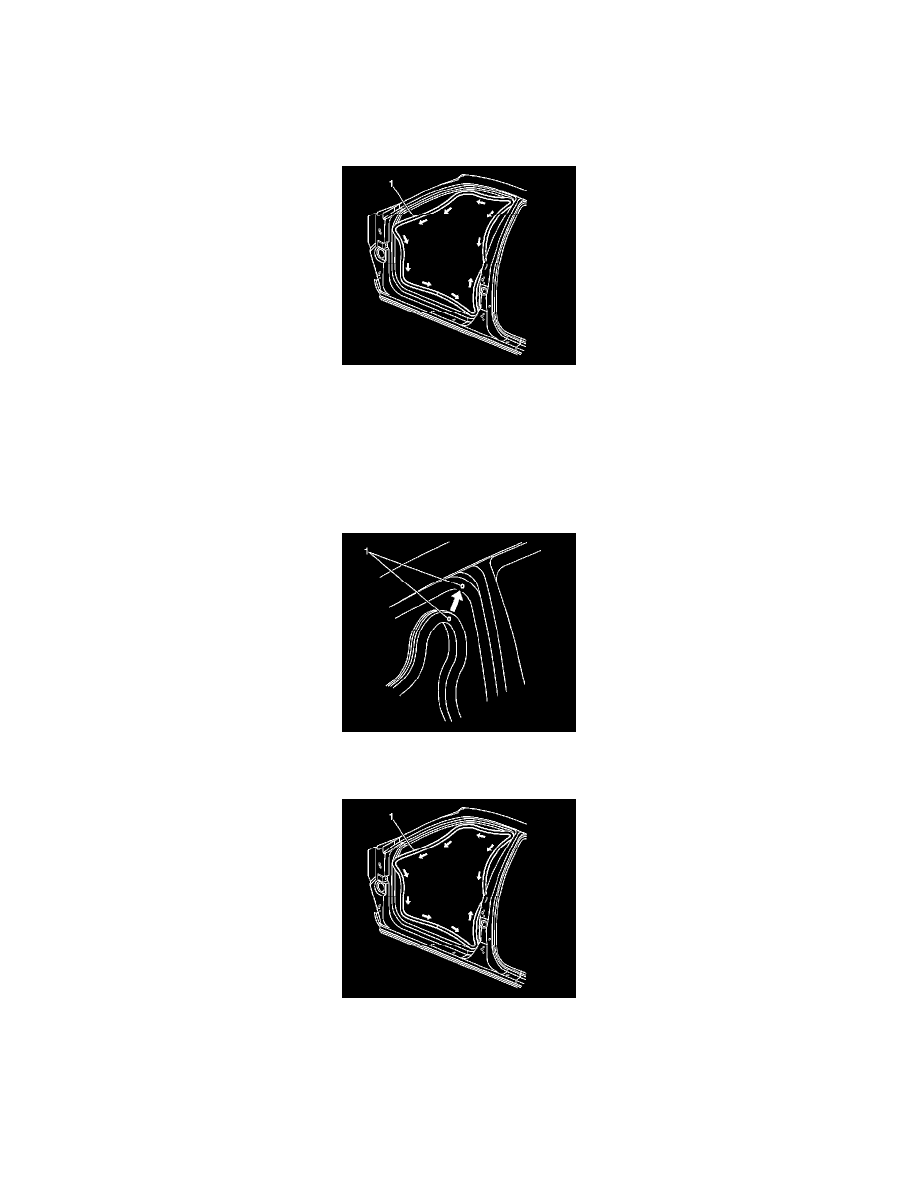
2. Remove the door opening weatherstrip (1) by pulling the weatherstrip from the pinch-weld flange.
3. Remove any adhesive from the pinch-weld flange using 3M(TM) adhesive remover P/N 8984, or equivalent.
Installation Procedure
1. Apply weatherstrip adhesive GM P/N 12345096 or equivalent to the weatherstrip.
2. Install the door opening weatherstrip by aligning the joint of the weatherstrip along the rearward portion of the door opening. Once aligned, begin
installing the weatherstrip at the top rear corner of the opening (1), and pressing the weatherstrip until fully seated.
3. Finish installing the door opening weatherstrip by pressing the weatherstrip into place in a counterclockwise direction around the door opening.
4. Install the front carpet retainer. Refer to Carpet Retainer Replacement - Front (See: Interior Moulding / Trim/Carpet/Service and Repair/Removal
and Replacement/Carpet Retainer Replacement - Front) in Interior Trim.