ION L4-2.2L VIN F (2004)

2.
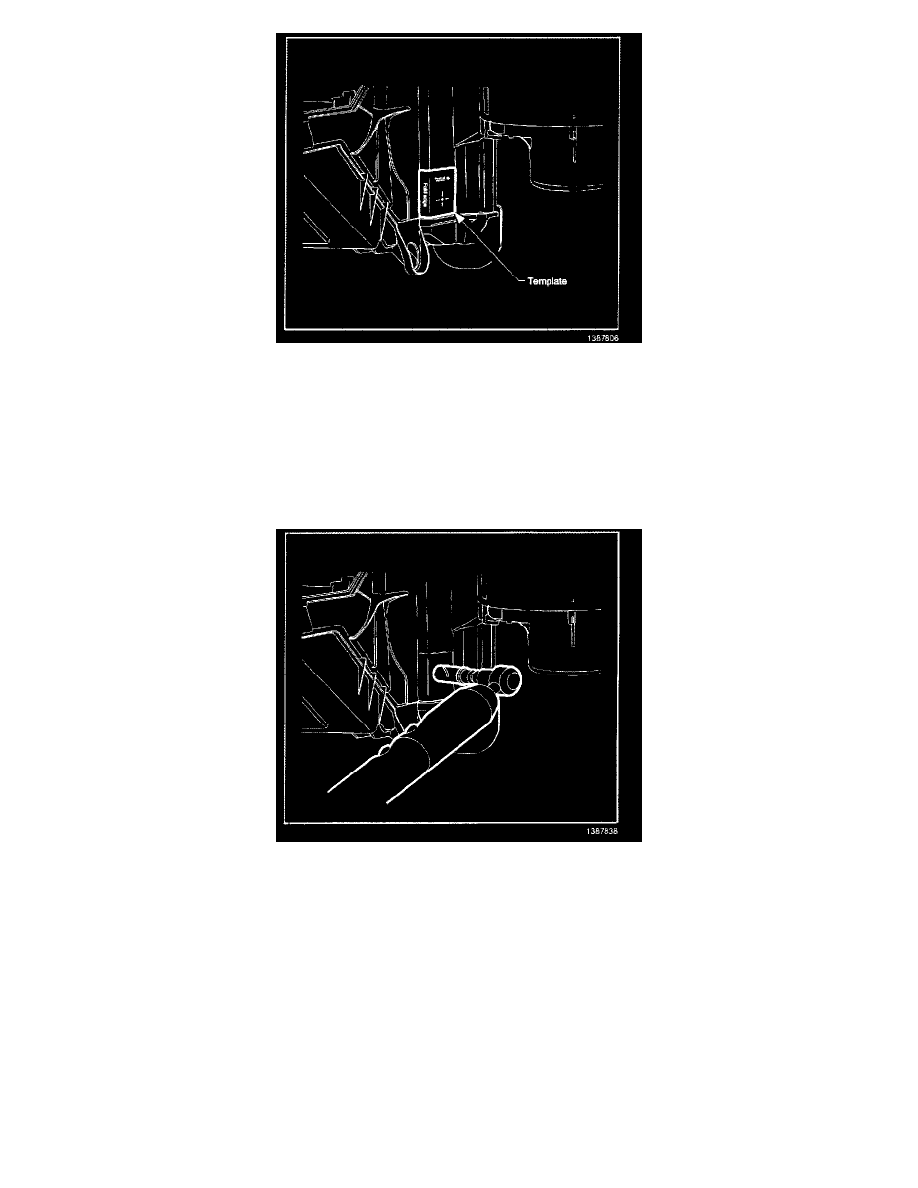
Cut out template (several included in this bulletin) and place on right side of the HVAC module as shown in the above illustration.
3.
Center punch through the template.
Important:
Prior to drilling into HVAC module place an absorbent towel below area to be drilled to collect any condensation that may flow out of the hole
Notice:
To prevent possible damage to the evaporator core, do not drill more than 19 mm (3/4 in) past the HVAC module case wall.
4.
Using a 15/16 in (24 mm) hole saw, drill hole at the specified location.
5.
Using a deburring type tool, remove all drill shavings from around access hole to ensure a proper fit for the cap plug. Do not allow these shavings
to fall into the access hole.
6.
Once the access hole is drilled, using a work light, illuminate through the hole to identify location of 5 mm (0.20 in) drain opening located 25.4
mm (1 inch) inside and down from access hole opening.
Important:
The evaporator core is wrapped with a foam insulator. This insulator is visible through the access hole. Do not mistake the evaporator insulator for
the loose foam block that you are trying to retrieve.
7.
Locate the 6.35 mm x 25.4 mm x 50.8 mm (1/4 in x 1 in x 2 in) foam block and remove with a pair of needle nose pliers or similar tool and
discard.
8.
To verify 5 mm (0.20 in) drain is open, with the vehicle on level ground, add approximately 4 ounces of water through access hole opening. The
water should immediately drain through the front of dash condensate drain. If the water does not drain through the front of dash condensate drain,
