
ION L4-2.2L VIN F (2004)
Backup Light Bulb: Service and Repair
TAIL LAMP ASSEMBLY AND /OR BACKUP, SIDEMARKER, STOP, TURN SIGNAL BULB REPLACEMENT
REMOVAL PROCEDURE
1. Open the rear compartment.
2. Remove the screws from the tail lamp.
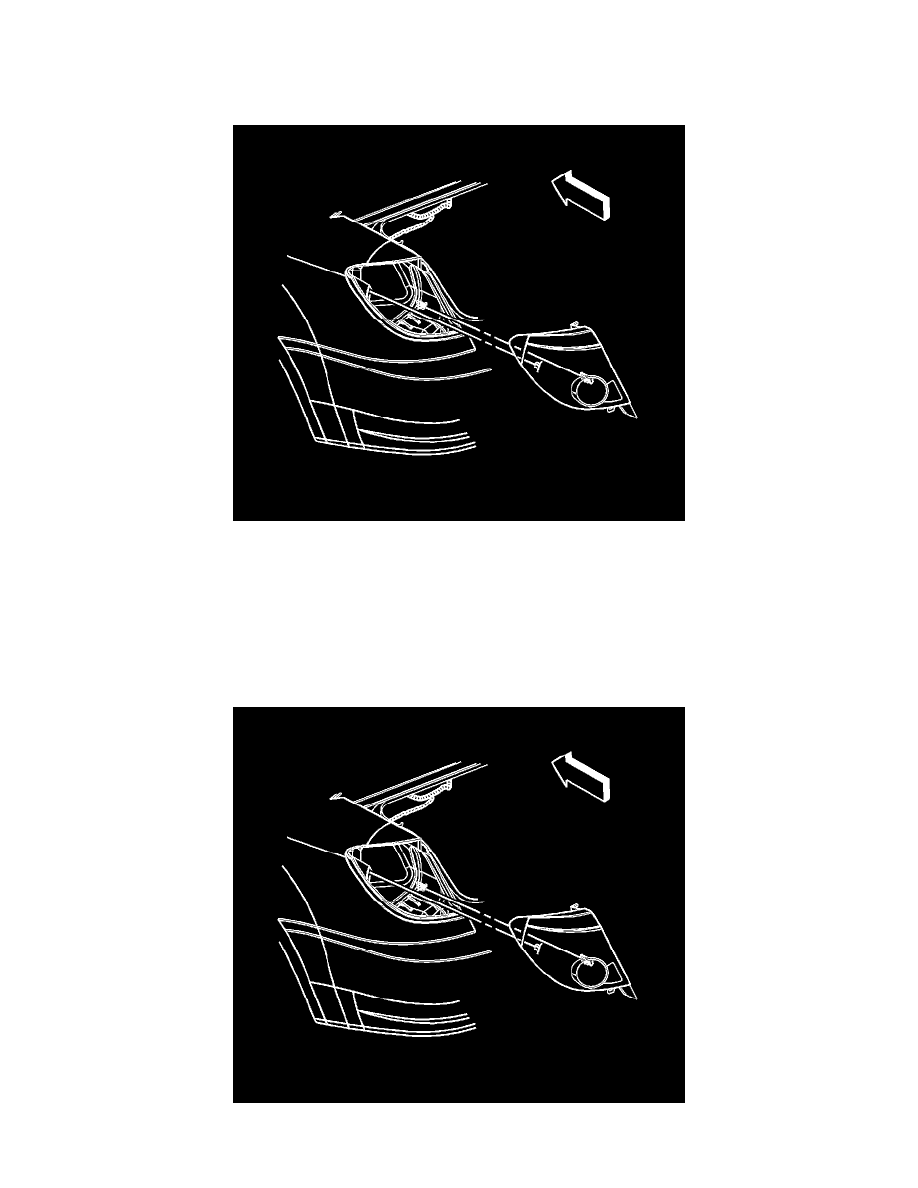
3. Pull the tail lamp rearward to disengage the tail lamp from the quarter panel.
4. Disconnect the electrical connector from the tail lamp wiring harness.
5. Remove the tail lamp and backup lamp sockets by depressing the locking tab and rotating the sockets counterclockwise.
6. Remove the side marker lamp socket from the tail lamp by rotating the socket counterclockwise.
7. Remove the bulbs from the tail lamp, backup lamp and/or side marker lamp sockets.
INSTALLATION PROCEDURE
1. Install the bulbs to the tail lamp, backup lamp, and/or side marker lamp sockets.