
ION L4-2.2L VIN F (2004)
Fuel Pressure: Testing and Inspection
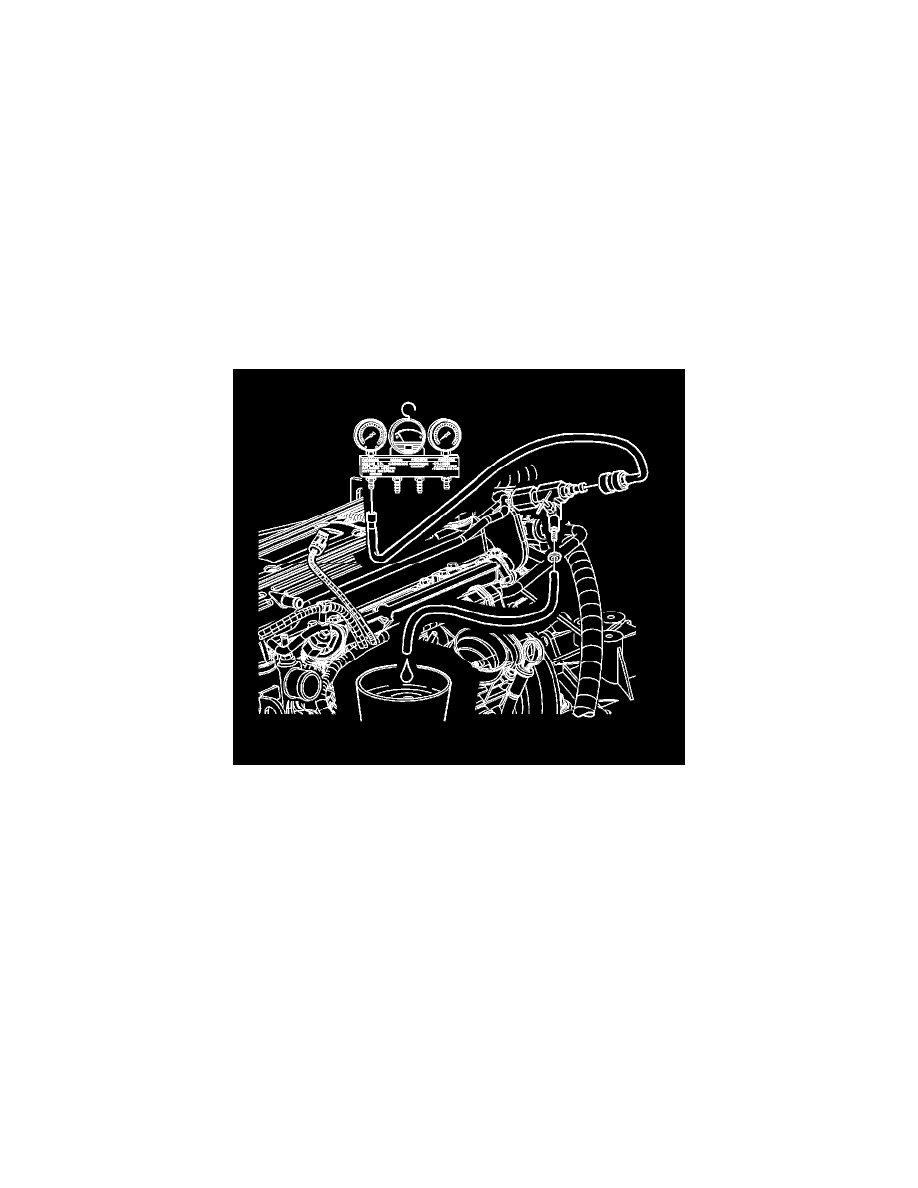
Fuel Pressure Gage Installation and Removal
FUEL PRESSURE GAGE INSTALLATION AND REMOVAL
INSTALLATION PROCEDURE
TOOLS REQUIRED
SA9127E Gage Bar Set, or J 34730-1A Fuel Pressure Gage
CAUTION: Refer to Gasoline/Gasoline Vapors Caution in Service Precautions.
NOTE: Clean all of the following areas before performing any disconnections in order to avoid possible contamination in the system:
-
The fuel pipe connections
-
The hose connections
-
The areas surrounding the connections
1. Remove the cap from the fuel pressure service port connection.
2. Connect the SA9127E , or the J 34730-1A to the fuel pressure service connection. Wrap a shop towel around the fitting while connecting the gage
to avoid spillage.
CAUTION: Wrap a shop towel around the fuel pressure connection in order to reduce the risk of fire and personal injury. The towel will
absorb any fuel leakage that occurs during the connection of the fuel pressure gage. Place the towel in an approved container when the
connection of the fuel pressure gage is complete.
3. Turn the ignition ON, with the engine OFF.
4. Place the bleed hose of the SA9127E , or the J 34730-1A into an approved fuel container.
CAUTION: Do not drain the fuel into an open container. Never store the fuel in an open container due to the possibility of a fire or an
explosion.
5. Open the bleed valve on the SA9127E , or the J 34730-1A in order to bleed the air from the fuel pressure gage.
6. Command the fuel pump ON with a scan tool.
7. Close the bleed valve on the SA9127E , or the J 34730-1A .
8. Inspect for fuel leaks.
REMOVAL PROCEDURE
1. Ensure the fuel pump is OFF.