ION L4-2.4L (2007)

5. Remove the sealers and anti-corrosion materials from the repair area, as necessary.
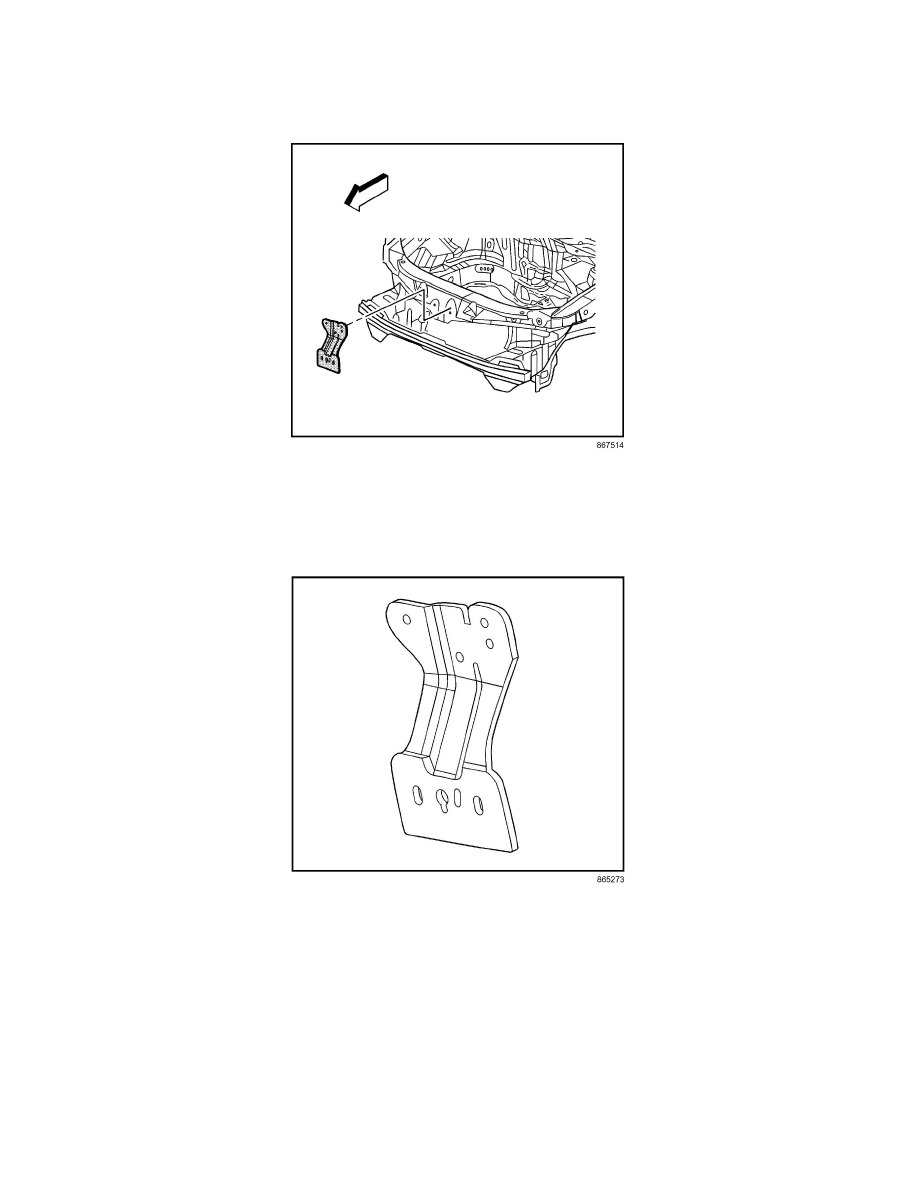
IMPORTANT: Note the number and location of the factory welds for installation of the latch primary support.
6. Locate and drill out all the necessary factory welds.
7. Remove the latch primary support.
Installation Procedure
IMPORTANT: If the location of the original plug weld holes can not be determined, space the plug weld holes every 40 mm (1 1/2 in) apart.
1. Drill 8 mm (5/16 in) plug weld holes in the service part as necessary in the locations noted from the original panel.
2. Prepare all mating surfaces as necessary.
3. Apply 3M Weld-Thru Coating P/N 05916 or equivalent to all mating surfaces.
