
ION L4-2.4L (2007)
Installation Procedure
1. Install the rerouter to the child shoulder belt guide.
2. Position the lower garnish molding at the lock pillar, under the seat belt webbing.
3. Install the trim clips by pushing at the clip locations.
4. Install the push-in retainer.
5. Install the door opening seal over the edge of the trim.
6. Lift the rear folding seat back and latch into place. Pull up on the seat back to ensure that the latch is engaged.
7. Install the rear carpet retainer.
8. Install the rear seat cushion.
9. Inspect the rear seat belt for proper operation.
10. On the coupe, install the upper garnish molding on the lock pillar. Refer to Garnish Molding Replacement - Lock Pillar Upper.
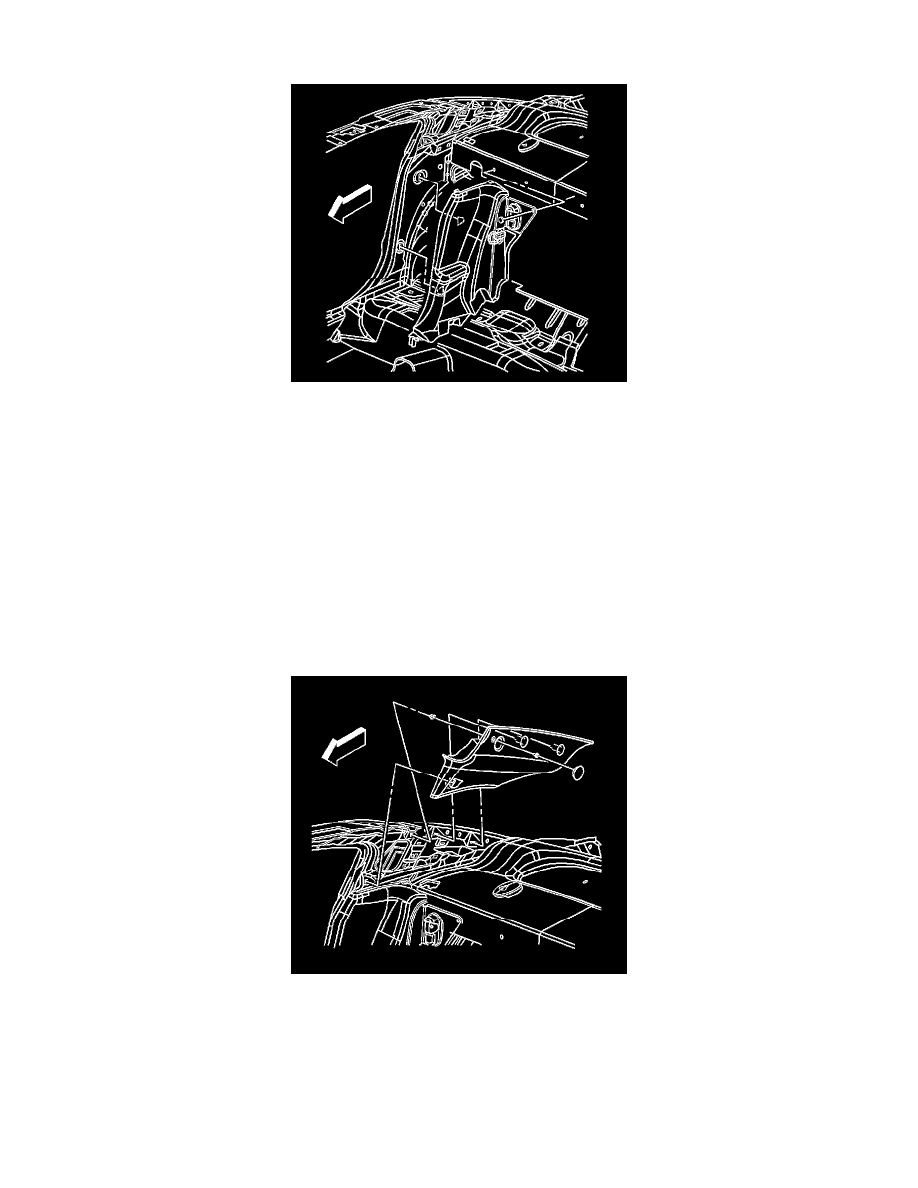
Garnish Molding Replacement - Lock Pillar Upper
Garnish Molding Replacement - Lock Pillar Upper
Removal Procedure
Caution: Use care when working around the roof rail inflator module because sharp objects may puncture the roof rail airbag and the
airbag will not deploy correctly.
In order to avoid personal injury, if any part of the module is damaged replace the entire module
1. Using a small, flat-bladed tool, pry off the screw cover.
2. Remove the screw from the lock pillar upper garnish molding.
3. Remove the rear defroster harness to prevent damage.
4. Pull at the clip locations to disengage the garnish molding. Remove the lock pillar upper garnish molding.