
ION L4-2.4L (2007)
3. Remove the caps from the master cylinder brake pipe ends.
4. Remove the plugs from the master cylinder ports on the modulator assembly.
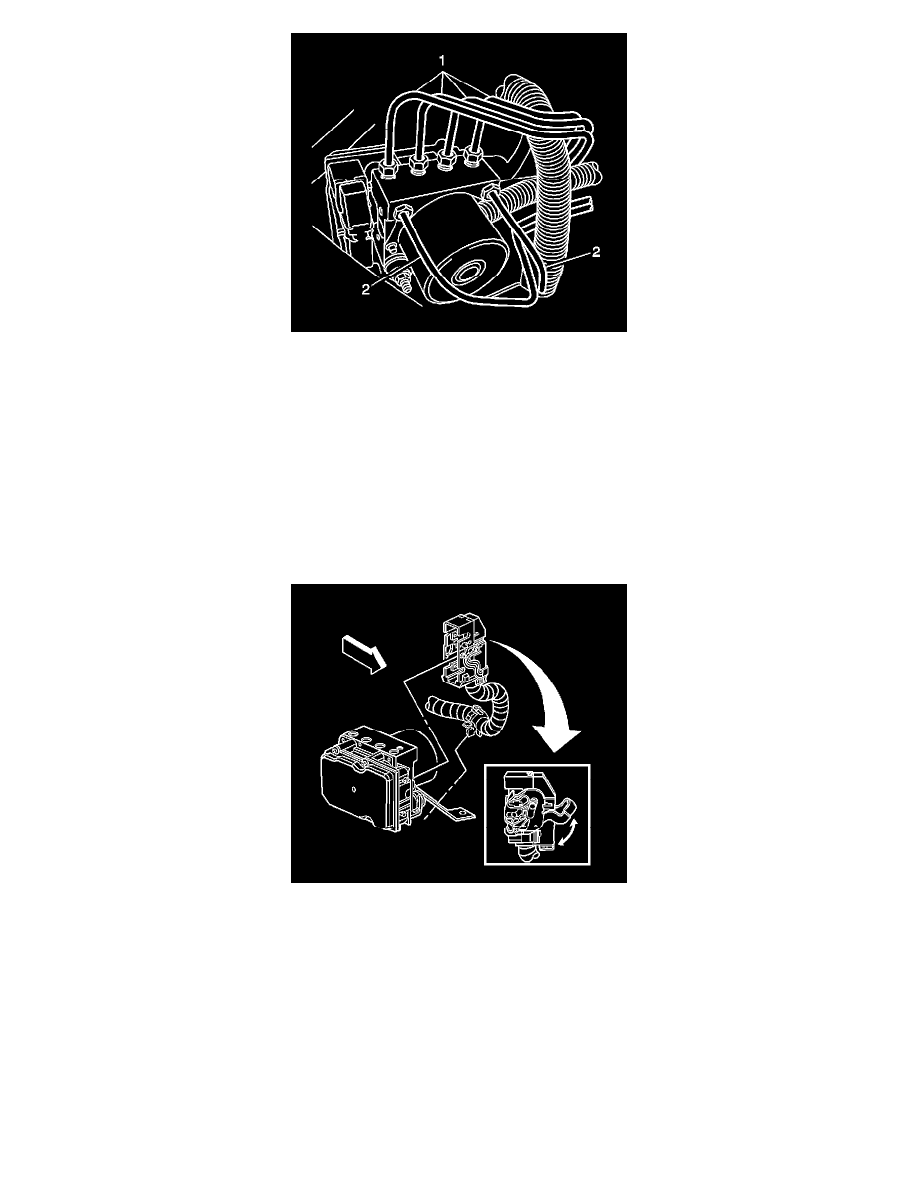
5. Connect the master cylinder brake pipes (2) to the modulator assembly, in the same location as removed.
6. Tighten the brake pipe fittings at the BPMV.
Tighten the fittings to 18 N.m (13 lb ft).
7. Remove the caps from the caliper and wheel cylinder brake pipe ends.
8. Remove the plugs from the caliper and wheel cylinder ports on the modulator assembly.
9. Connect the caliper and wheel cylinder brake pipes (1) to the modulator assembly, in the same location as removed.
10. Tighten the brake pipe fittings at the BPMV.
Tighten the fittings to 18 N.m (13 lb ft).
11. Connect the electrical connector to the EBCM.
12. Bleed the hydraulic brake system.
13. Turn the ignition switch to the ON position. DO NOT start engine.
14. Perform the Diagnostic System Check - Vehicle. See: Testing and Inspection/Initial Inspection and Diagnostic Overview/Diagnostic System
Check - Vehicle
15. Observe the feel of the brake pedal after performing the diagnostic system check. If the pedal now feels spongy, air may have been in the
secondary circuit of the brake modulator assembly, which may have been introduced into the primary circuit. If the pedal feels spongy, perform the
Antilock Brake System Automated Bleed Procedure.
16. Remove the shop towel and discard into an approved container.