L200 L4-2.2L VIN F (2002)

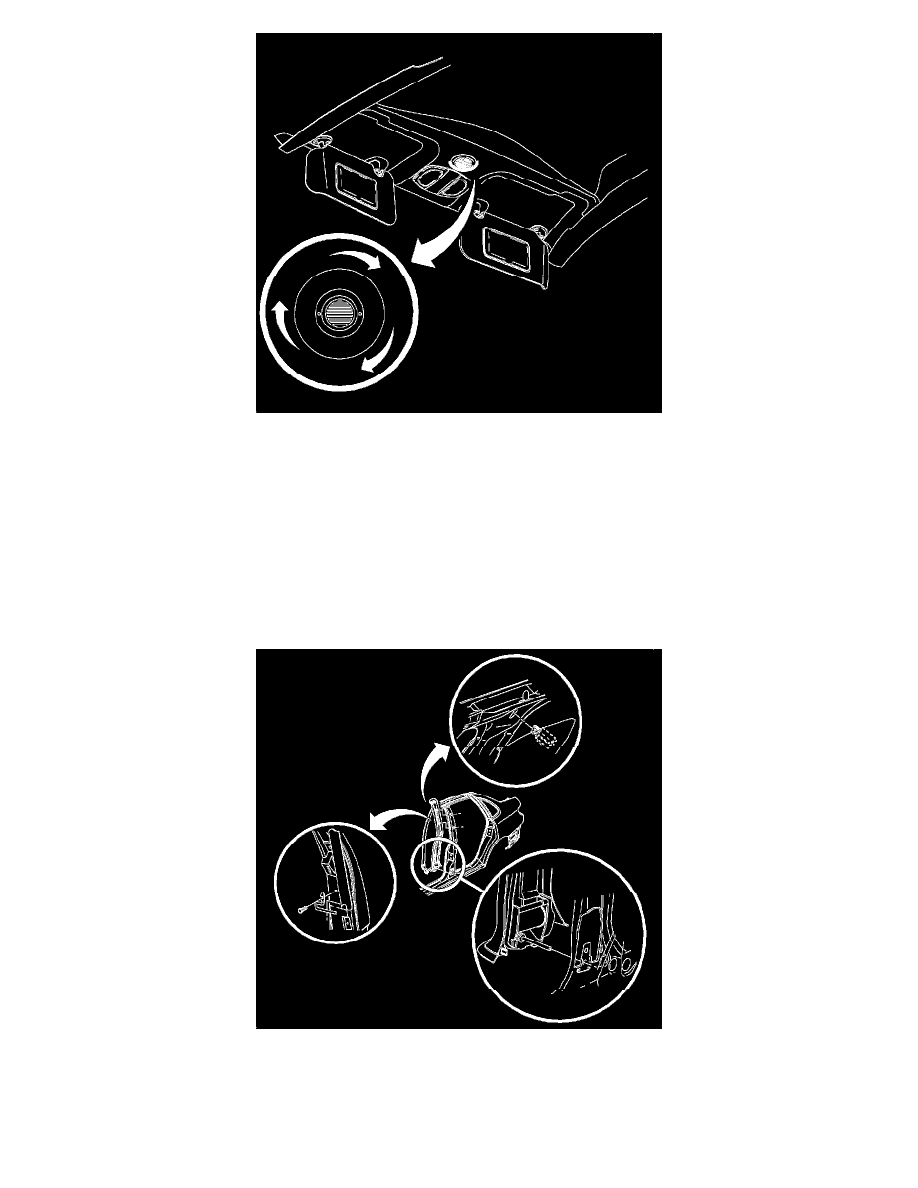
11. If the vehicle is equipped with OnStar(R), perform the following procedure:
1. Disconnect the harness from the rearview mirror.
2. Disconnect the coaxial cable from the GPS antenna on the windshield.
3. Disconnect the coaxial cable from the cell phone antenna on the right rear quarter glass.
4. Twist the microphone bezel counterclockwise to drop down from the headliner.
5. Disconnect the microphone harness.
6. Remove the right rear seat bolster. Refer to Rear Split Folding Seat Back Bolster Replacement (See: Seats/Seat Back/Service and
Repair/Removal and Replacement/Rear Split Folding Seat Back Bolster Replacement).
7. Remove the front load floor.
8. Disconnect the harnesses under the seat bolster and at the OnStar(R) module under the front load floor.
9. Pull back the carpeting and remove the harness from the body side attaching points.
12. If the vehicle is equipped with OnStar(R), remove the upper trim moldings from the center pillar. Refer to Center Pillar Upper Garnish Molding
Replacement (See: Trim Panel/Service and Repair/Pillar Trim/Center Pillar Upper Garnish Molding Replacement).
