
L200 L4-2.2L VIN F (2002)
3.
Inspect the rear body panel seam inside the rear compartment or rear cargo area for water entry.
4.
Using KENT Industries Quick Seal (P/N 10556) or equivalent, extend the factory applied sealer beads to the side surfaces of the longitudinal
frame rail.
IMPORTANT:
The procedure should be performed on the left and right sides of the longitudinal rail (Right side shown left side similar).
5.
Place water test stand under vehicle and direct spray at rear body panel and floor seam. Focus on the area of the rear longitudinal frame rail to
verify the repair.
6.
Inspect rear compartment or rear cargo area for water entry.
7.
Install rear compartment or rear cargo area trim.
REAR COMPARTMENT - ROOF DITCH
SEAM (SEDAN AND WAGON)
1.
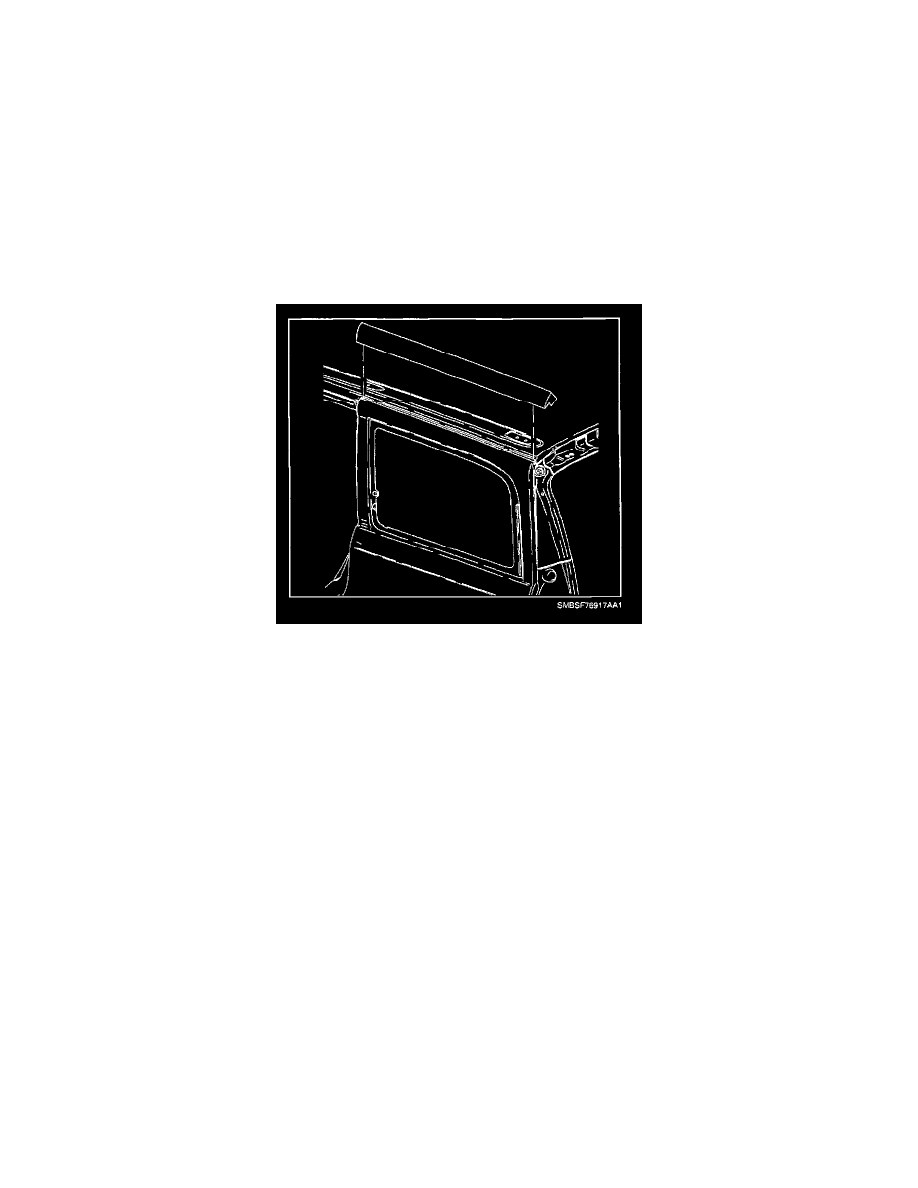
Remove C-Pillar Trim (Sedan) or Quarter Glass Side Molding (Wagon).
^
On Sedan Models, remove C-Pillar Trim refer to "C-Pillar Trim" removal procedure in the Interior Trim section of the 2000 - 2001 or 2002
L-Series Body/Electrical Volume II Service Manual.
^
On Wagon Models, remove Quarter Glass Side Molding, refer to "Quarter Glass Side Molding" removal procedure in the Interior Trim section
of the 2000 - 2001 or 2002 L-Series Body/Electrical Volume II Service Manual.
2.
Using a garden hose with an unrestricted (no nozzle) flow of water, apply a low volume of water directly into the roof ditch area.
3.
Inspect inside of rear compartment area for water entry. It may take some time for the water to work its way under the roof ditch molding and into
the rear compartment.
Note:
Left side shown, right side similar.
4.
Remove roof ditch molding, and clean all adhesive tape from the roof ditch seam.
IMPORTANT:
Remove ONLY the adhesive tape used to retain the Ditch Molding. DO NOT remove body colored tape seam seal in the base of the roof ditch area.
5.
Carefully inspect the seam for water entry locations.
6.
Seal these areas using KENT Industries High Tech Clear seam sealer (P/N 10200) or equivalent, and allow time to cure.
7.
Retest the seam using a water test stand. Set at 155 kPa (22 psi) water pressure. The retest should last longer than the initial test to ensure all points
of water entry have been detected and repaired.