
L200 L4-2.2L VIN F (2002)
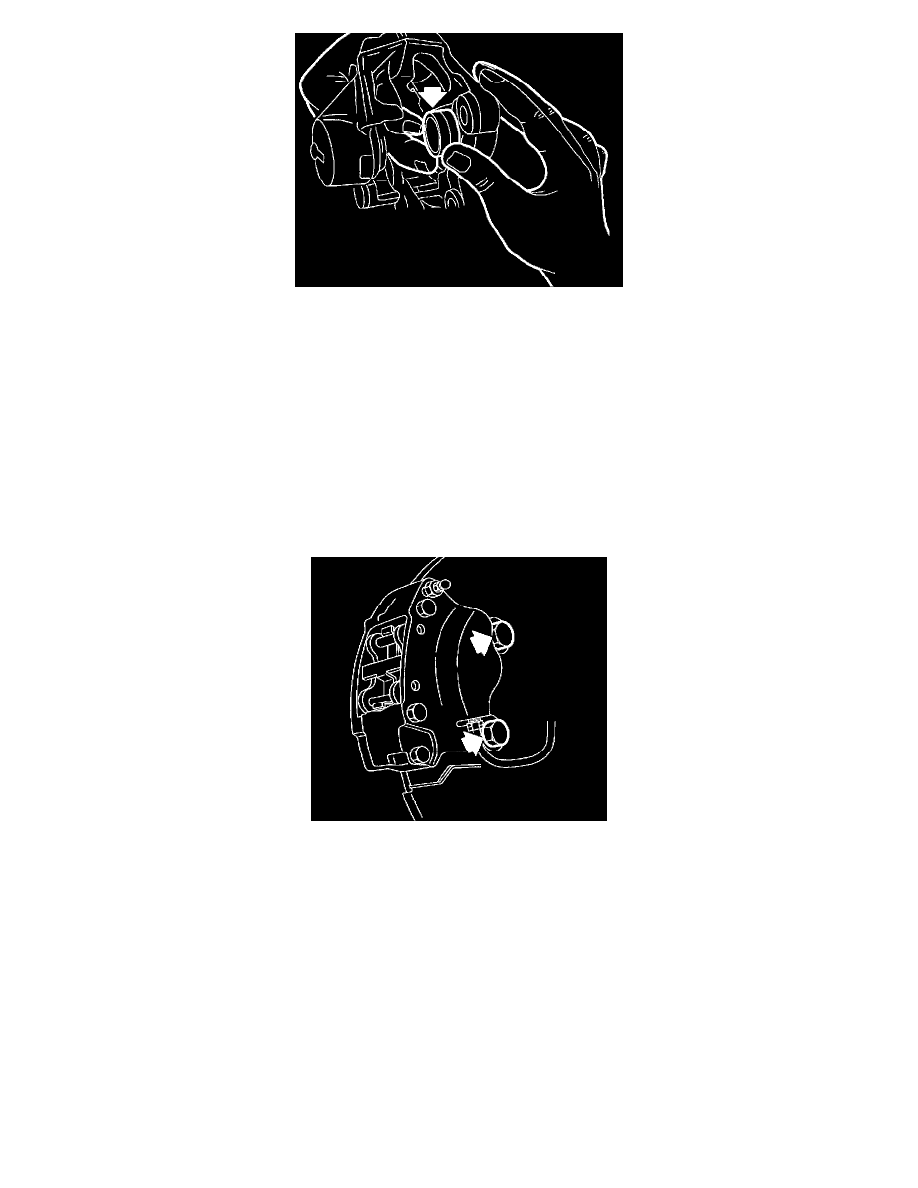
3. Insert piston boot into caliper groove.
IMPORTANT: Make sure that piston boot is smoothly seated in counter bore of caliper body.
IMPORTANT: Piston face has a notched surface cap. Position relief notch toward bottom side of caliper.
4. Insert piston into caliper bore.
5. Repeat disassembly steps I through 4 and assembly steps 1 through 4 for opposite caliper piston.
INSTALLATION
NOTICE: Clean caliper support bracket fasteners thoroughly with brake and choke cleaner (P/N 21007432 or equivalent). Apply Loctite 272 (R)
Threadlocker (or equivalent) to caliper support bracket fasteners. If Loctite 272 (R) Threadlocker (or equivalent) is not available, new caliper support
bracket fasteners must be used.
1. Install caliper assembly to rear axle control arm and tighten.
Torque:
Rear Caliper-to-Rear Axle Control Arm Bolts: 80 Nm (59 ft. lbs.)
2. Install brake pipe to caliper assembly.
Torque:
Brake Pipe-to-Rear Caliper: 16 Nm (12 ft. lbs.)
IMPORTANT: Never replace brake pads on one side of axle only. Left and right side brake pads must be replaced only as axle sets.